Make a photo book
Importing images, favorites, automatic layout, photo grids and cropping
You bring the photos into Janvas, choose the favorites and let Janvas lay them out by itself on several pages. Then you change the cut of a grid and the crop of a photo, and print with the originals.
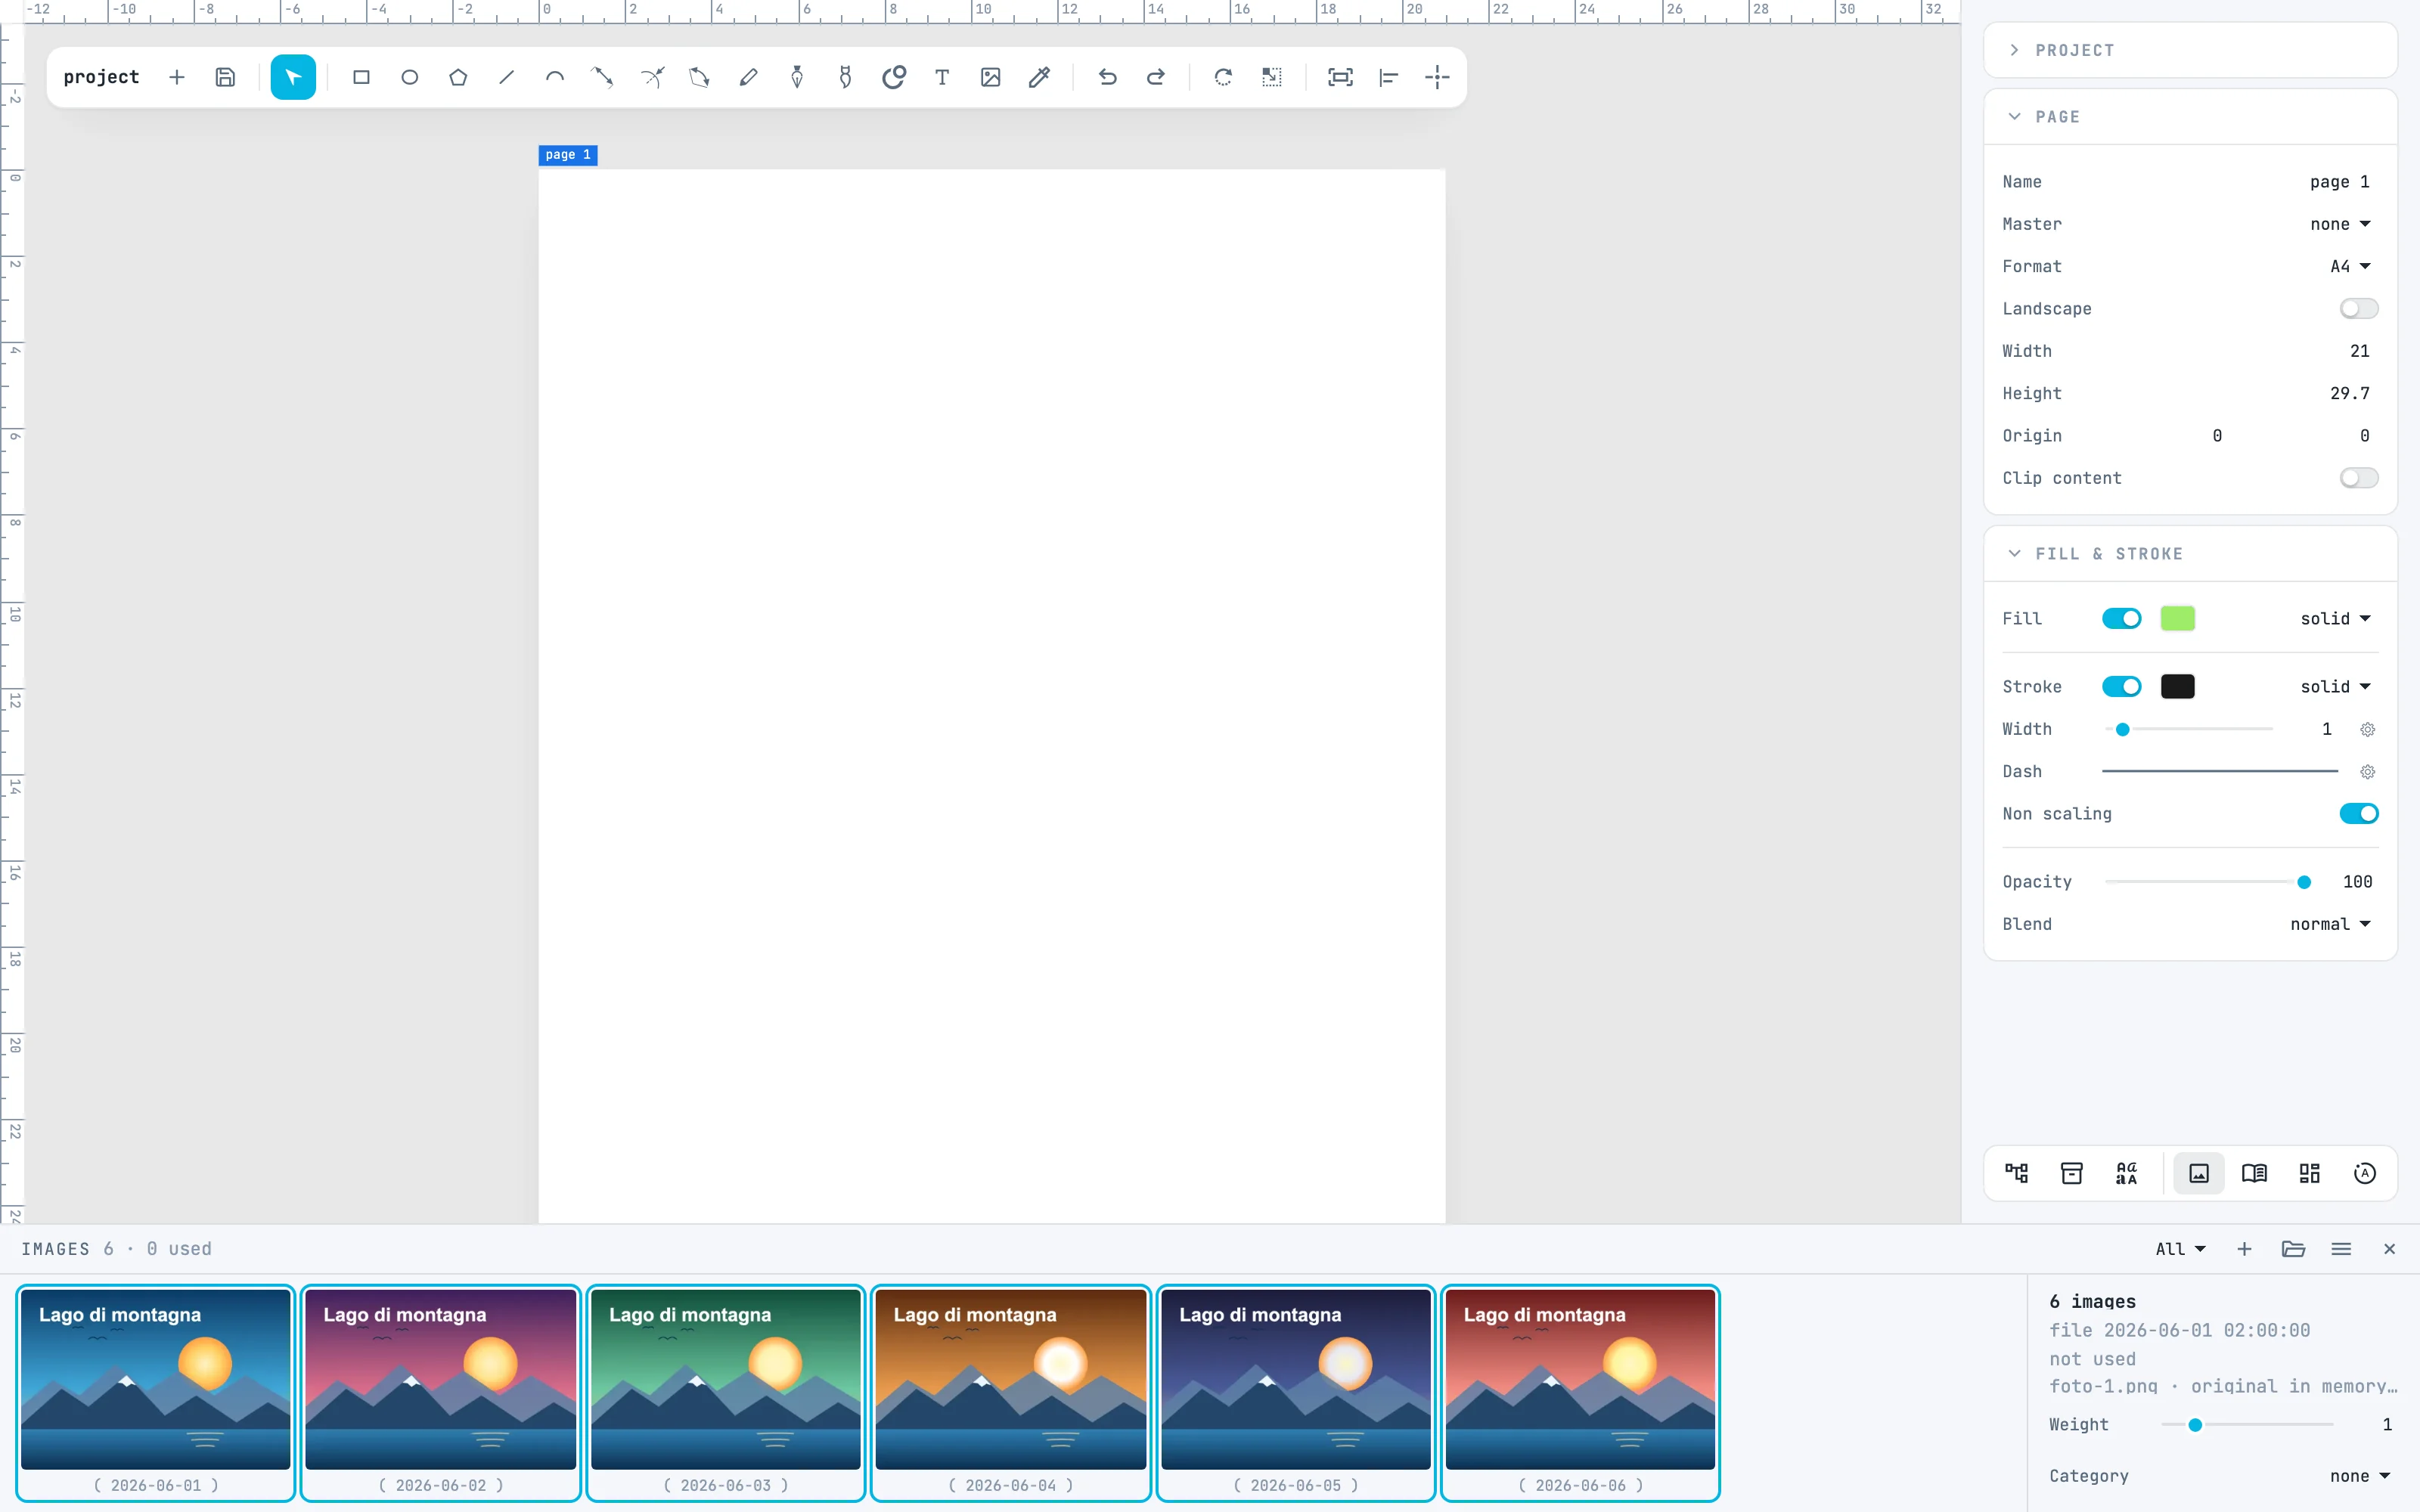
1 · Import the images
Open the Images panel from the images button of the bar at the bottom of the inspectors, and drop the photos on the panel, many at once if you like: they go into the document's archive, in date order. Alternatively add images picks some files and add a folder takes a whole folder. The document gets a working image; the original stays the file on disk. See the Images panel.
2 · Choose the favorites
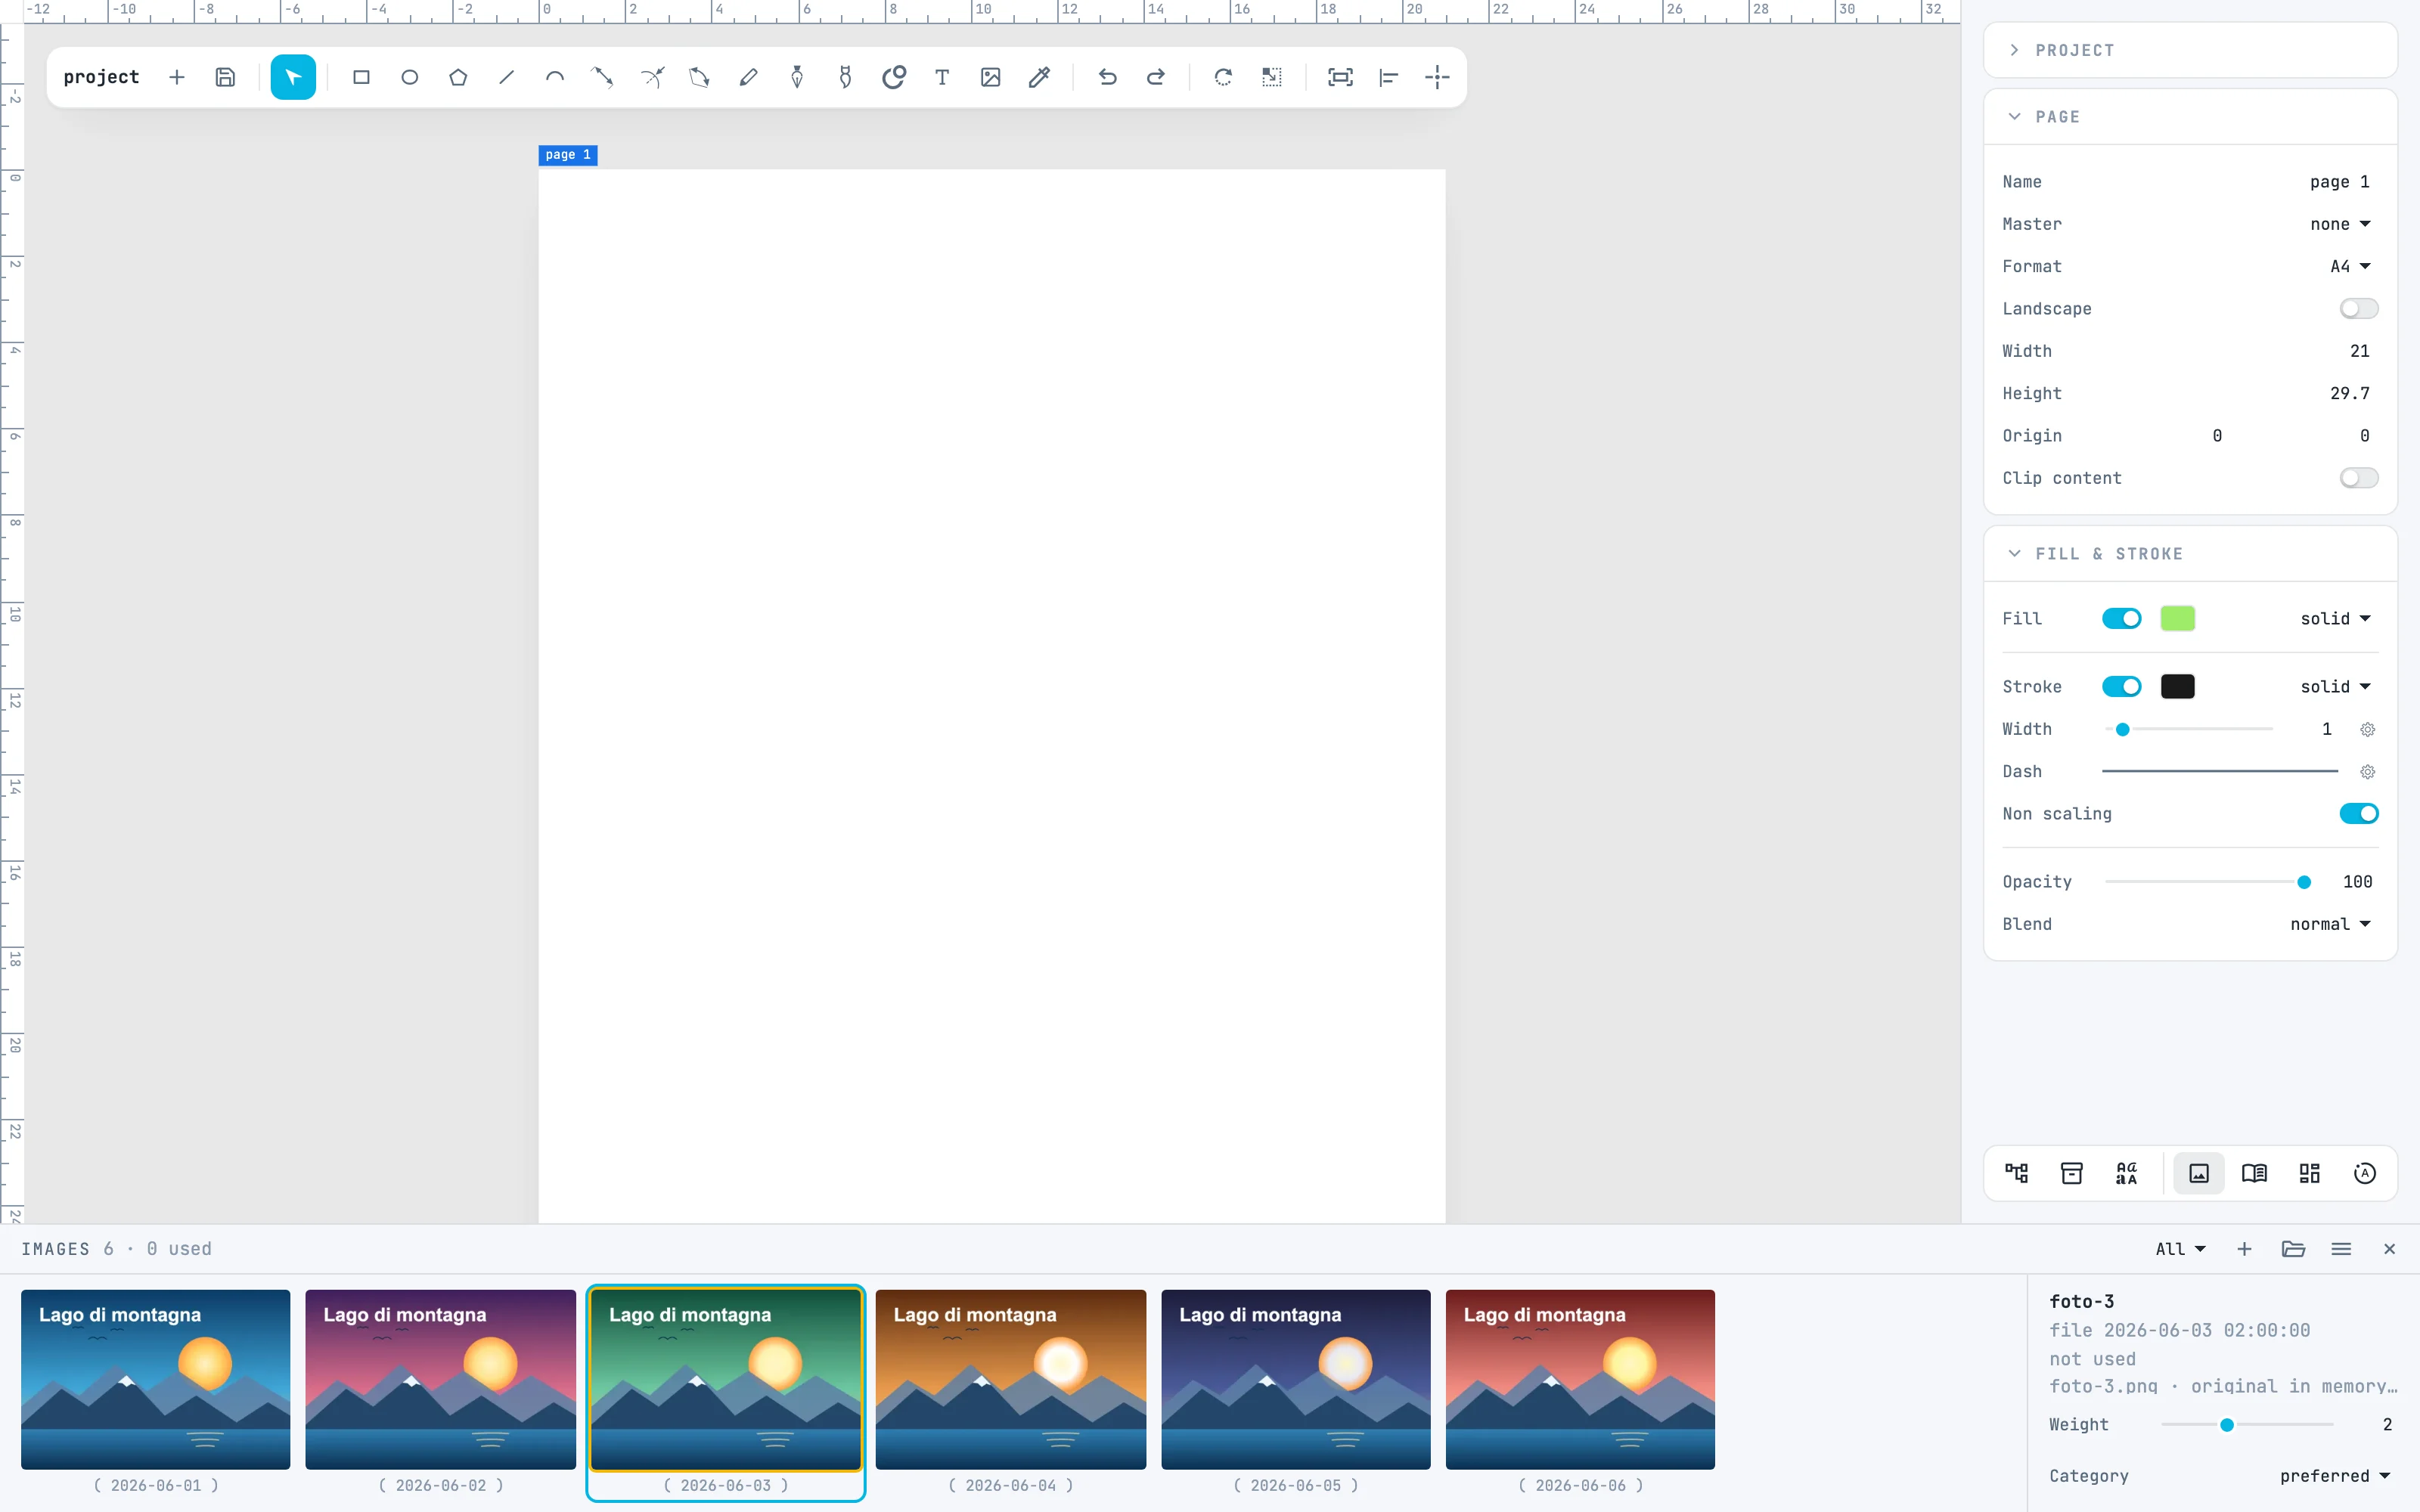
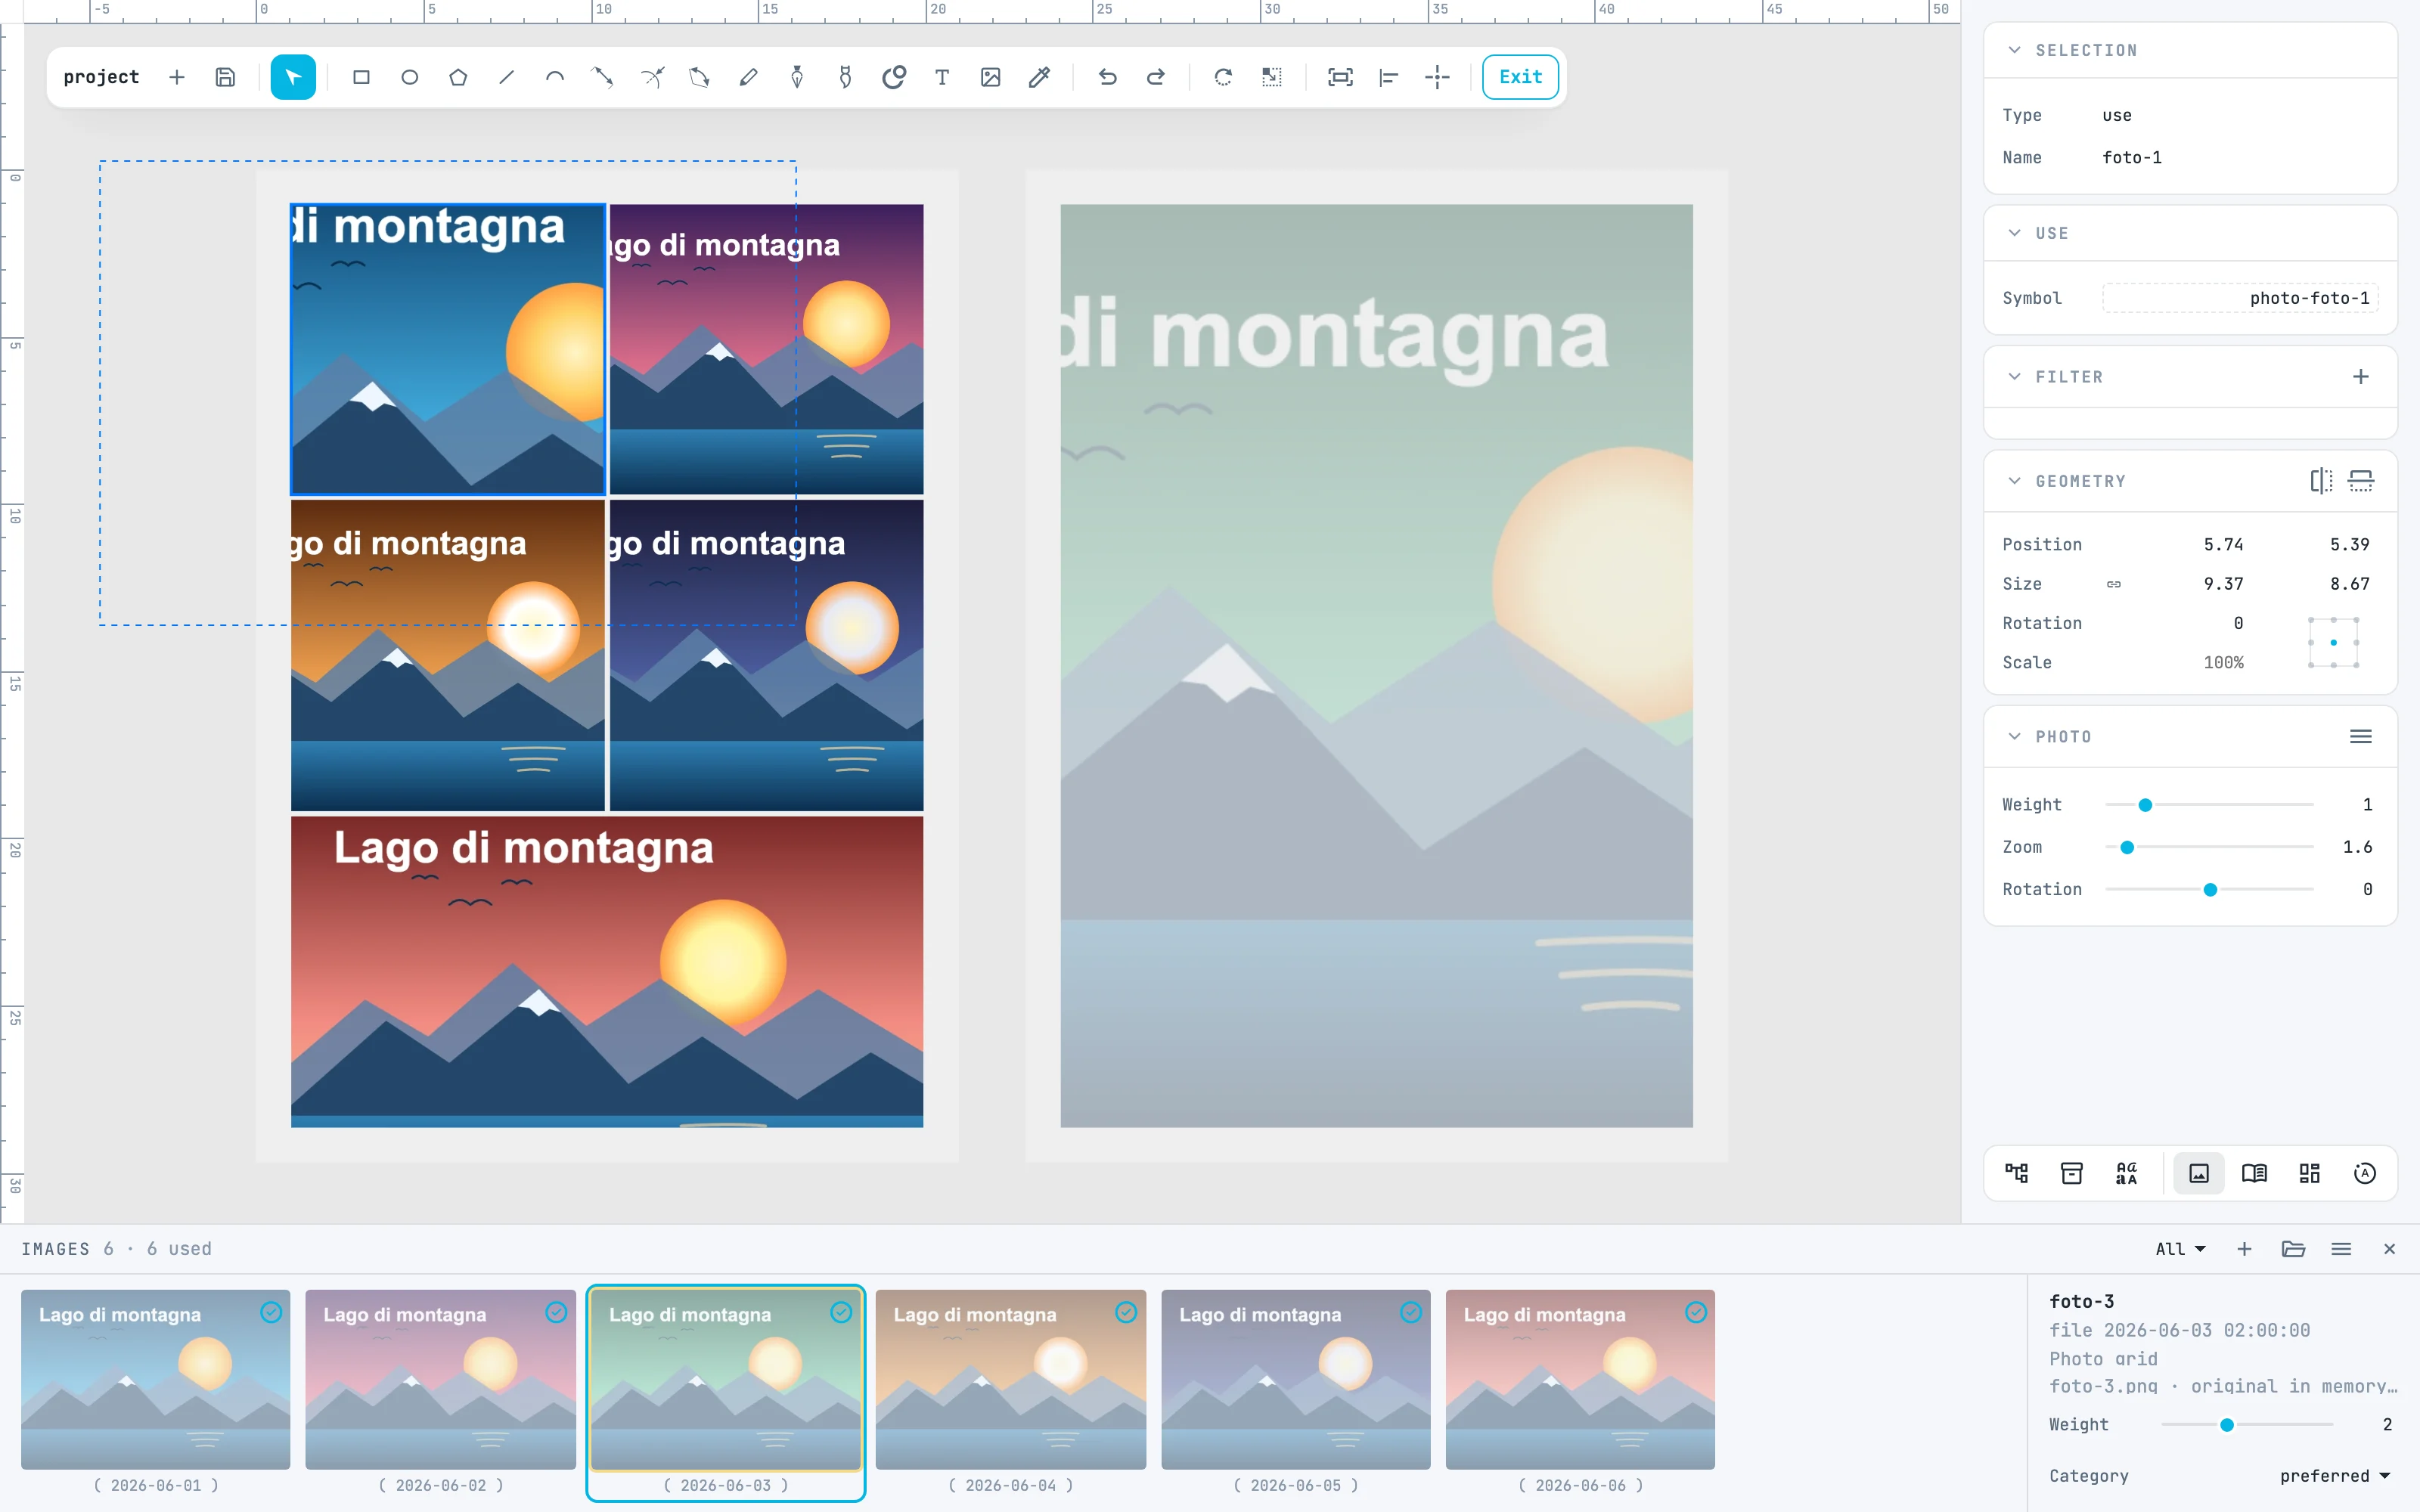
Click a photo in the strip: its details appear on the right. In the Category row choose preferred: the photo gets the yellow border, weighs more in grids (Weight 2) and in the automatic layout it will have a page of its own. archived instead keeps it out.
3 · Auto layout
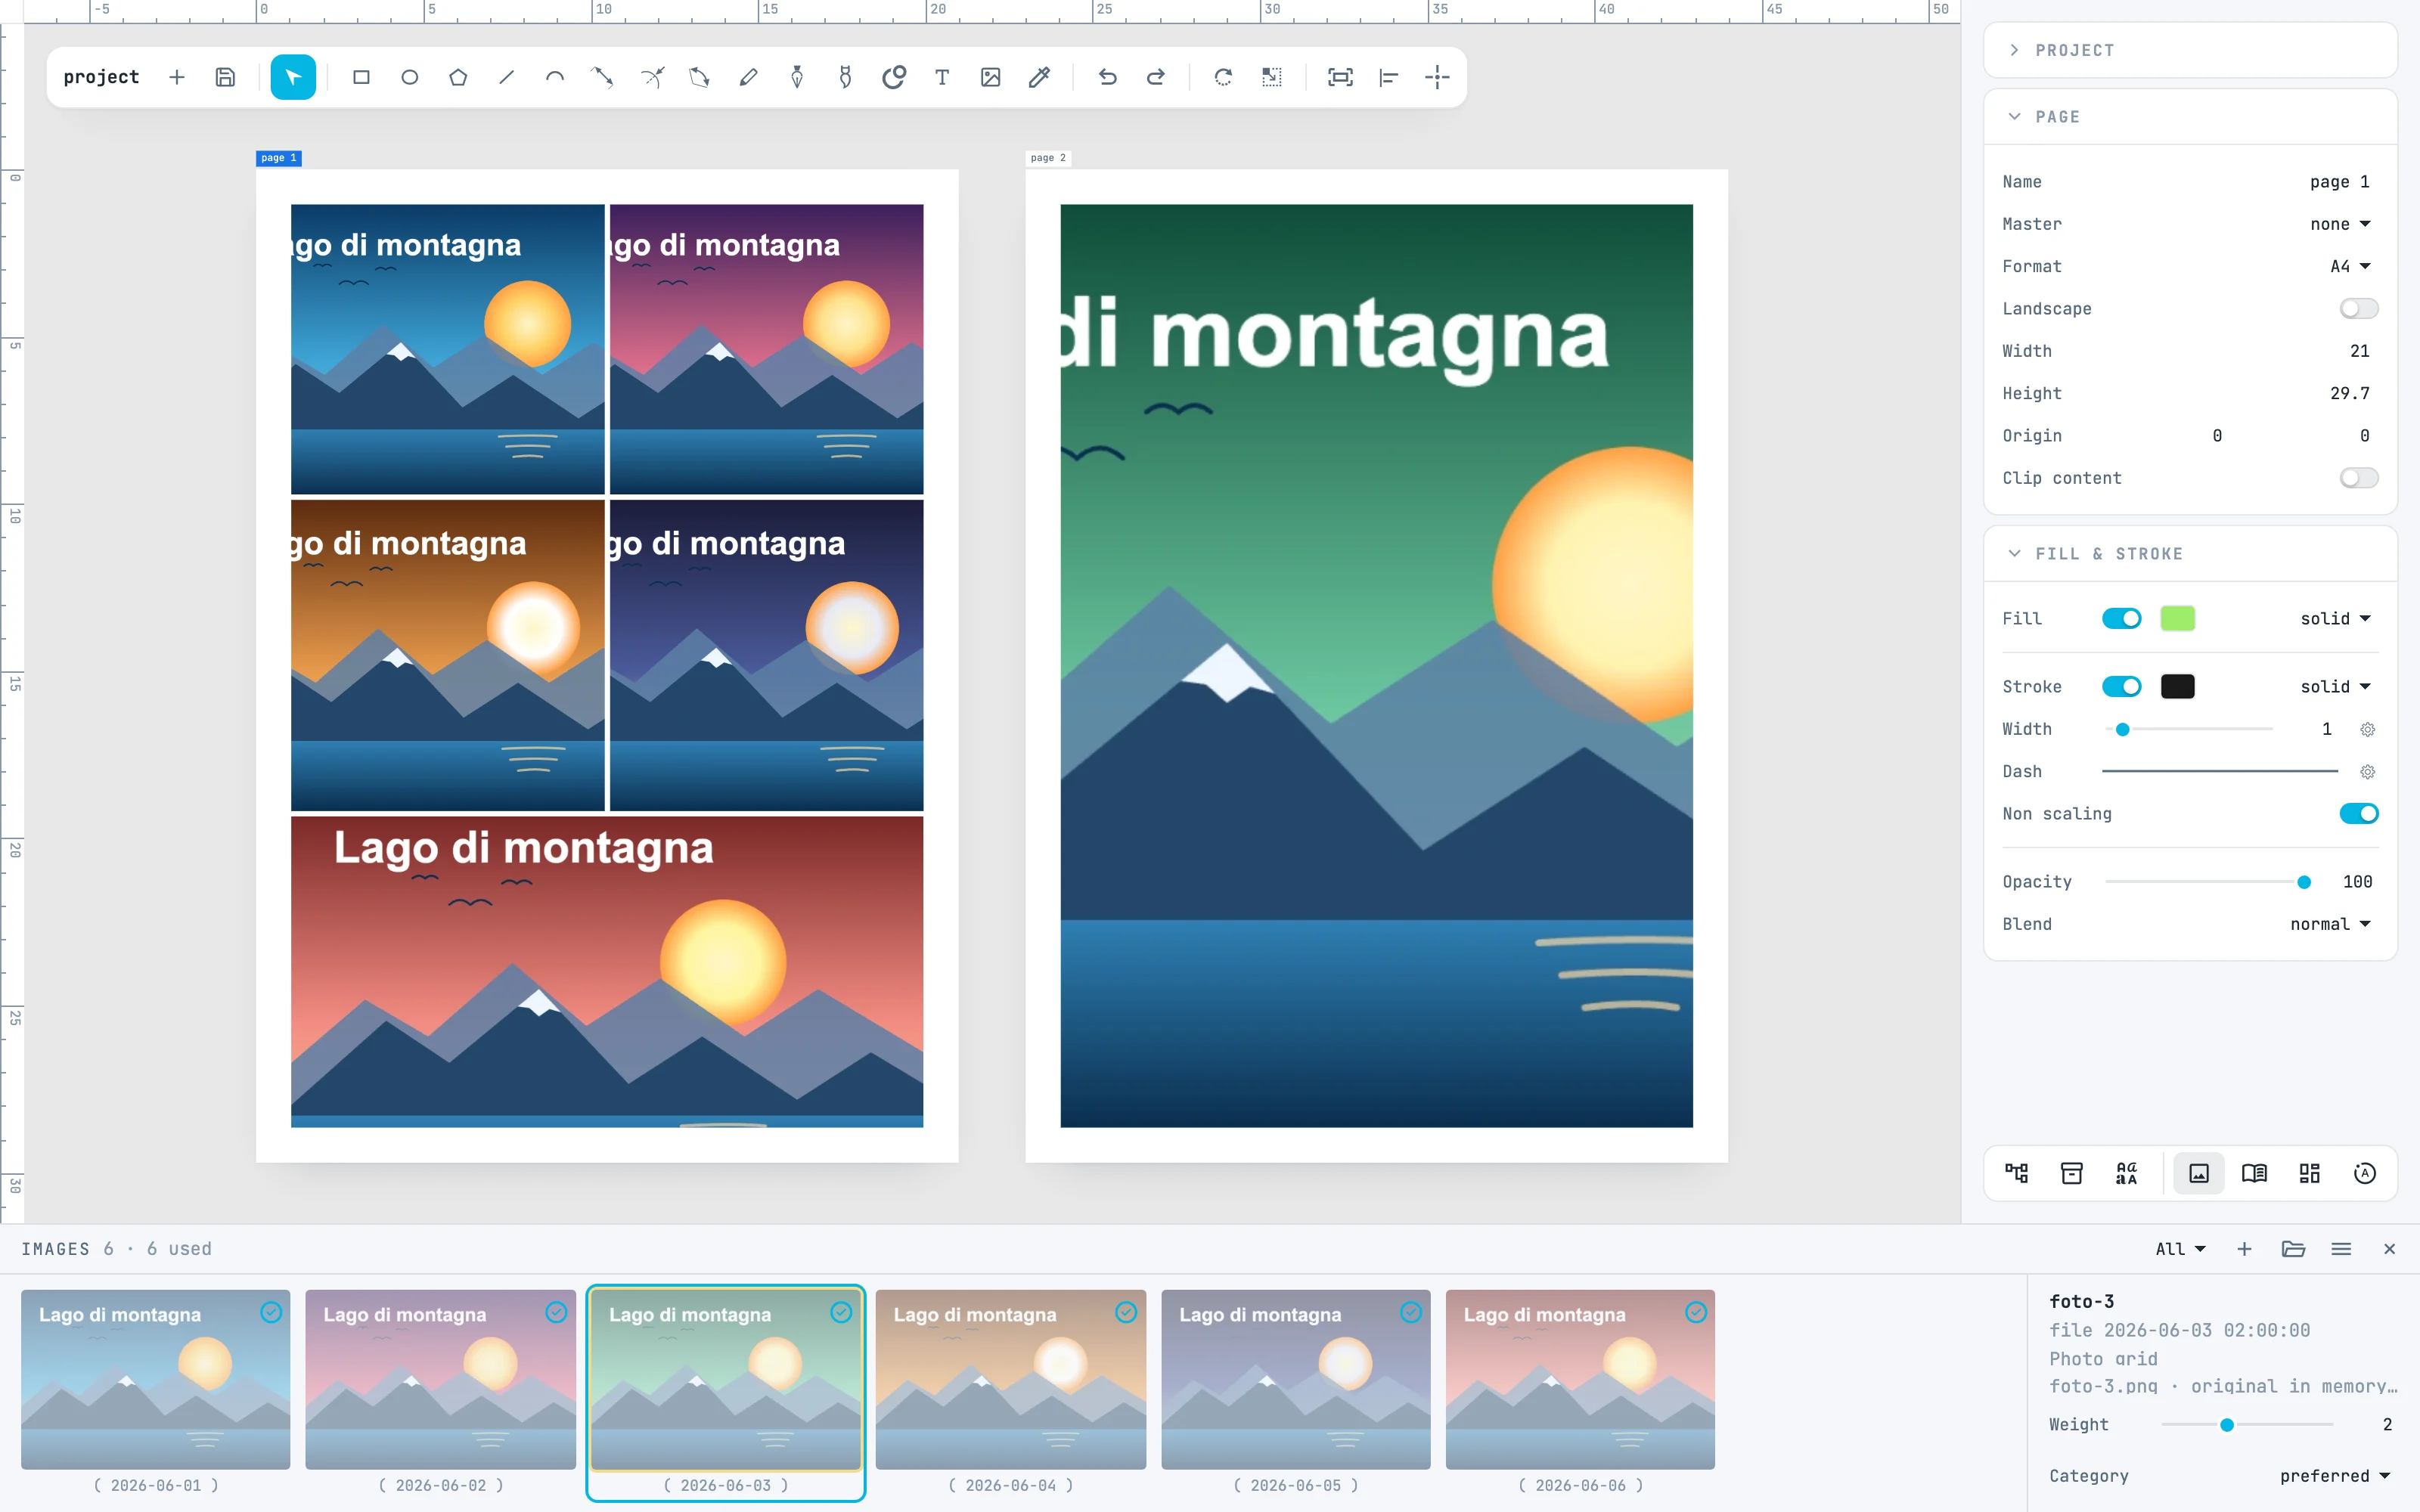
≡ menu of the panel › Auto layout. With no photos selected it takes all those that are not used and not archived: each favorite goes on a page of its own, the others are split into equal parts, about four per page, in date order. It uses the free pages first, then adds more the size of the active page, in a row. On each page it places a grid inset by 5%. All in one step: one undo removes pages and grids.
4 · Change the cut
Select a grid. In the Photo grid panel, Gap is the space between cells and Layout the variant: 0 is the cut that crops the photos least, 1 to 20 are other cuts with the same photos in the same order. A variant is always the same. See Photo grid.

5 · The crop in the cell
Double-click the grid to enter it, and select a photo. Dragging it chooses which part shows, the scroll wheel zooms it around the pointer, ⌥ + wheel rotates it. With numbers: Zoom and Rotation in the Photo panel. The photo always covers the whole cell. See Cropping in the cell.
6 · Print with the originals
From the open and save button, Print high resolution…: the photos come from the originals, resampled for the size at which they are printed and never beyond the original. That is why Janvas remembers where the files are: see Photo originals.
Going further
In the guide: the Images panel, automatic layout, the photo grid and cropping in the cell.