Draw a leaf
Pen, points, gradient, brush and radial array: a wreath of leaves in seven steps
You draw a leaf with the pen, shade it with a gradient, give it a vein with the brush and repeat it in a wreath with the radial array. At the end you export it to SVG.
1 · Open a sheet
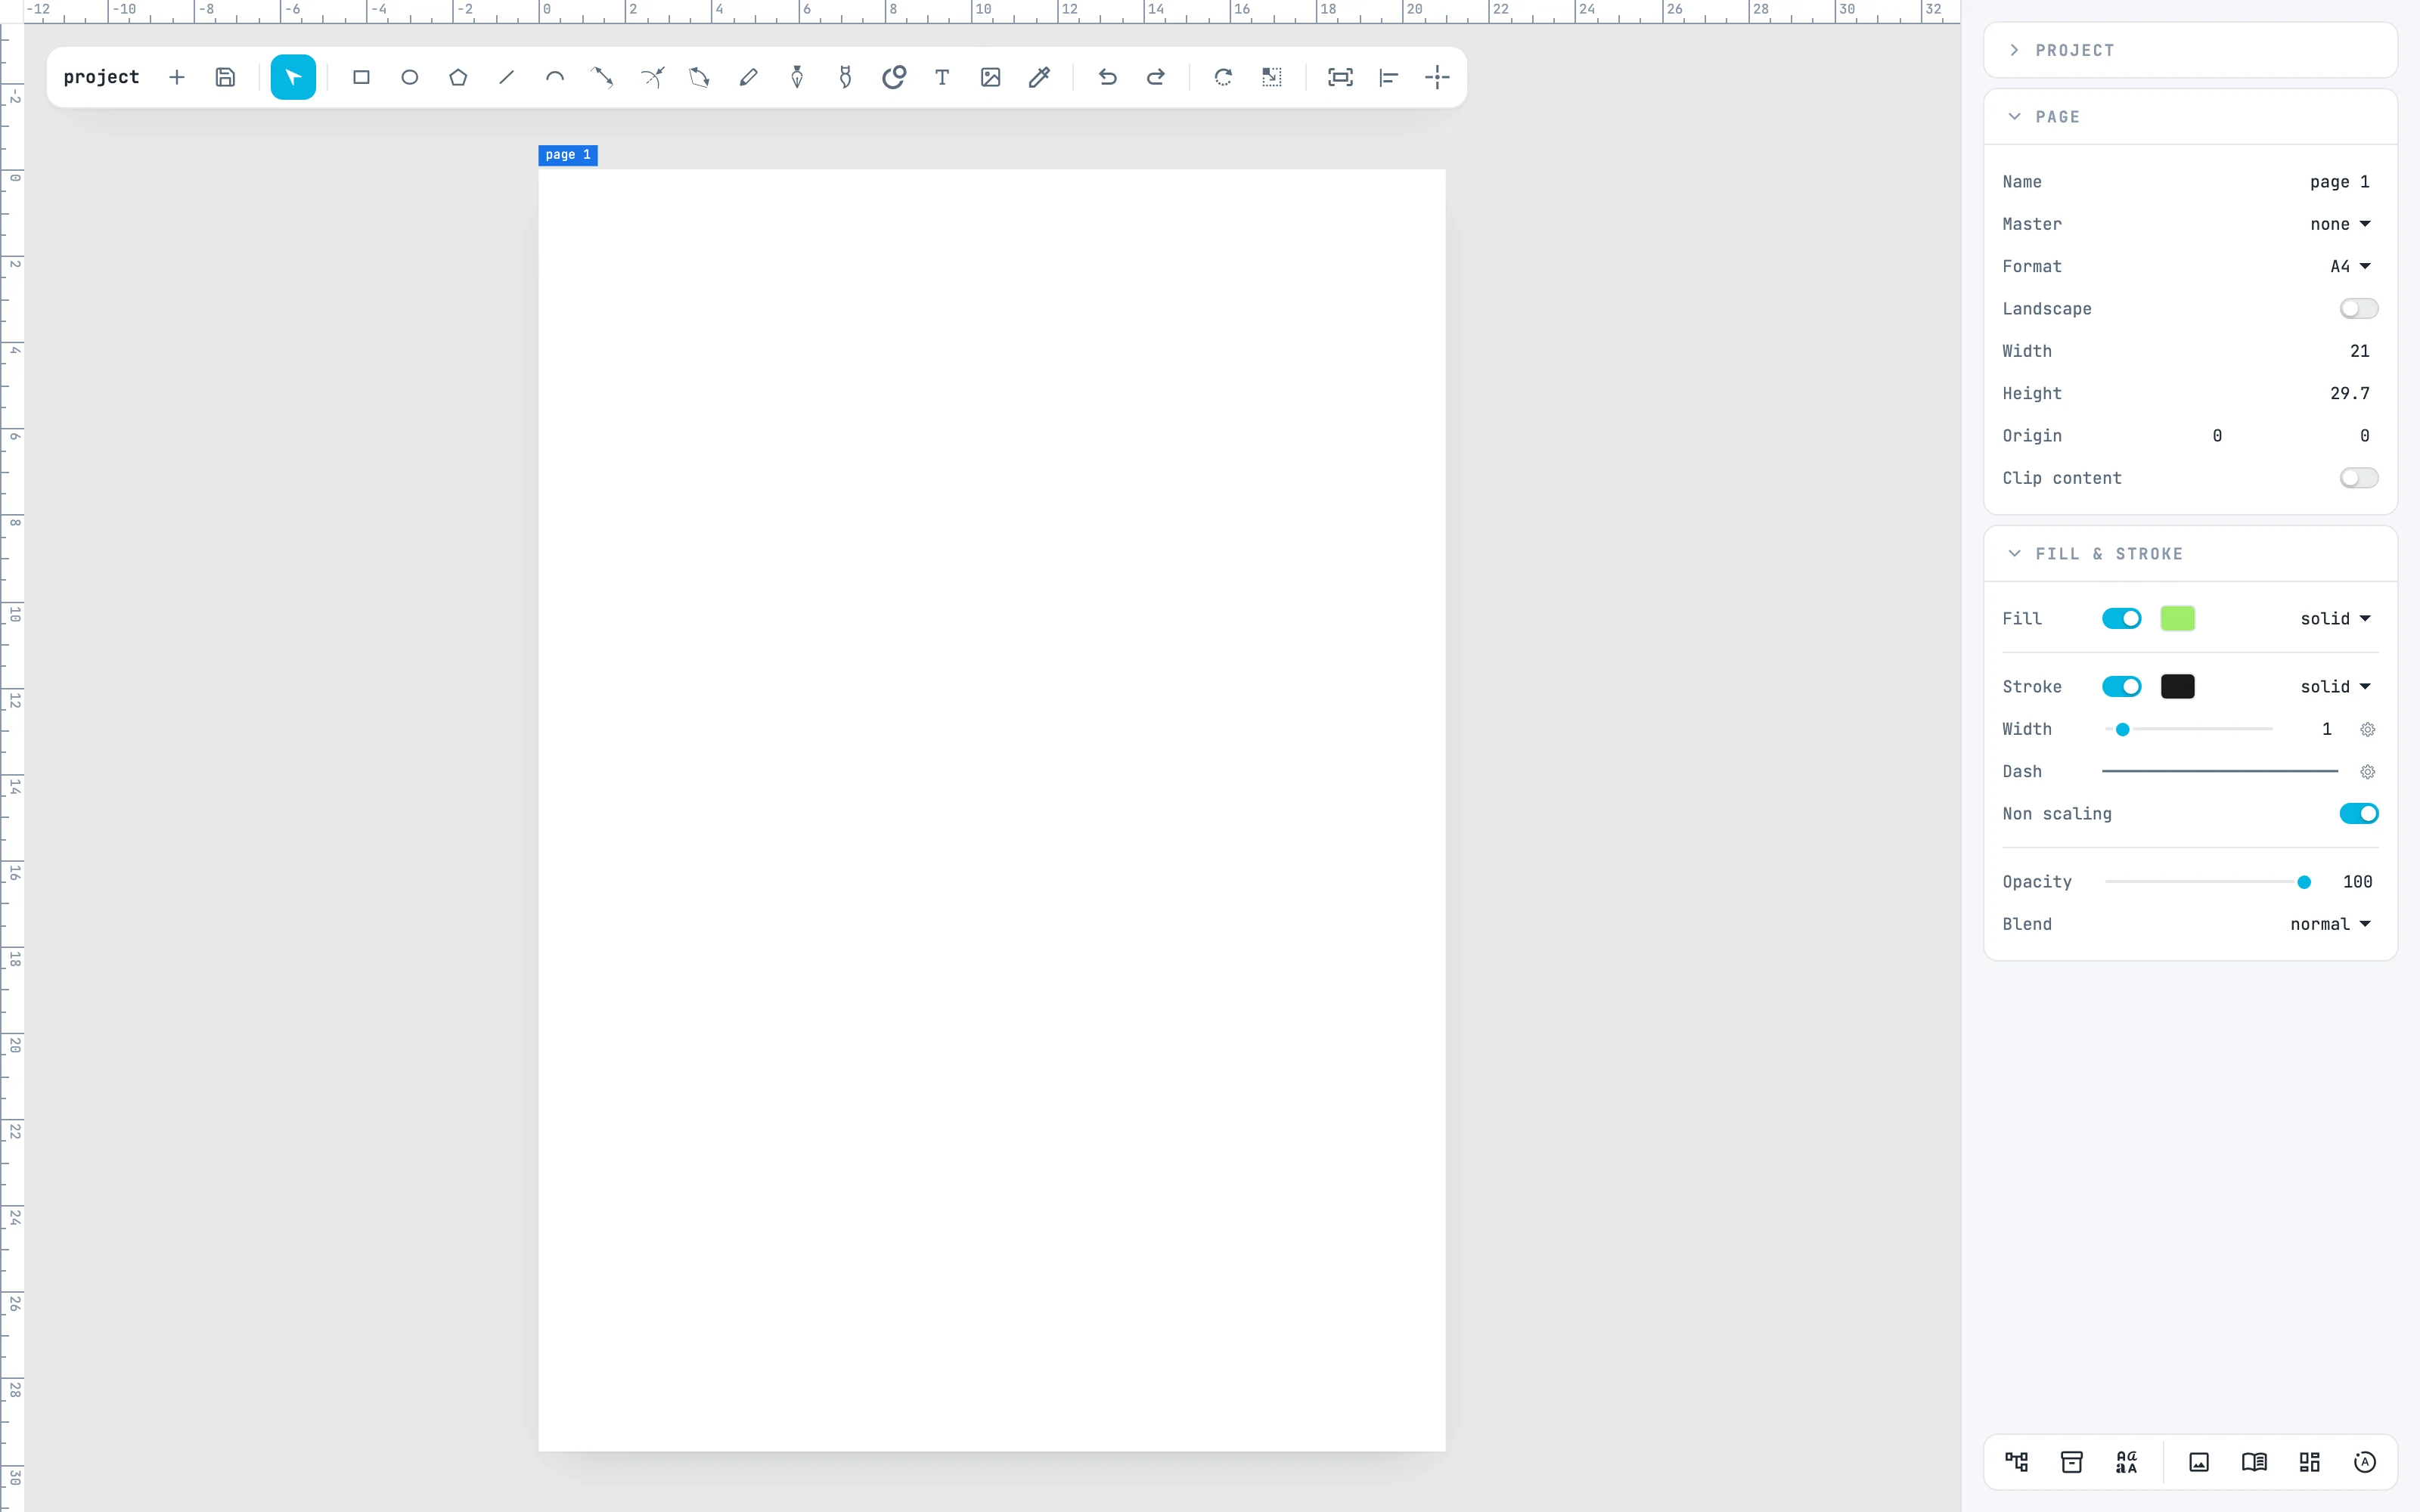
Open the editor: there is already a portrait A4 sheet, framed. Measurements are in centimeters, and the rulers count from the corner of the page.
2 · The outline with the pen
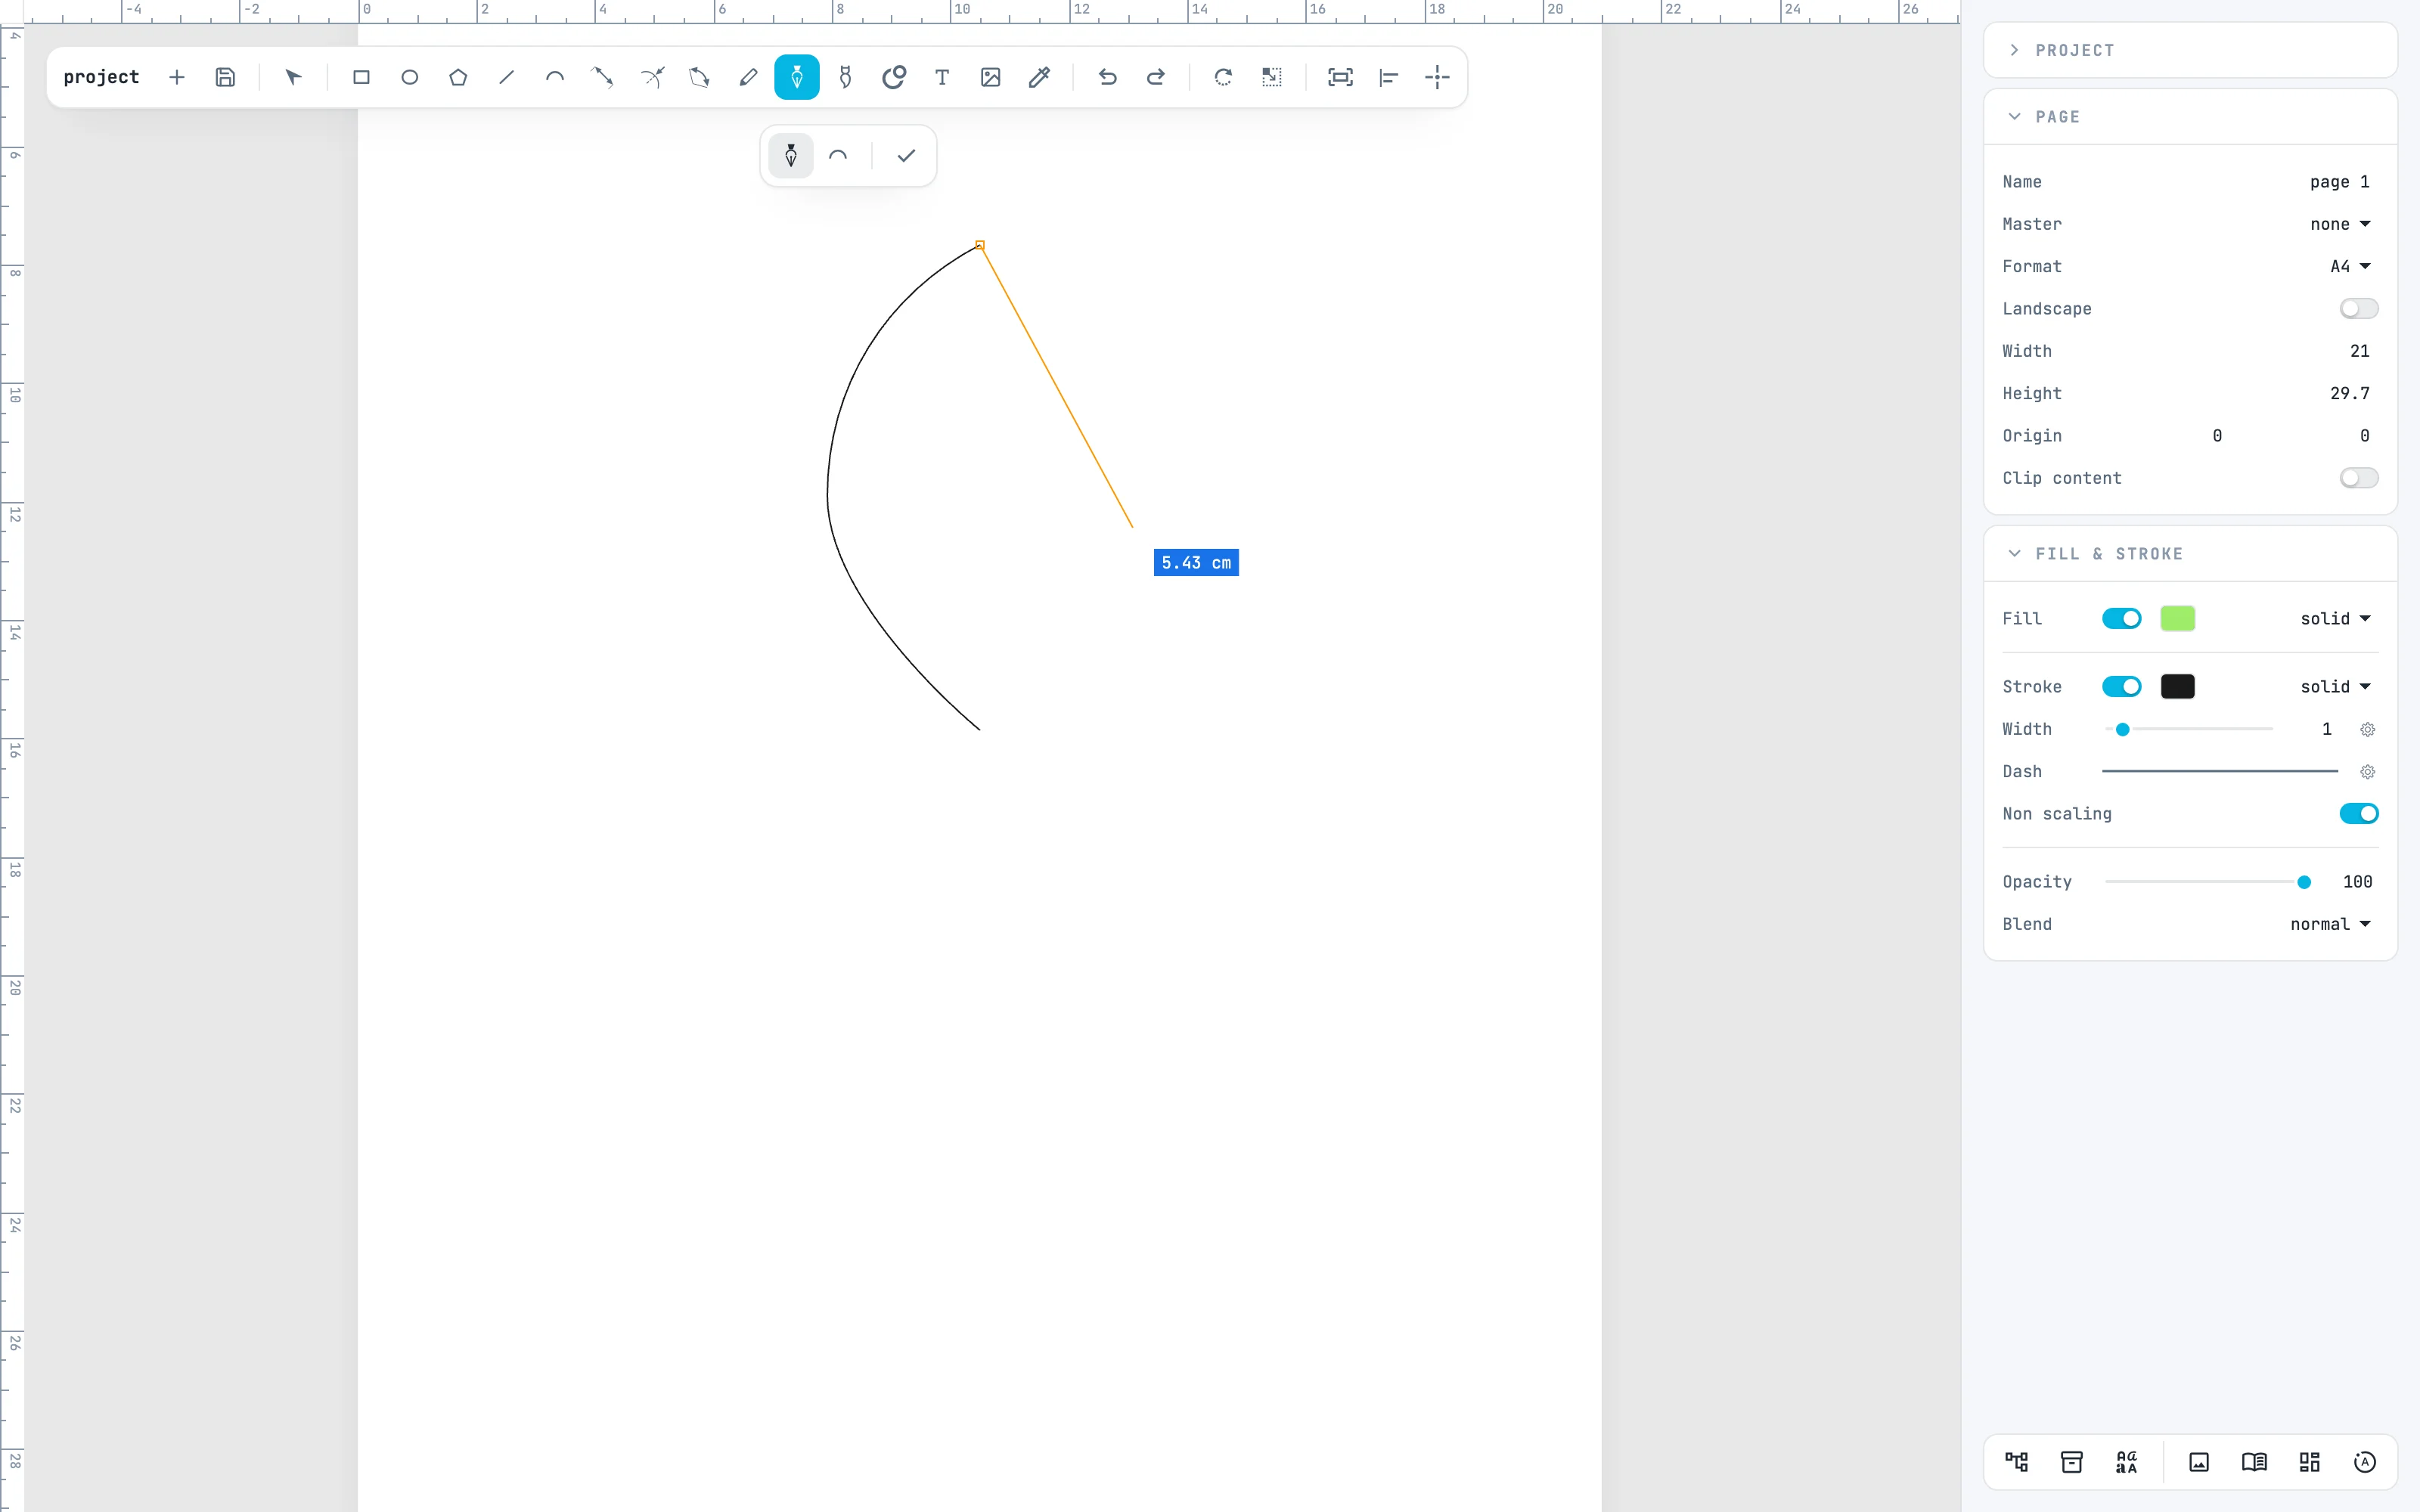
Take the Pen tool (P) and draw the outline in five gestures:
- a click on the base of the leaf: it is a corner point;
- halfway up the left side, press and drag upward: the point is created smooth and the curve follows it;
- a click on the tip, and another click on the same point: you break the curve, and the tip stays sharp;
- halfway down the right side, press and drag downward;
- a click on the base: the path closes, and you get the arrow back with the leaf selected.
3 · Refine the points
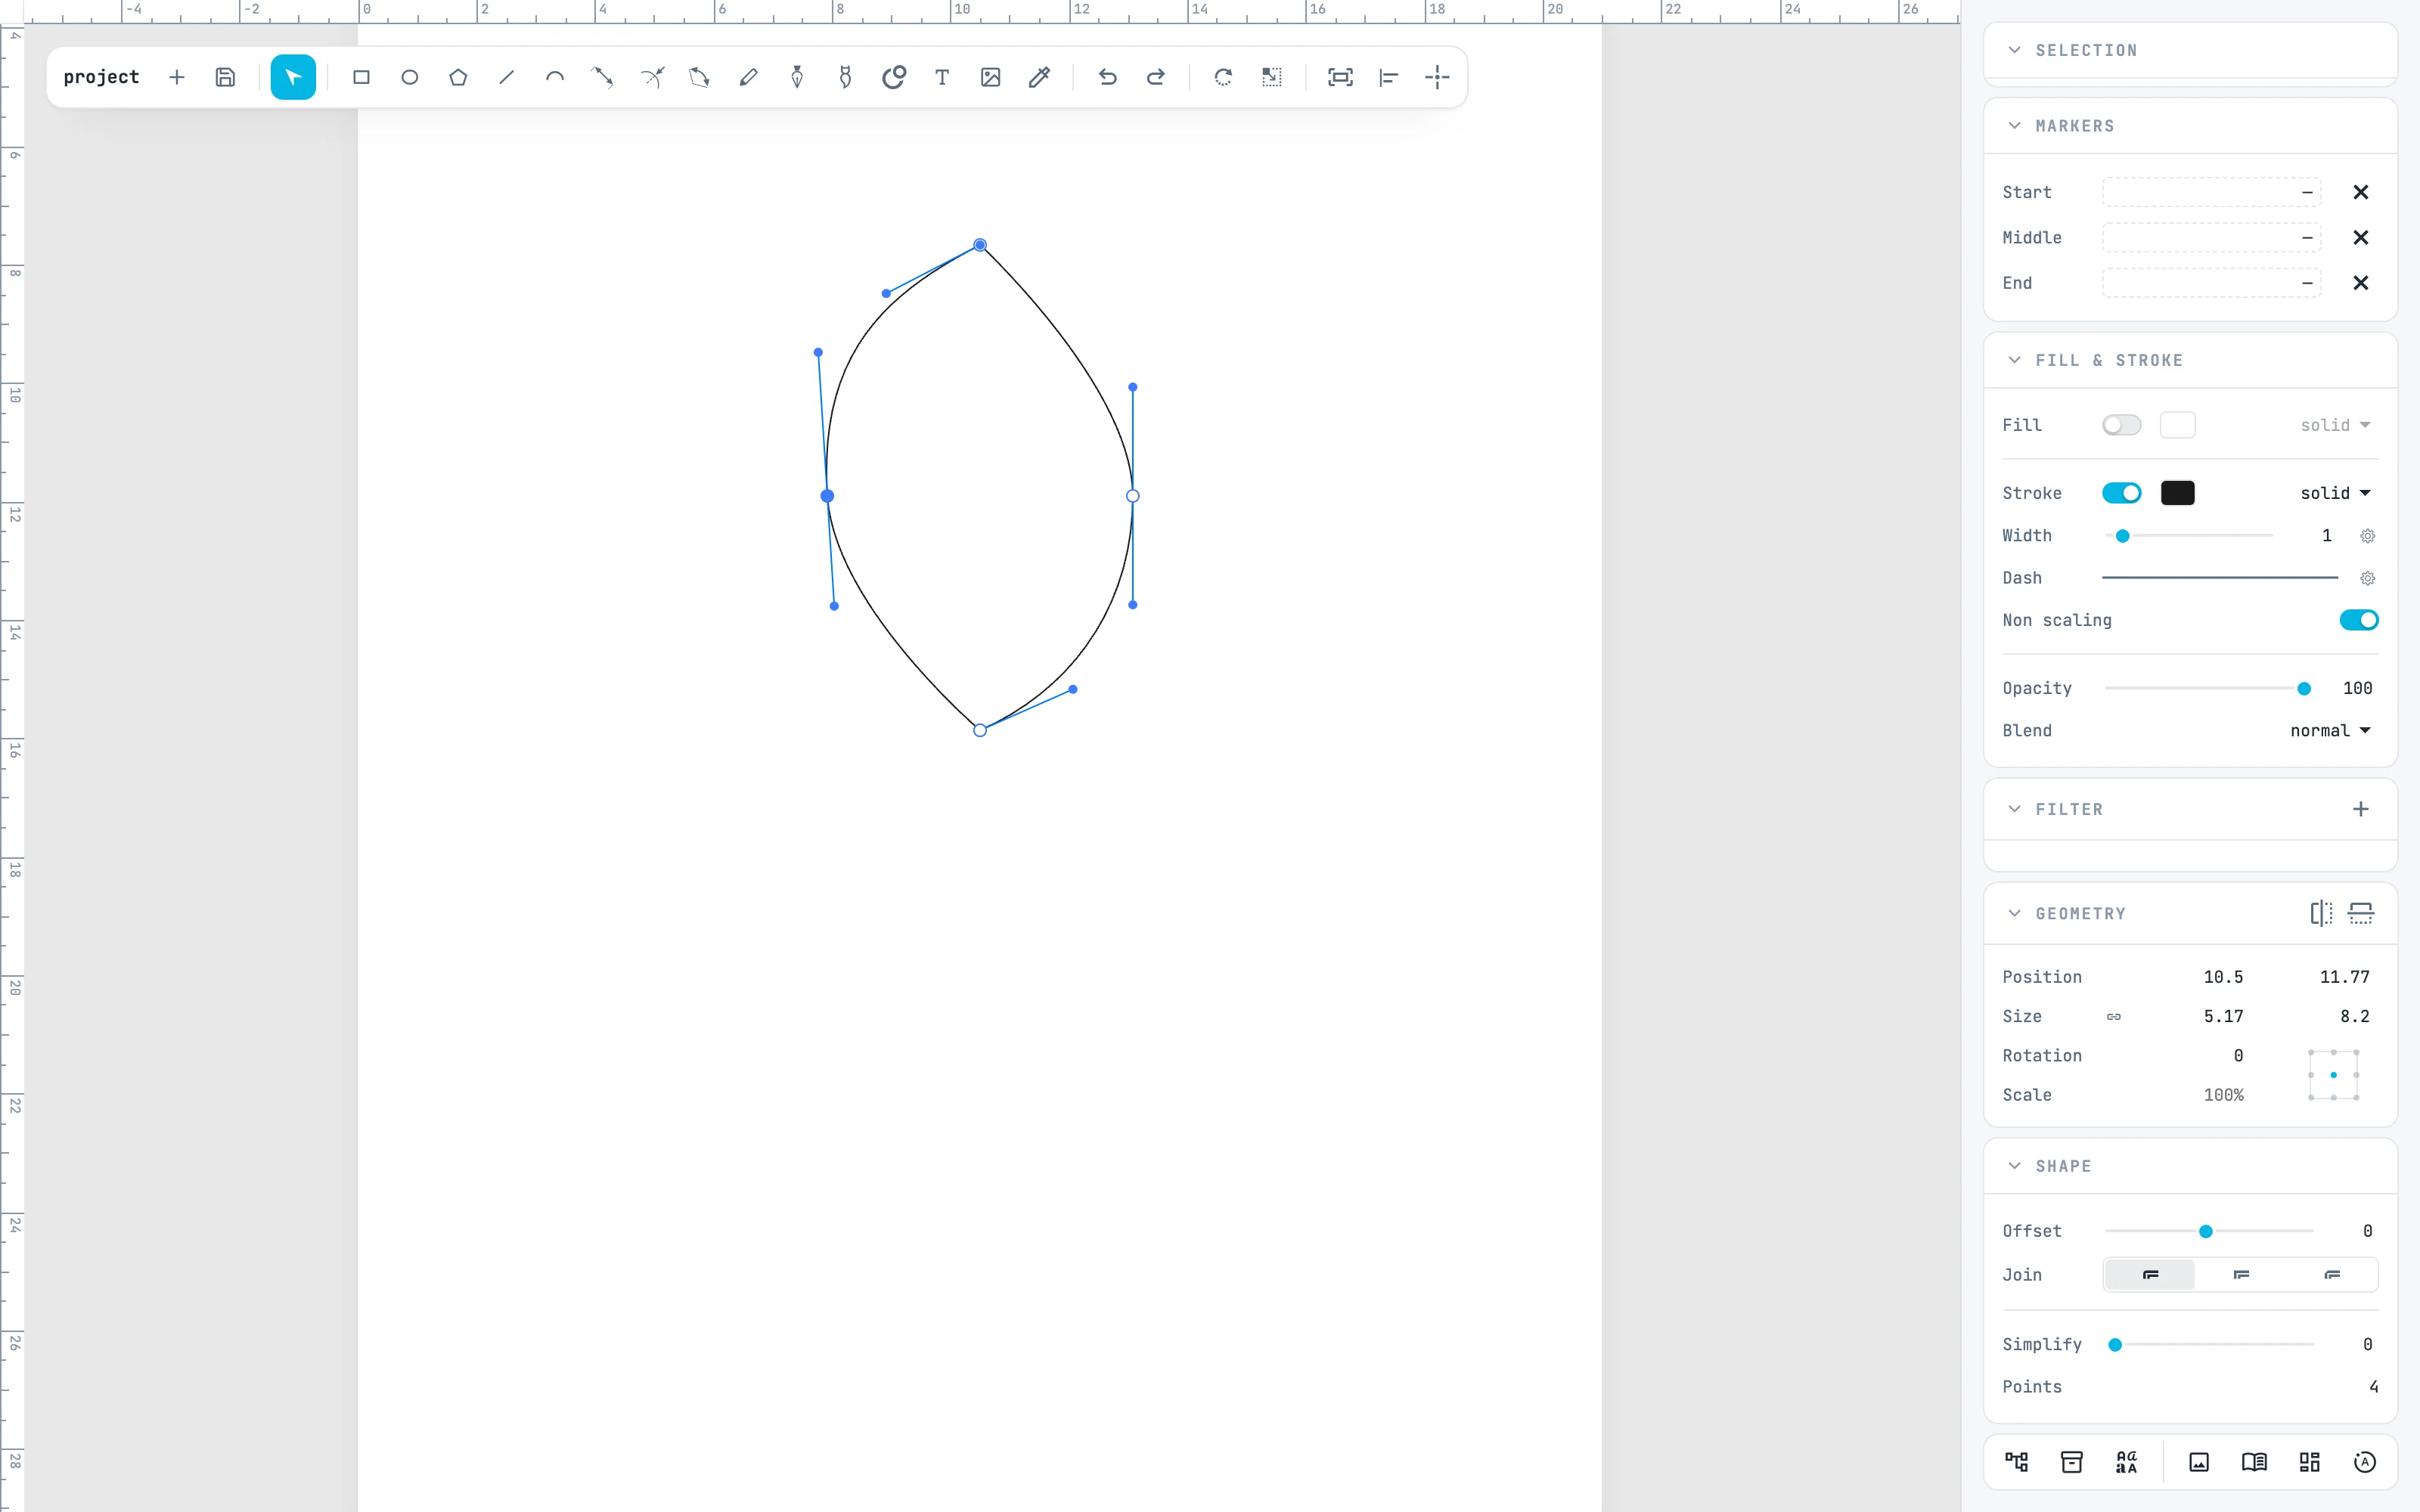
Double-click the outline: the anchor points appear. Click the point on the left side and drag one of its direction handles: the side swells, and the opposite handle stays aligned because the point is smooth. To exit, Esc or a click on an empty area. See Editing anchor points.
4 · A gradient fill
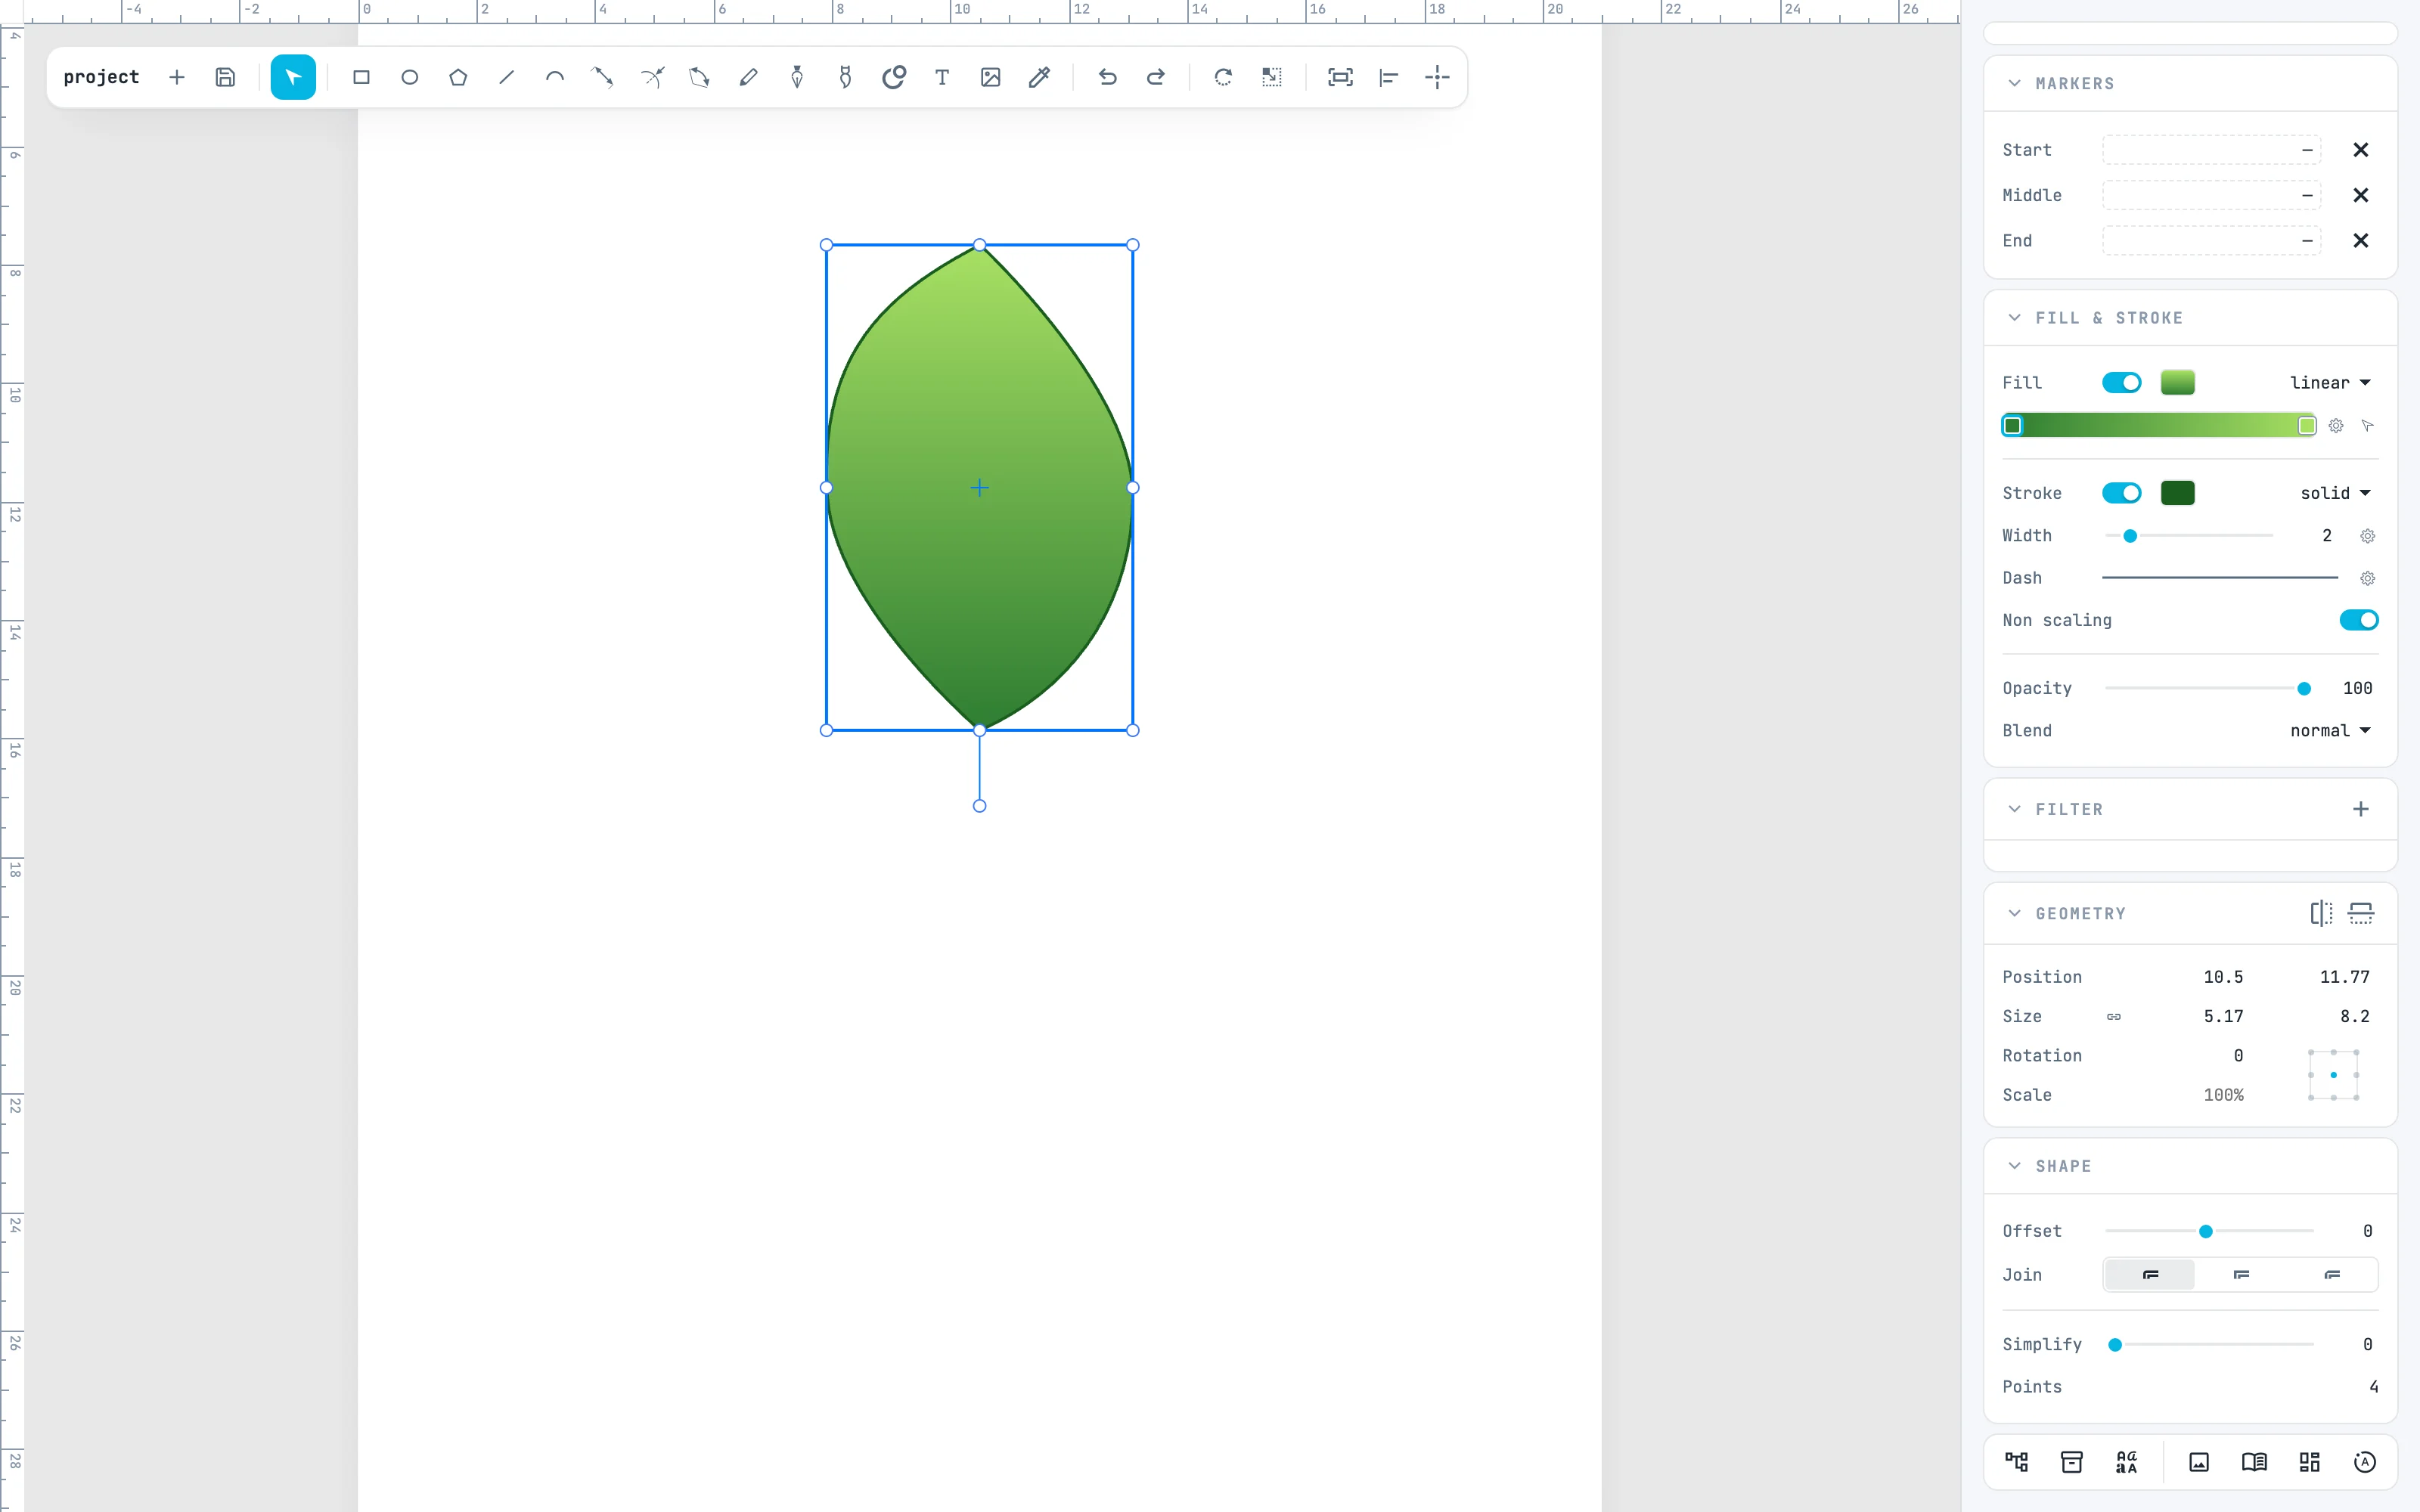
With the leaf selected, in the Fill & stroke panel turn on Fill and choose linear in its menu: the gradient strip appears below. Click a mark on the strip to choose its color — here a dark green at the base and a light one at the tip —; the first button next to the strip opens the angle wheel. Give the stroke (Stroke) a dark green and Width 2. See Gradients.
5 · The vein with the brush
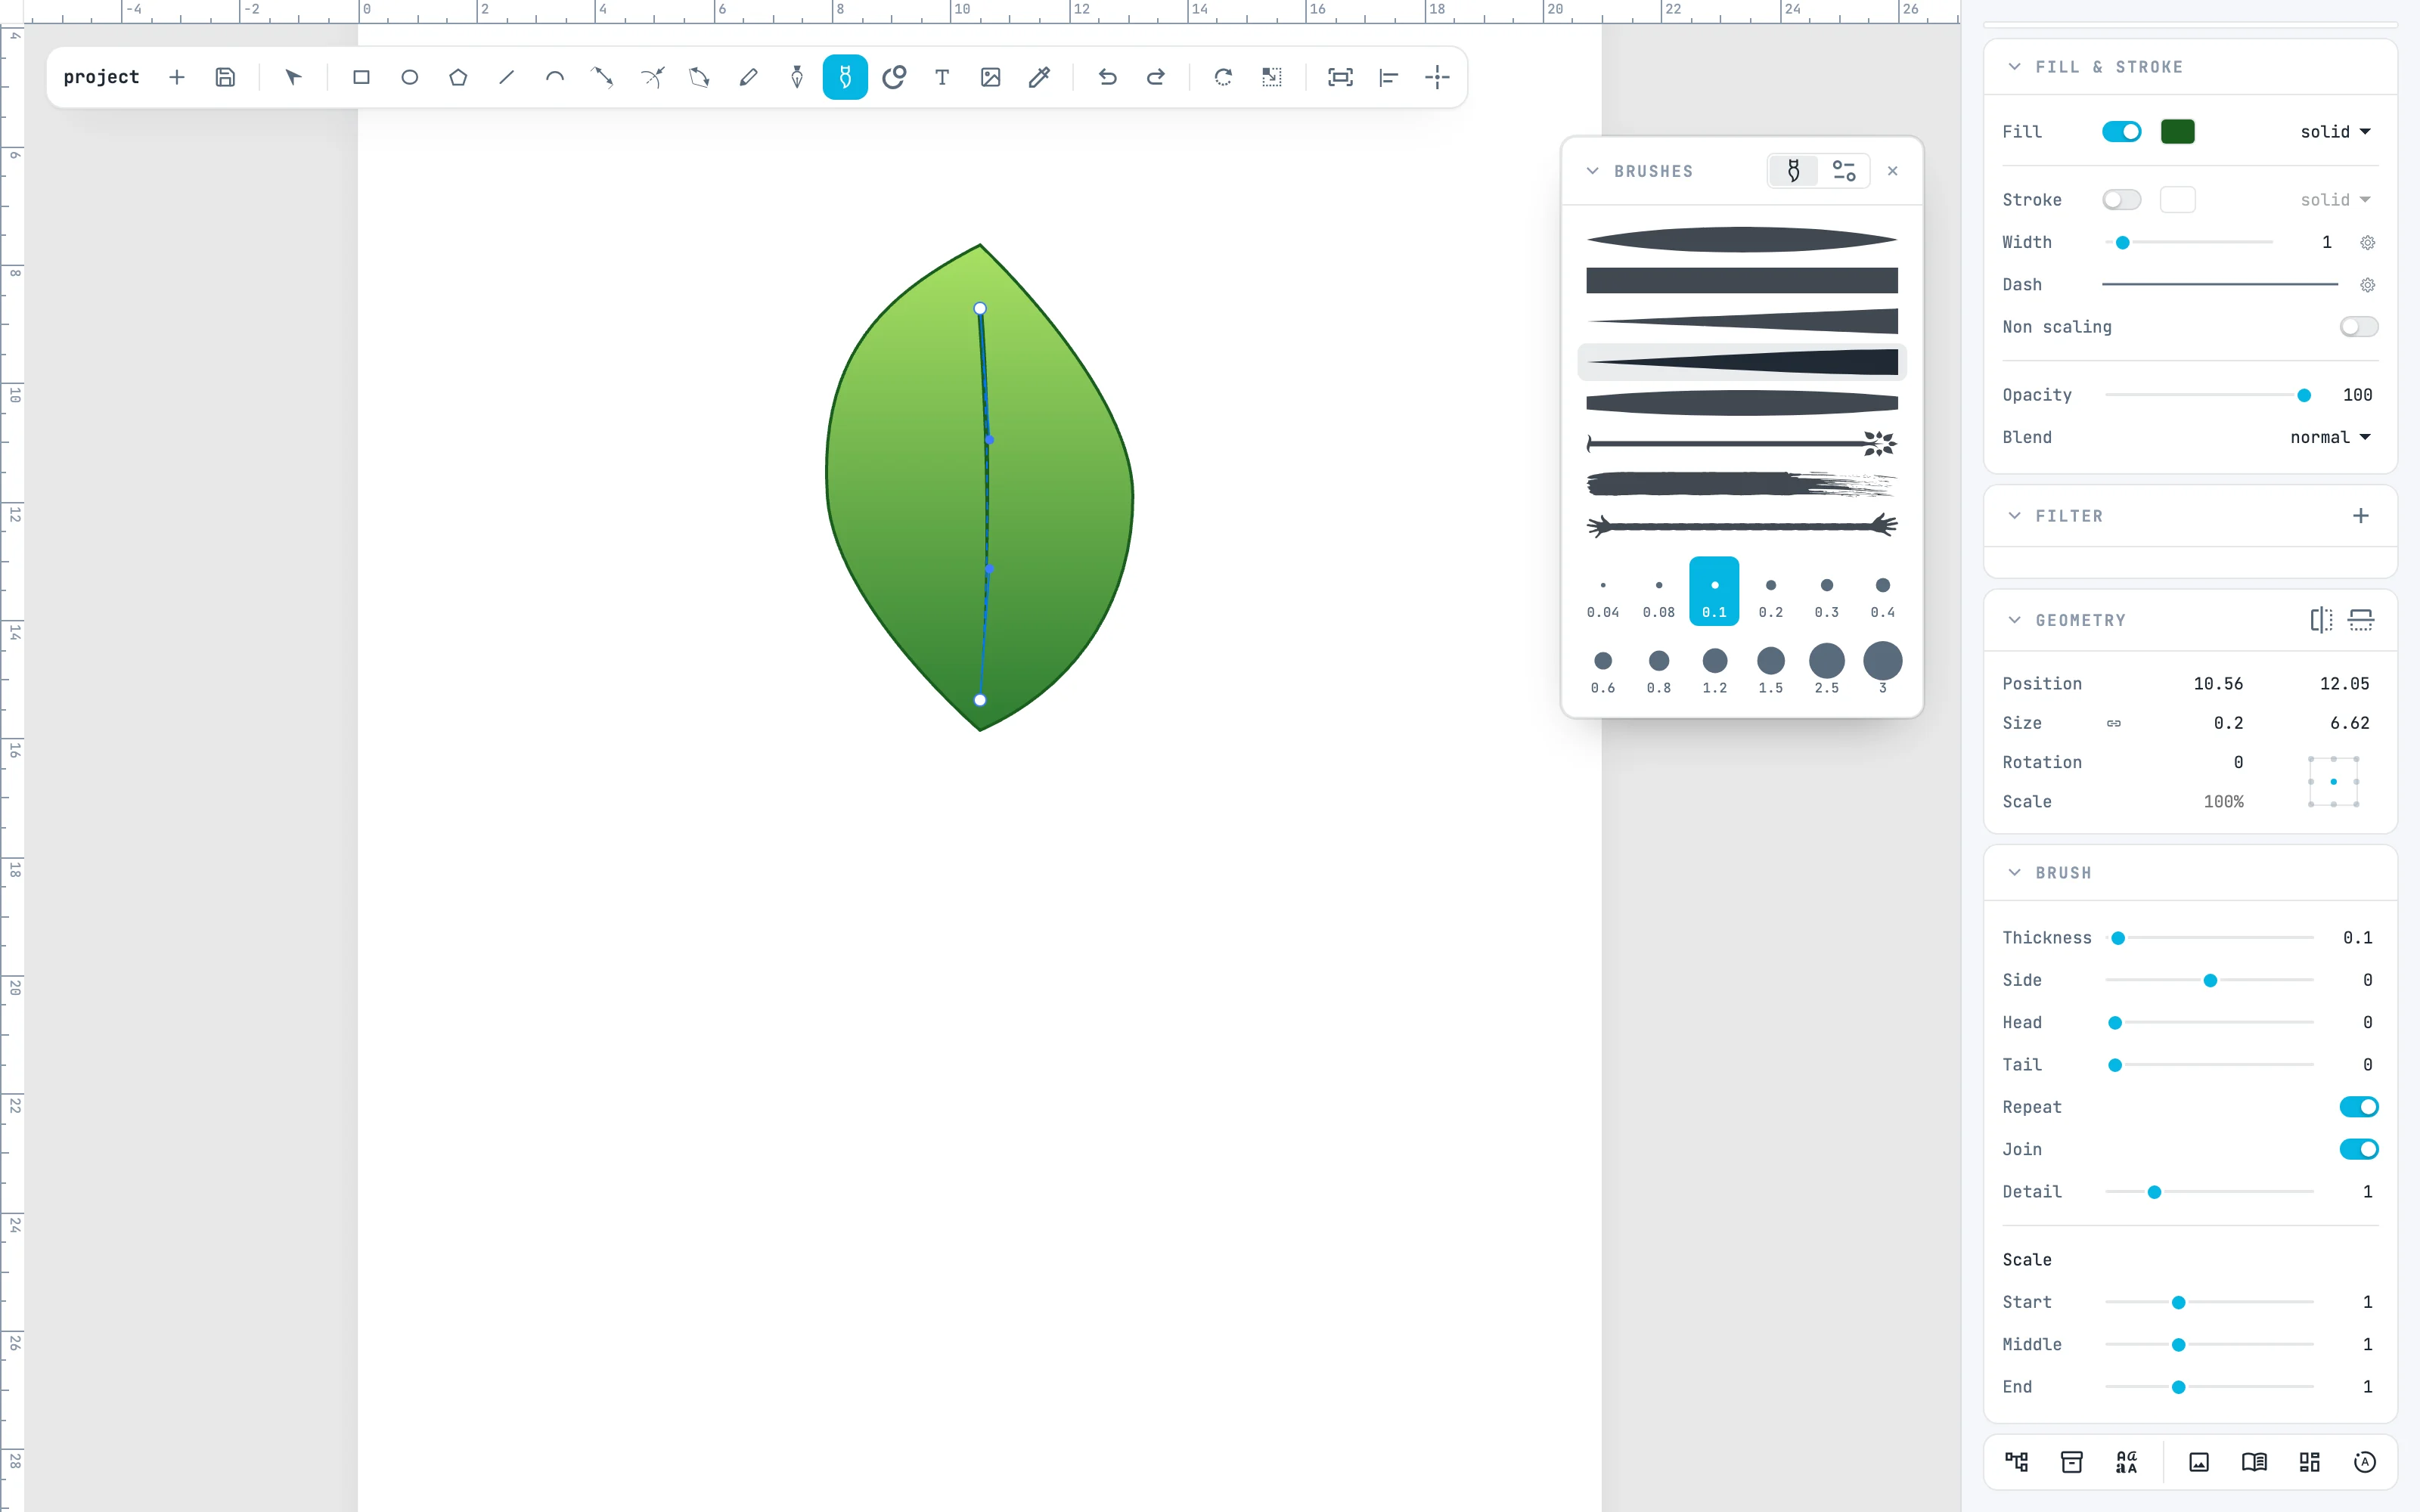
Click an empty area: with nothing selected, the Fill & stroke panel shows the style you draw with; give it a dark green stroke. Take the Brush tool (B): the Brushes panel opens. Choose a brush from the list and a fine width from the grid below (here 0.1 cm), then draw the vein from the base toward the tip. The stroke takes the stroke color. See Brush.
6 · A wreath with the radial array
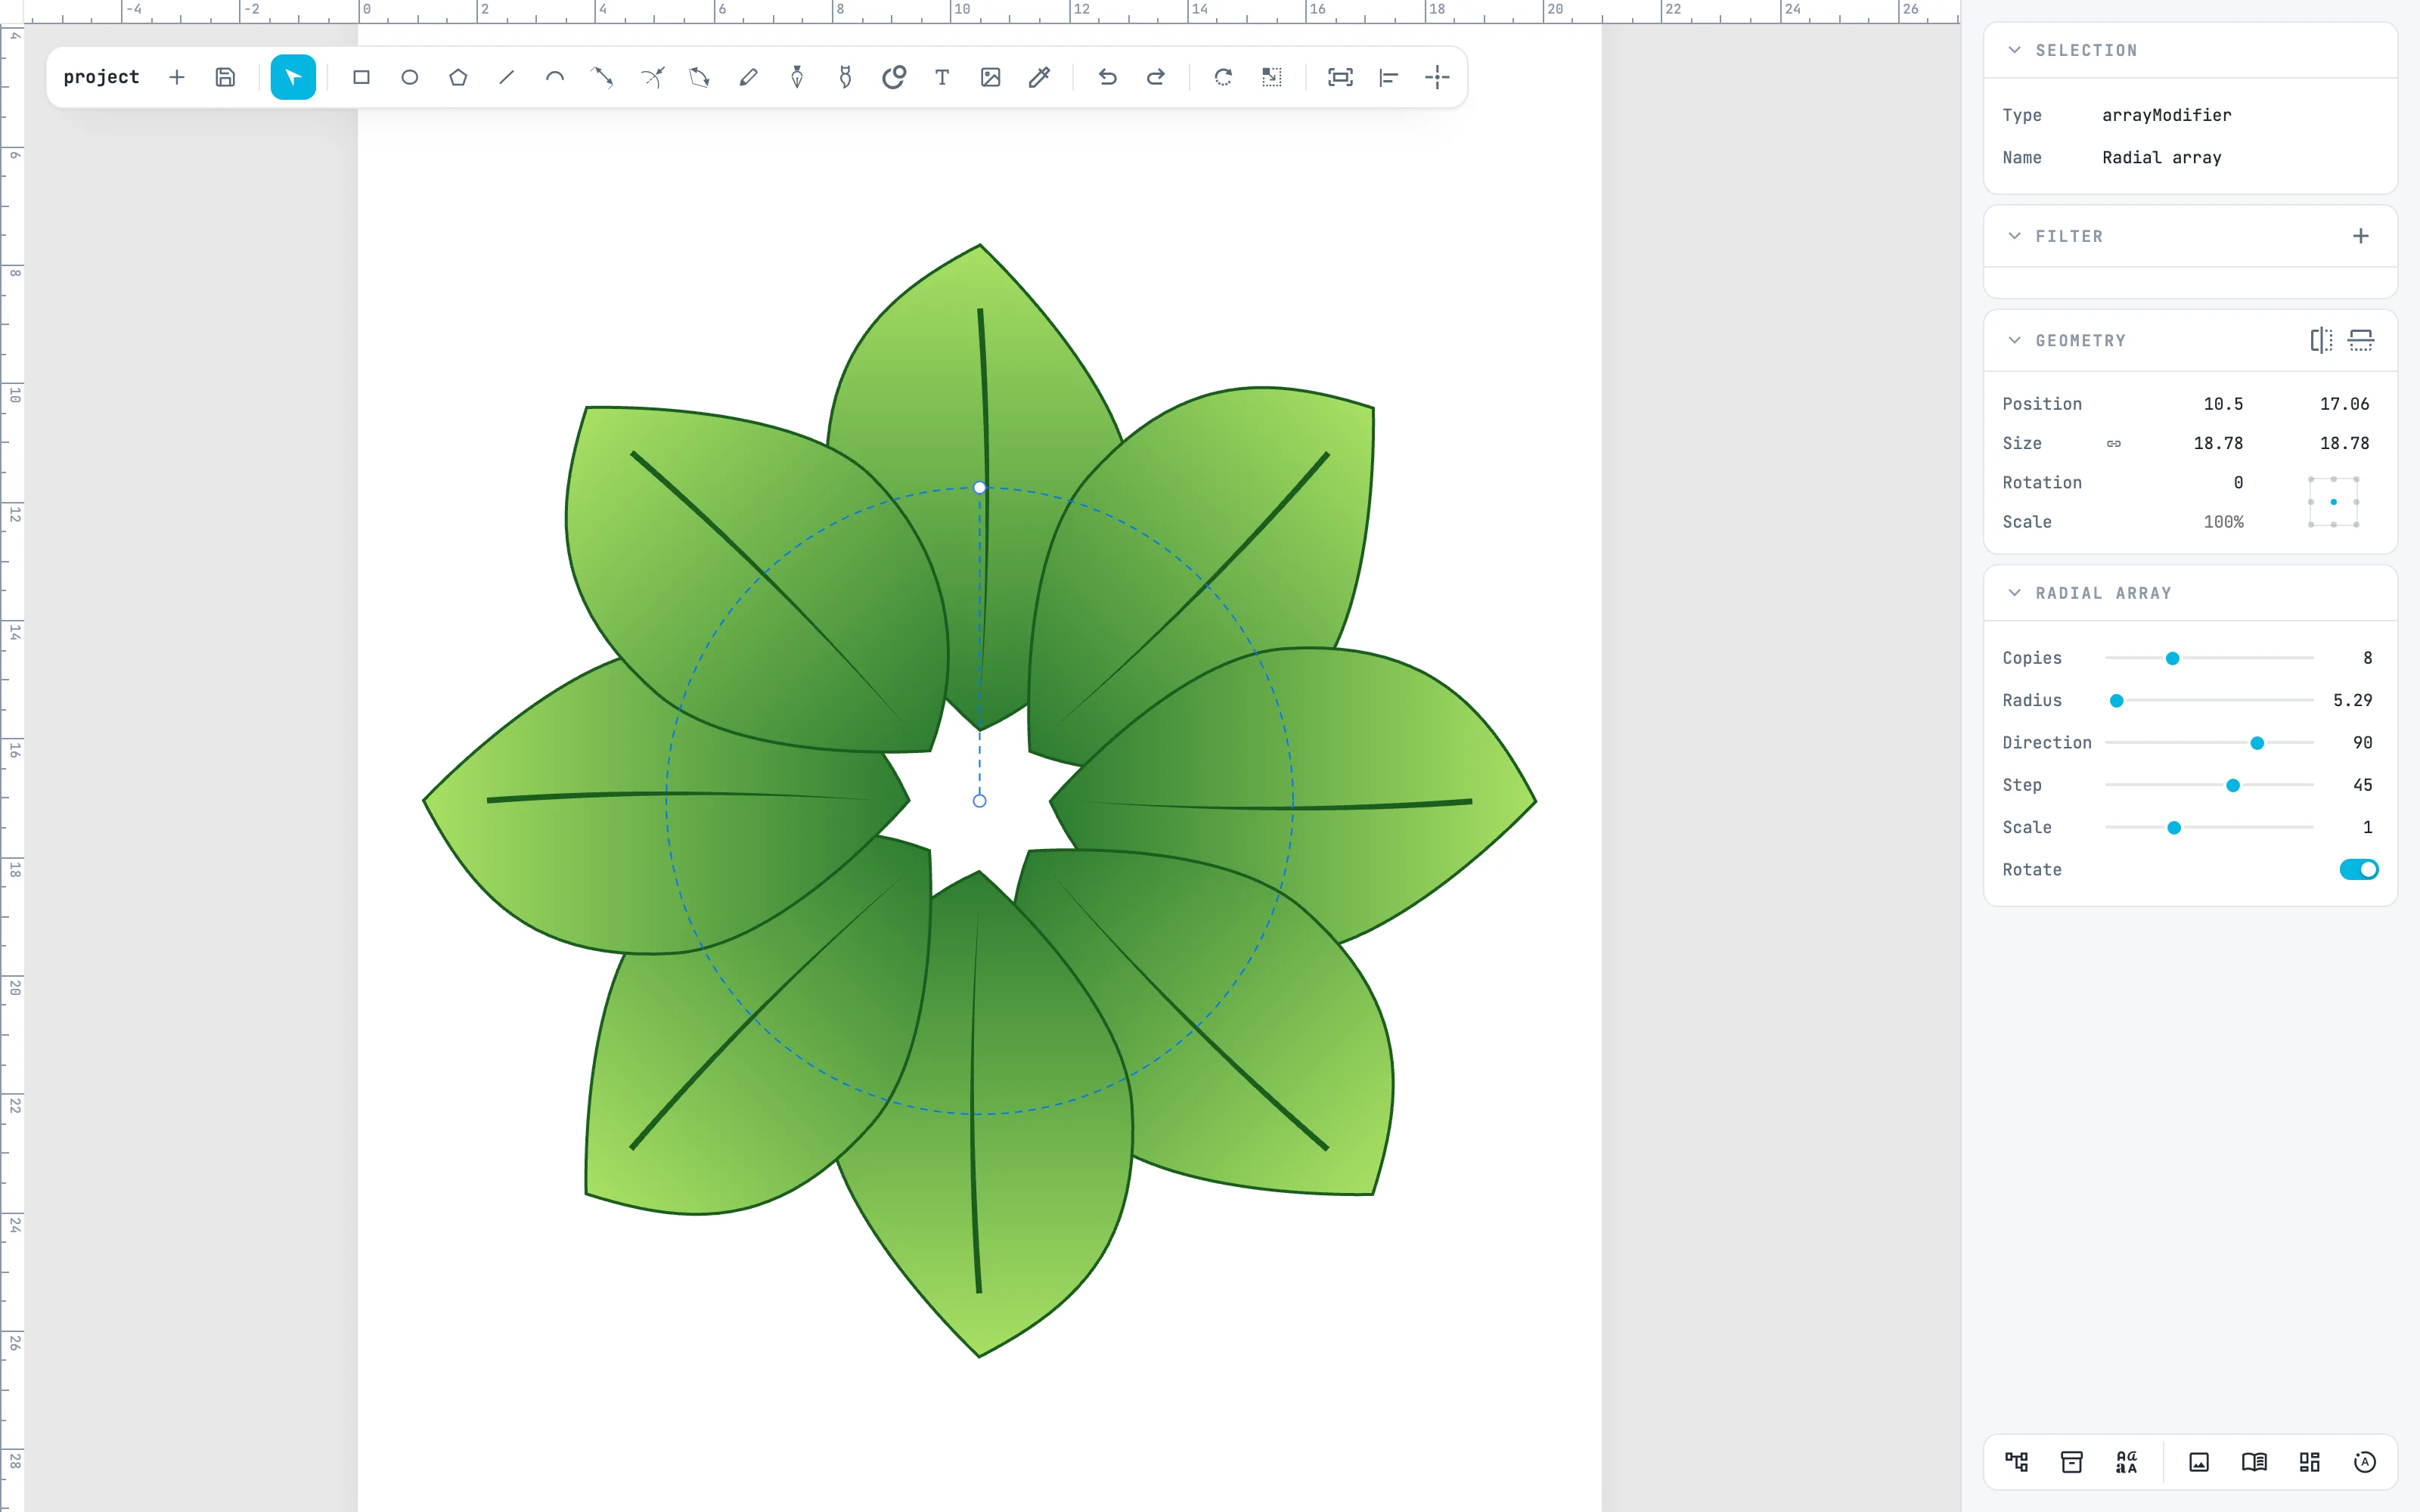
Take the arrow (V) and select the leaf and the vein (⇧ + click). Group them with ⌘ G. Then right-click menu › Modifiers › Radial array: 6 copies appear at 60°. In the Radial array panel enter Copies 8 and Step 45, move the reference point below the base with Direction 90 and adjust Radius. See Arrays.
7 · Export to SVG
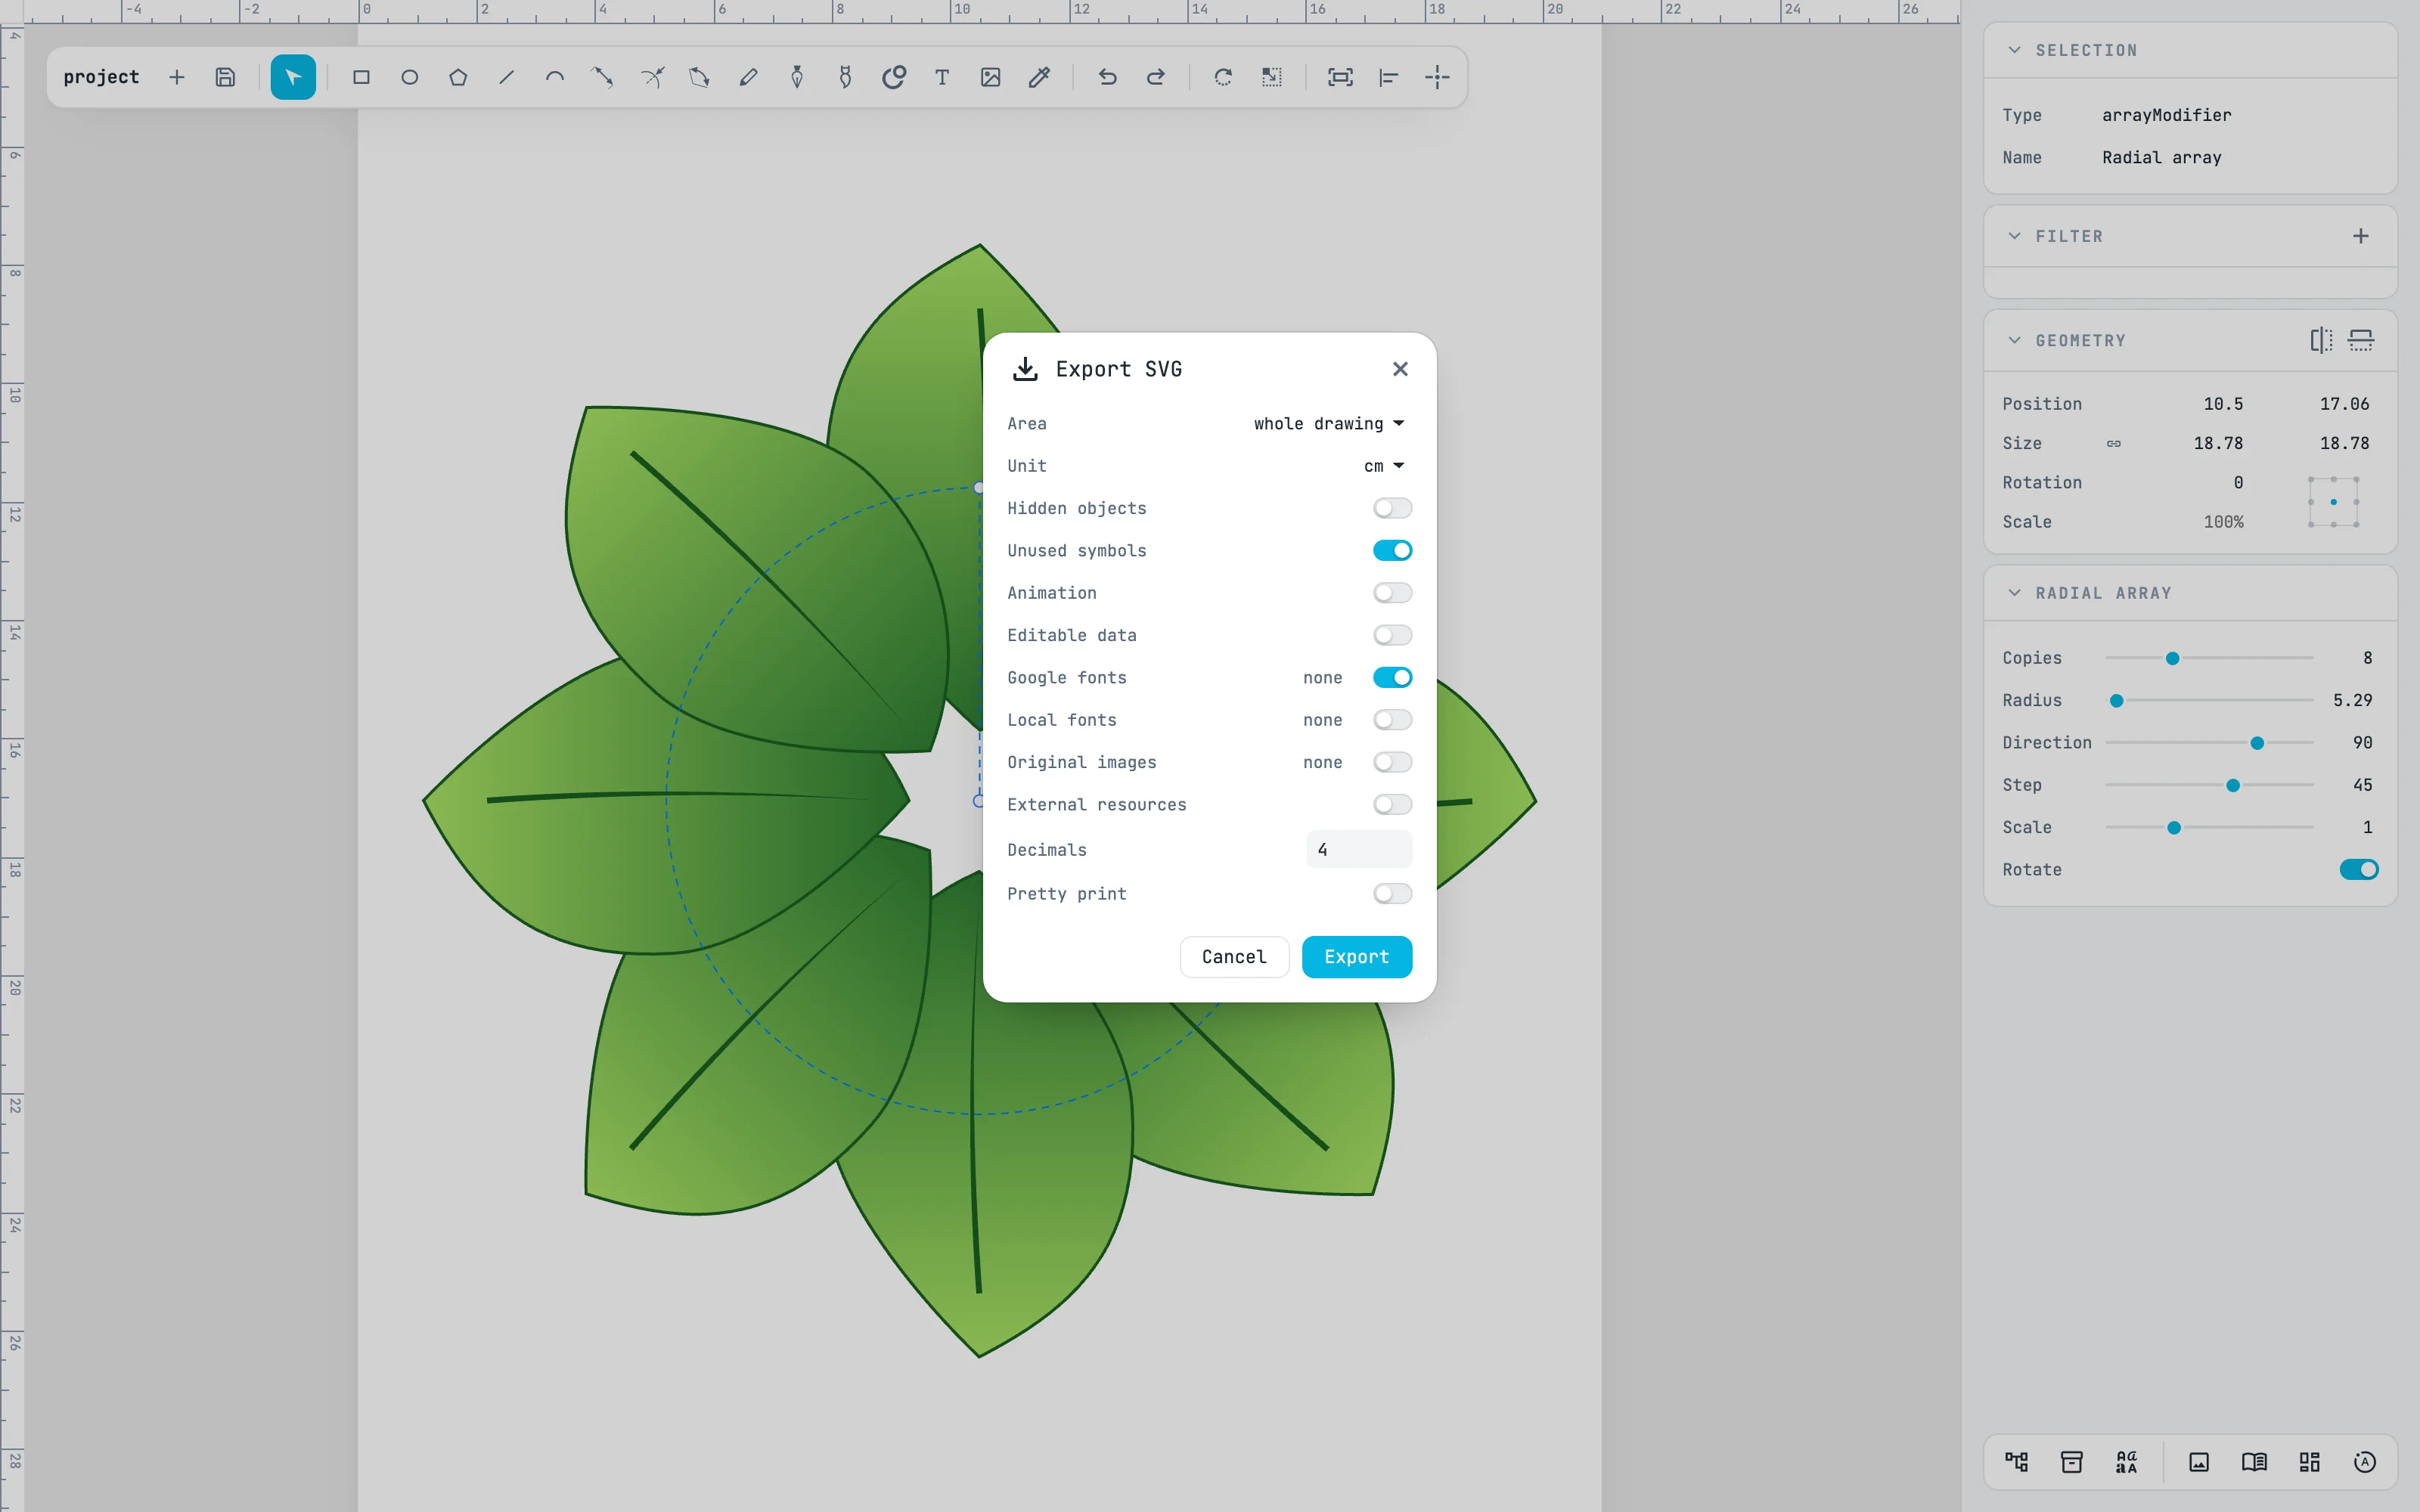
From the open and save button, Export SVG…: choose the area and the file unit, then Export. The array is written as a group of shapes and the gradient as a real SVG gradient: the file opens in any browser and in other editors. See Exporting SVG.
Going further
Every step has its page in the guide: the Pen tool, anchor points, gradients, the Brush tool, arrays and exporting to SVG.