
Lay out a price list
A master page, the page number, new pages from the master, a table and printing
You prepare a price list on several pages. You draw the header and the page number only once, on a master page; every page receives them from there. The list sits in a table, and at the end you print it.
1 · A master page
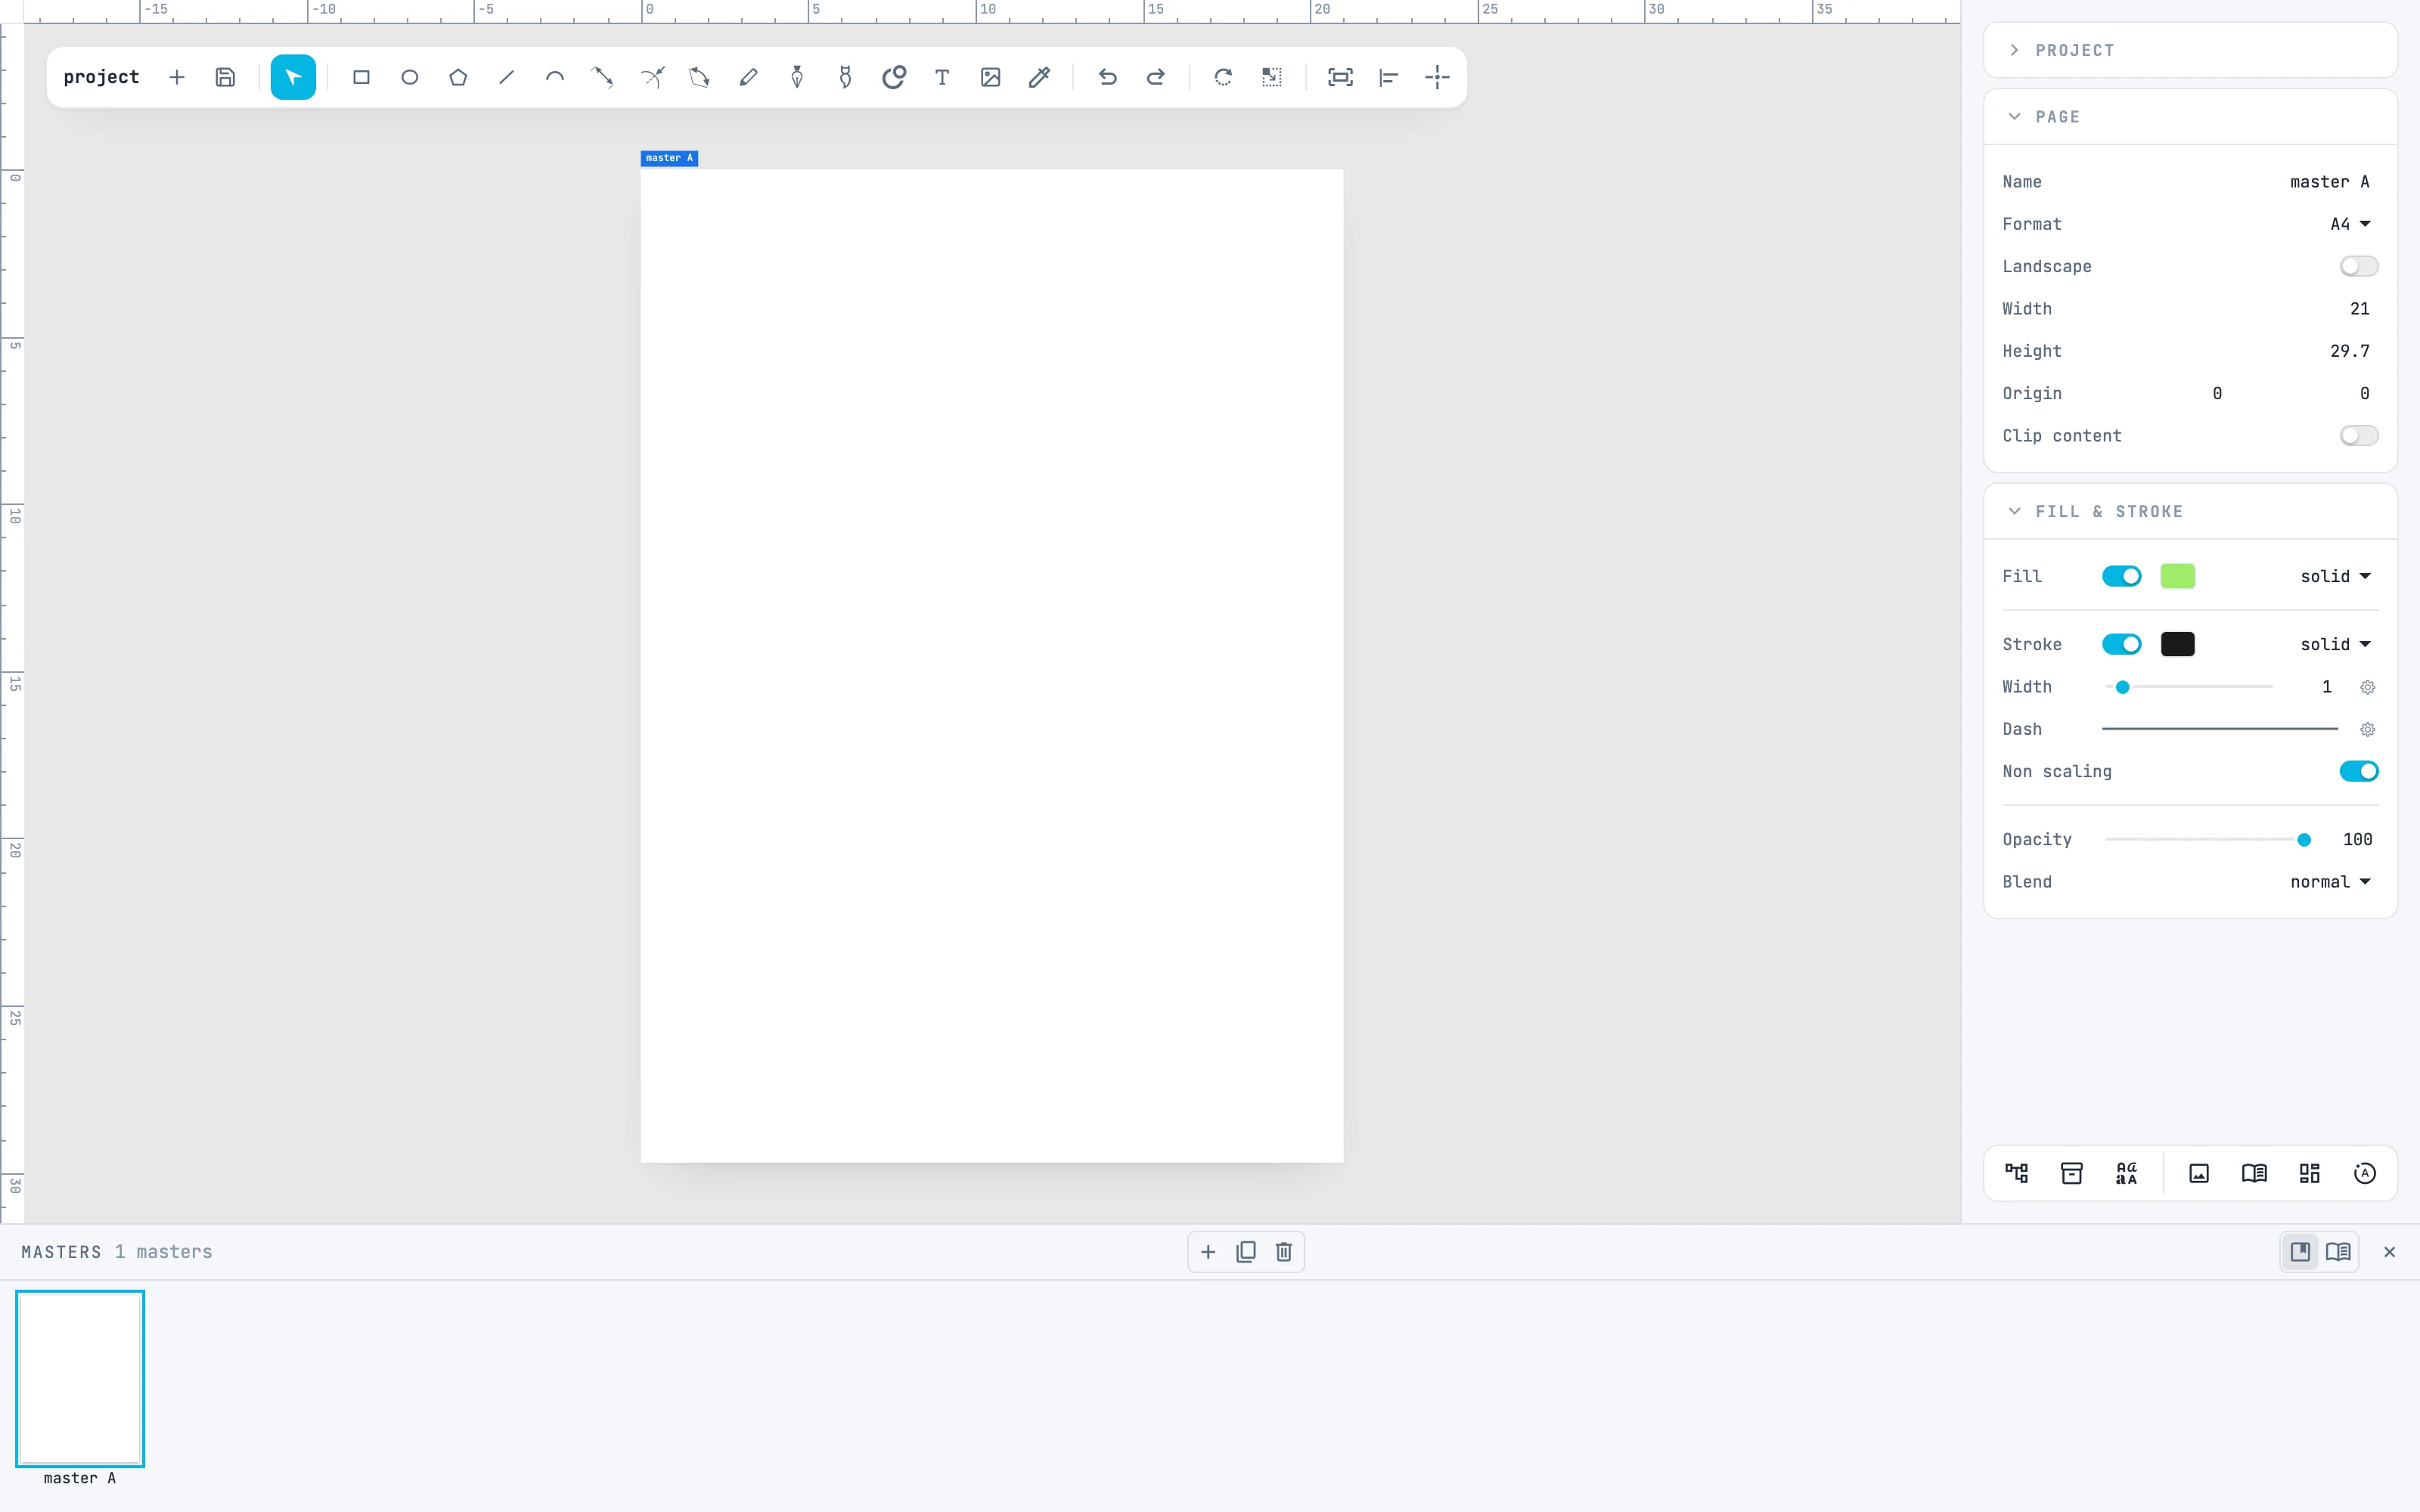
Open the Pages panel from the pages button of the bar at the bottom of the inspectors. On the right of its header, the masters button puts the masters in place of the pages; the + creates "master A", the size of the active page, above the pages. With the Masters panel open, the canvas shows only the masters.
2 · Draw on the master
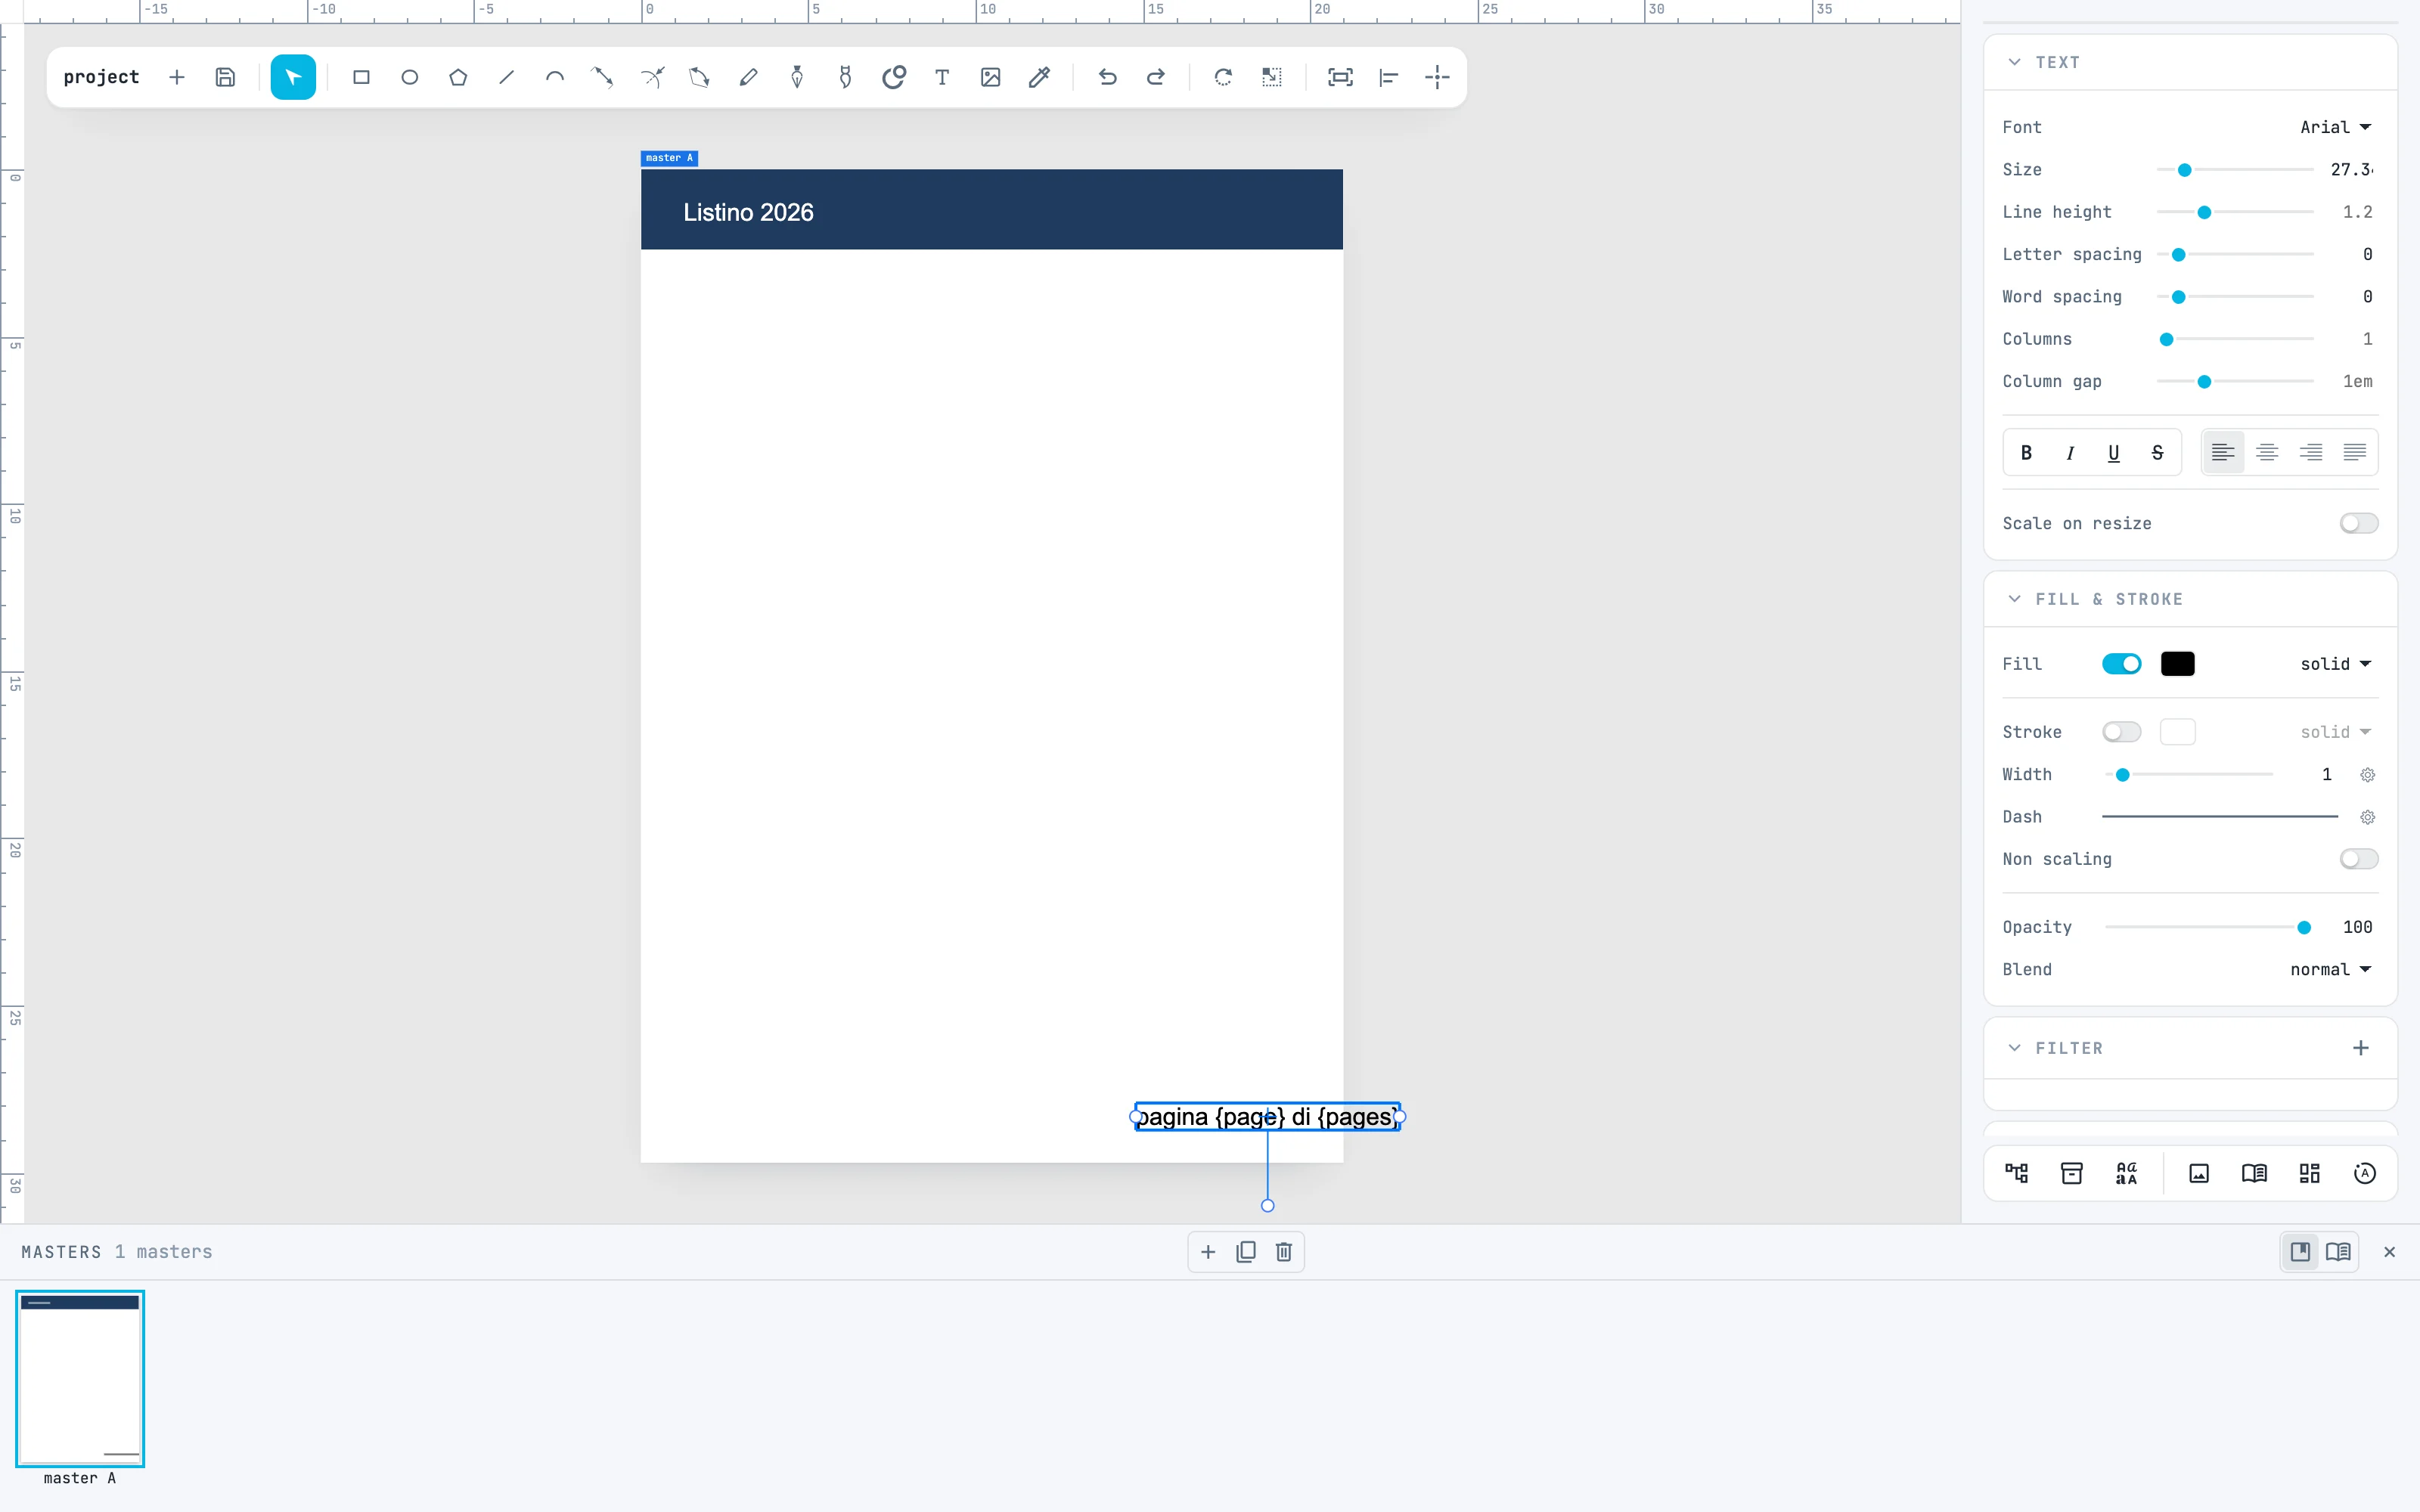
With the Rectangle tool (R) drag a band at the top, as wide as the sheet, and give it a color in the Fill & stroke panel. With the Type tool (T) click on the band, write the title and make it white. At the bottom right write pagina {page} di {pages}: on the master the placeholders stay, in every page they become its number and the total.
3 · Give the master to the page
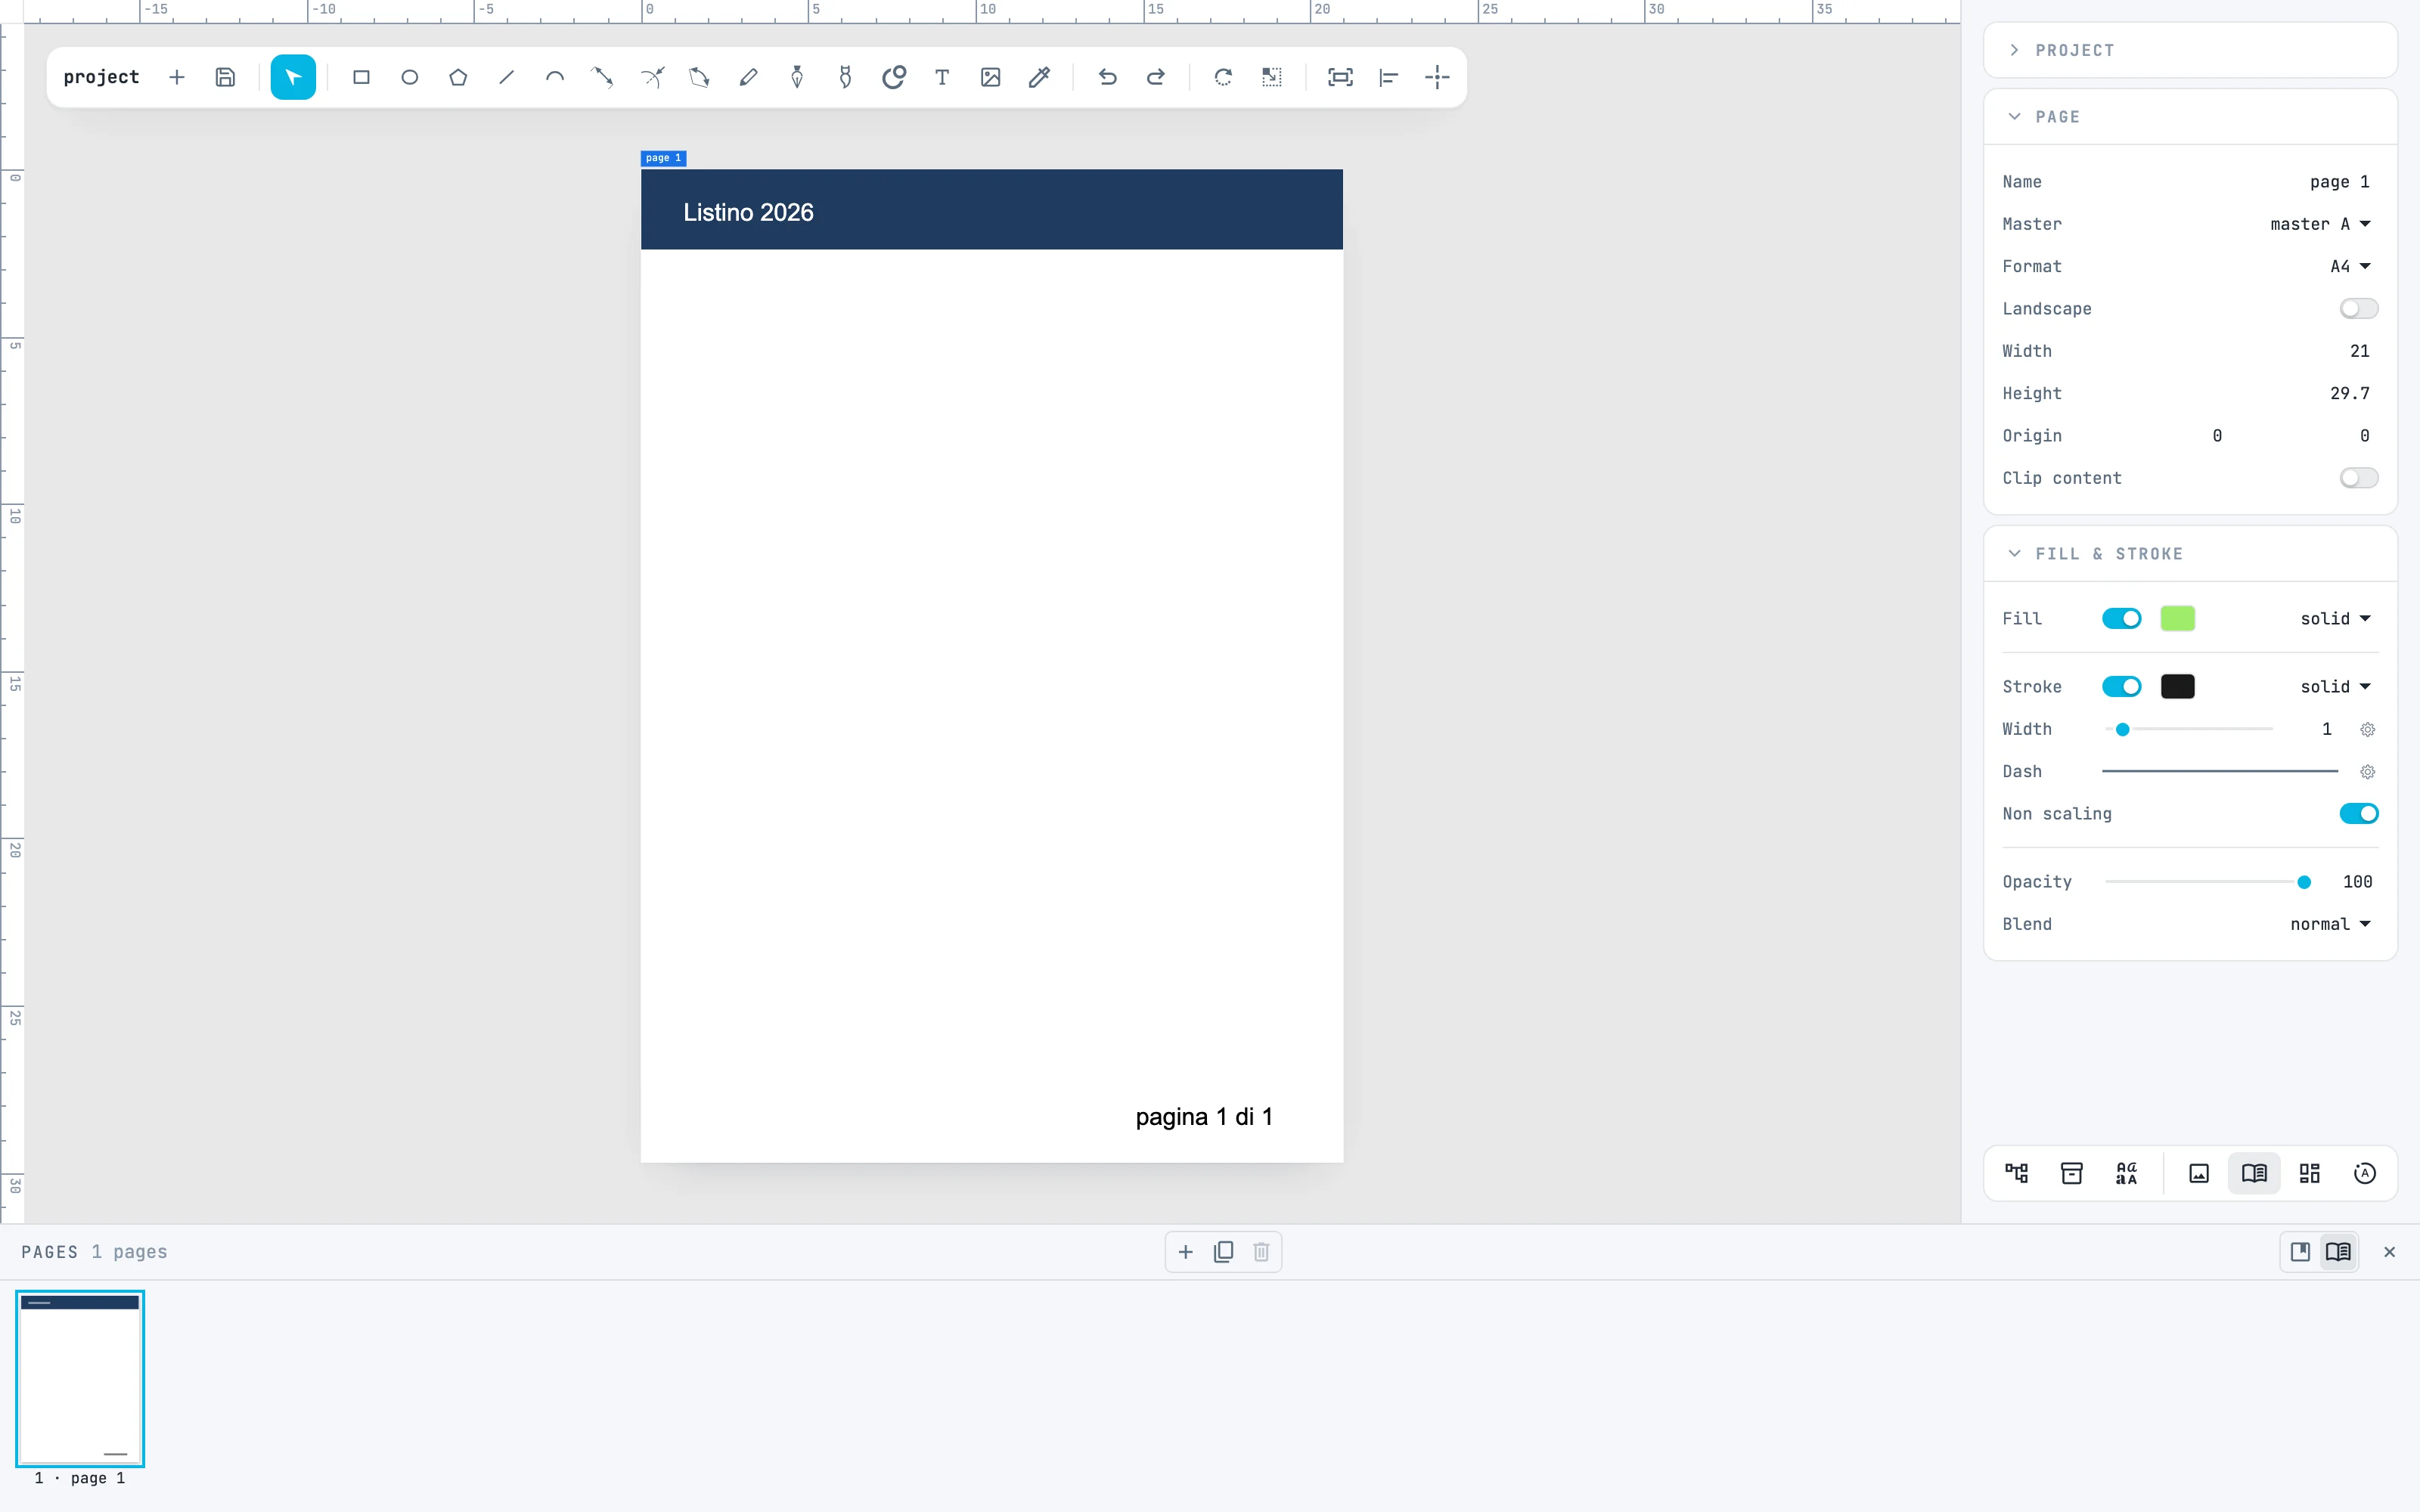
Go back to the pages with the pages button on the right of the header. With nothing selected the Page panel appears: in the Master row choose "master A". The page takes its size, and the master's content appears under its own: here "pagina 1 di 1".
4 · New pages from the master
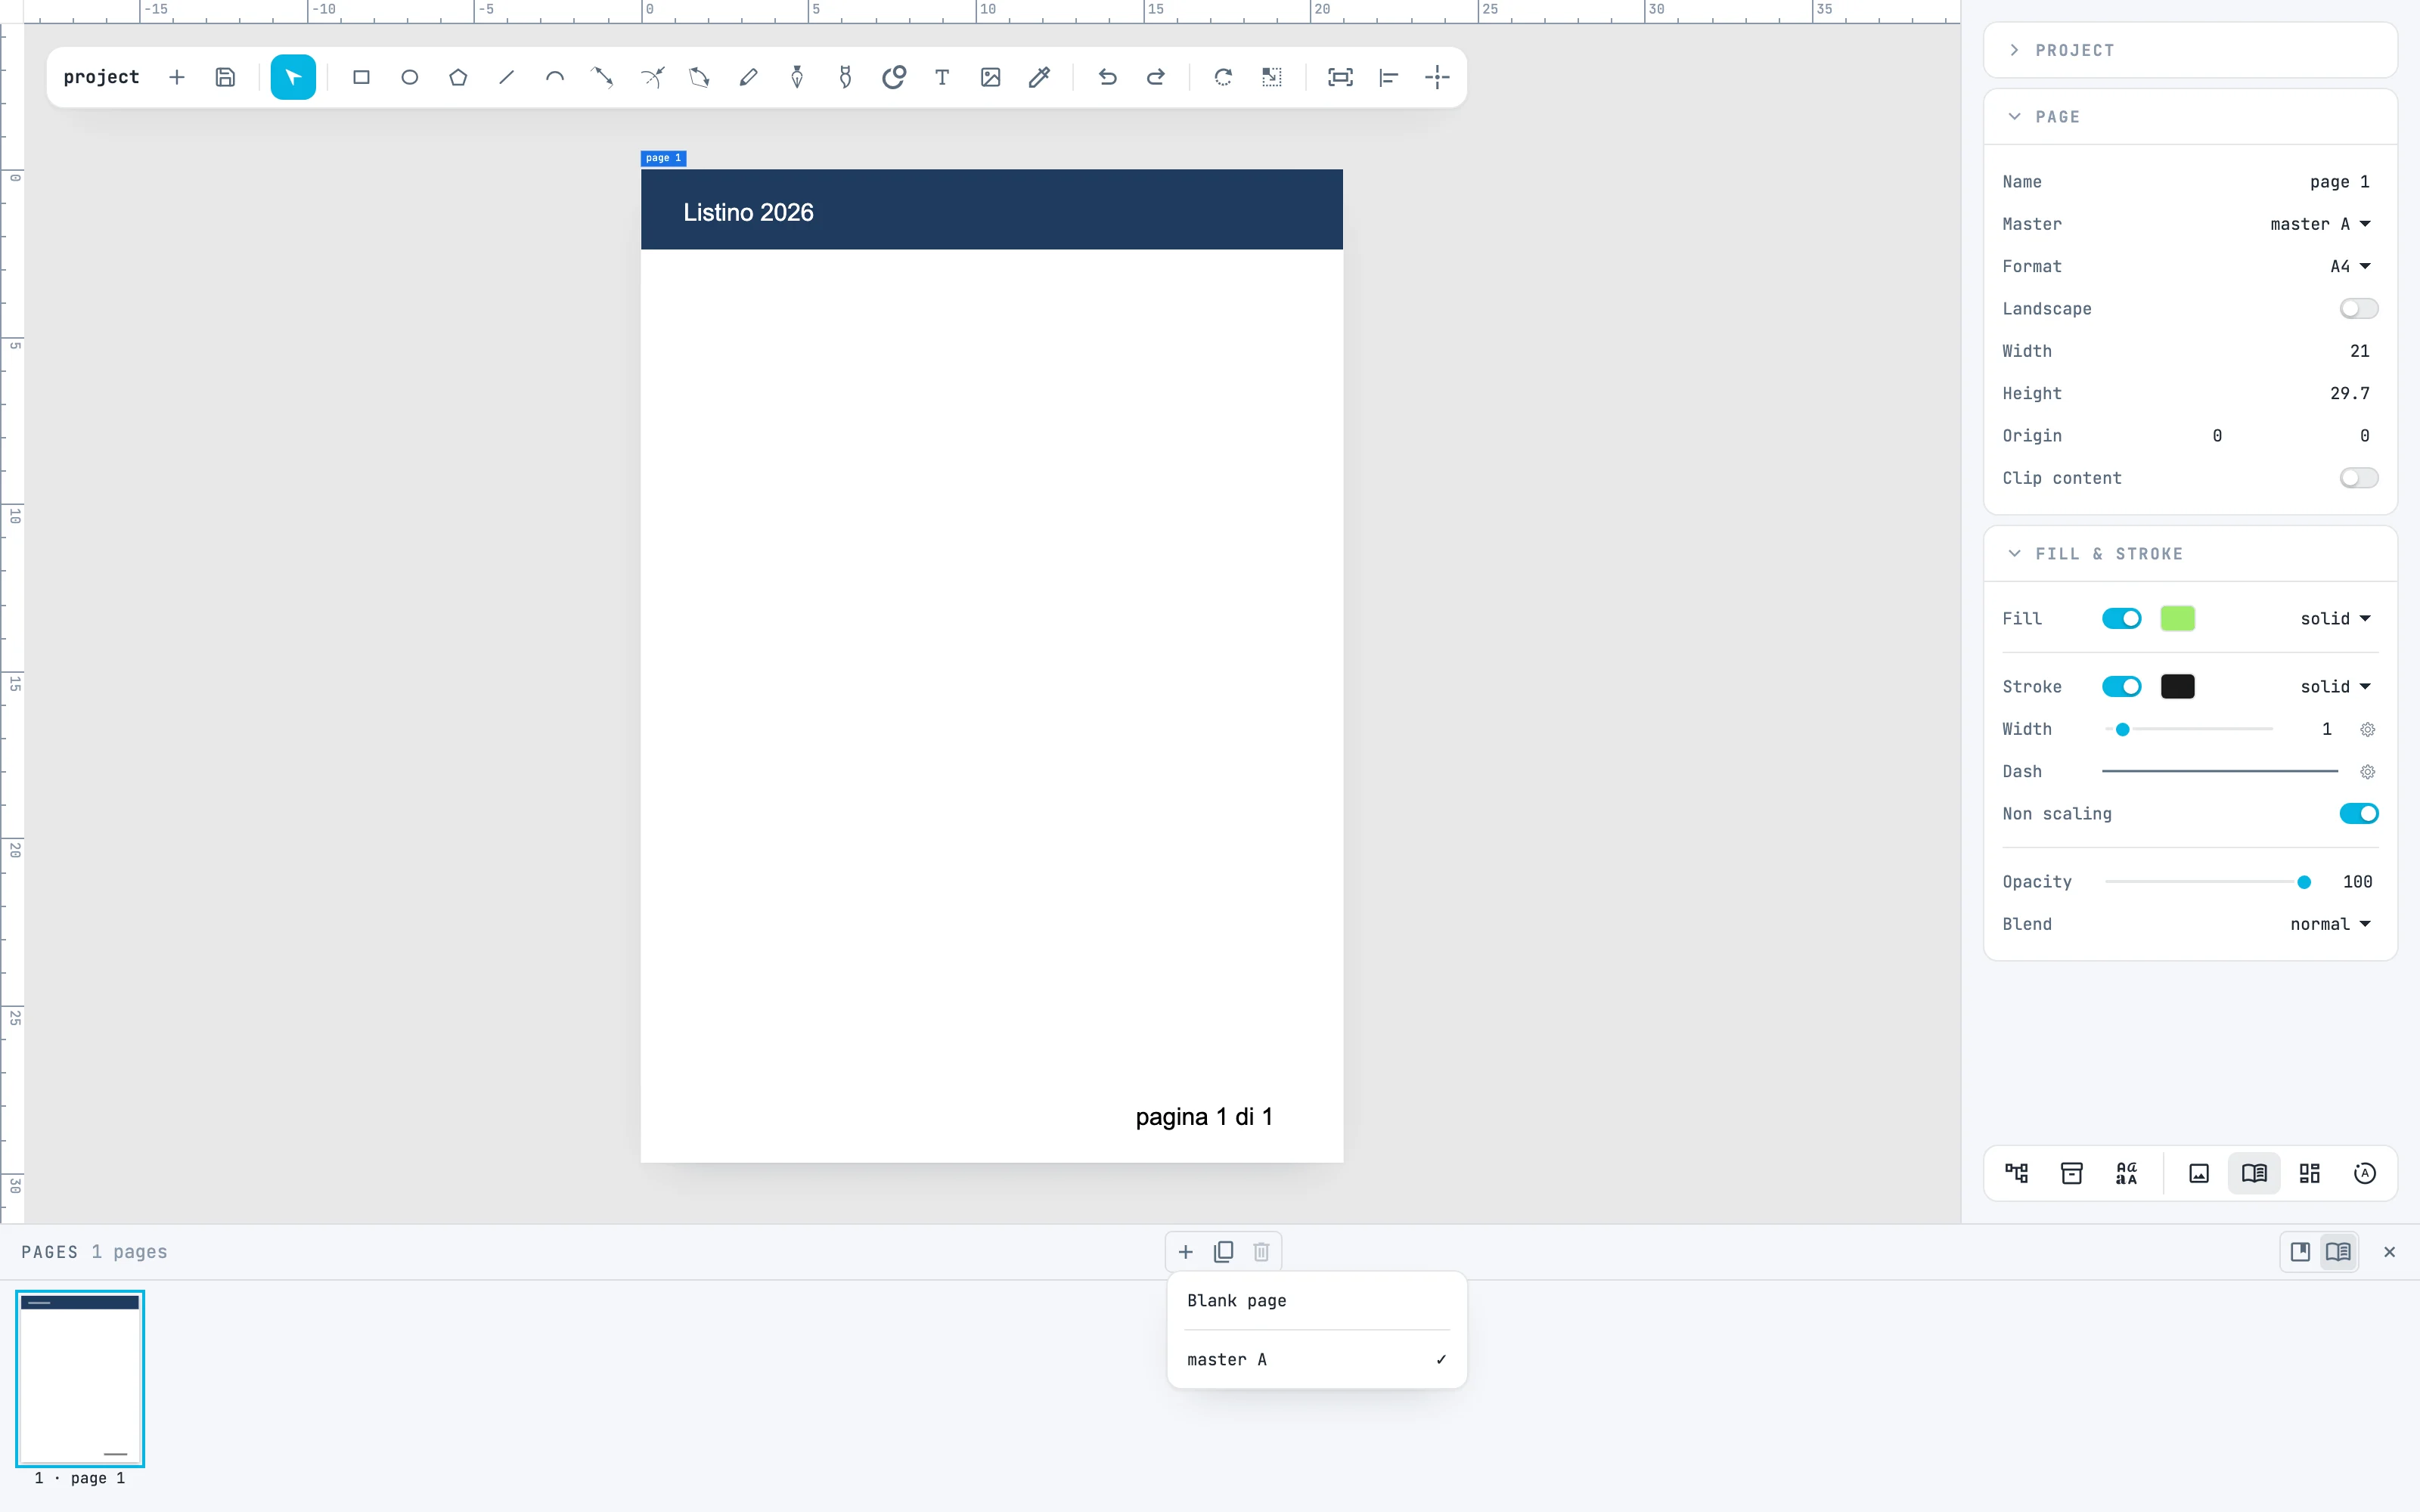
Now that the document has a master, the + in Pages opens a menu: Blank page, or one of the masters — the active page's one is checked.
5 · The number updates itself
Choose "master A": a new page is created after the last one, already with the master. The numbers update themselves: now the first page says "pagina 1 di 2" and the new one "pagina 2 di 2". The same happens when you reorder, duplicate or delete pages.

6 · The list in a table
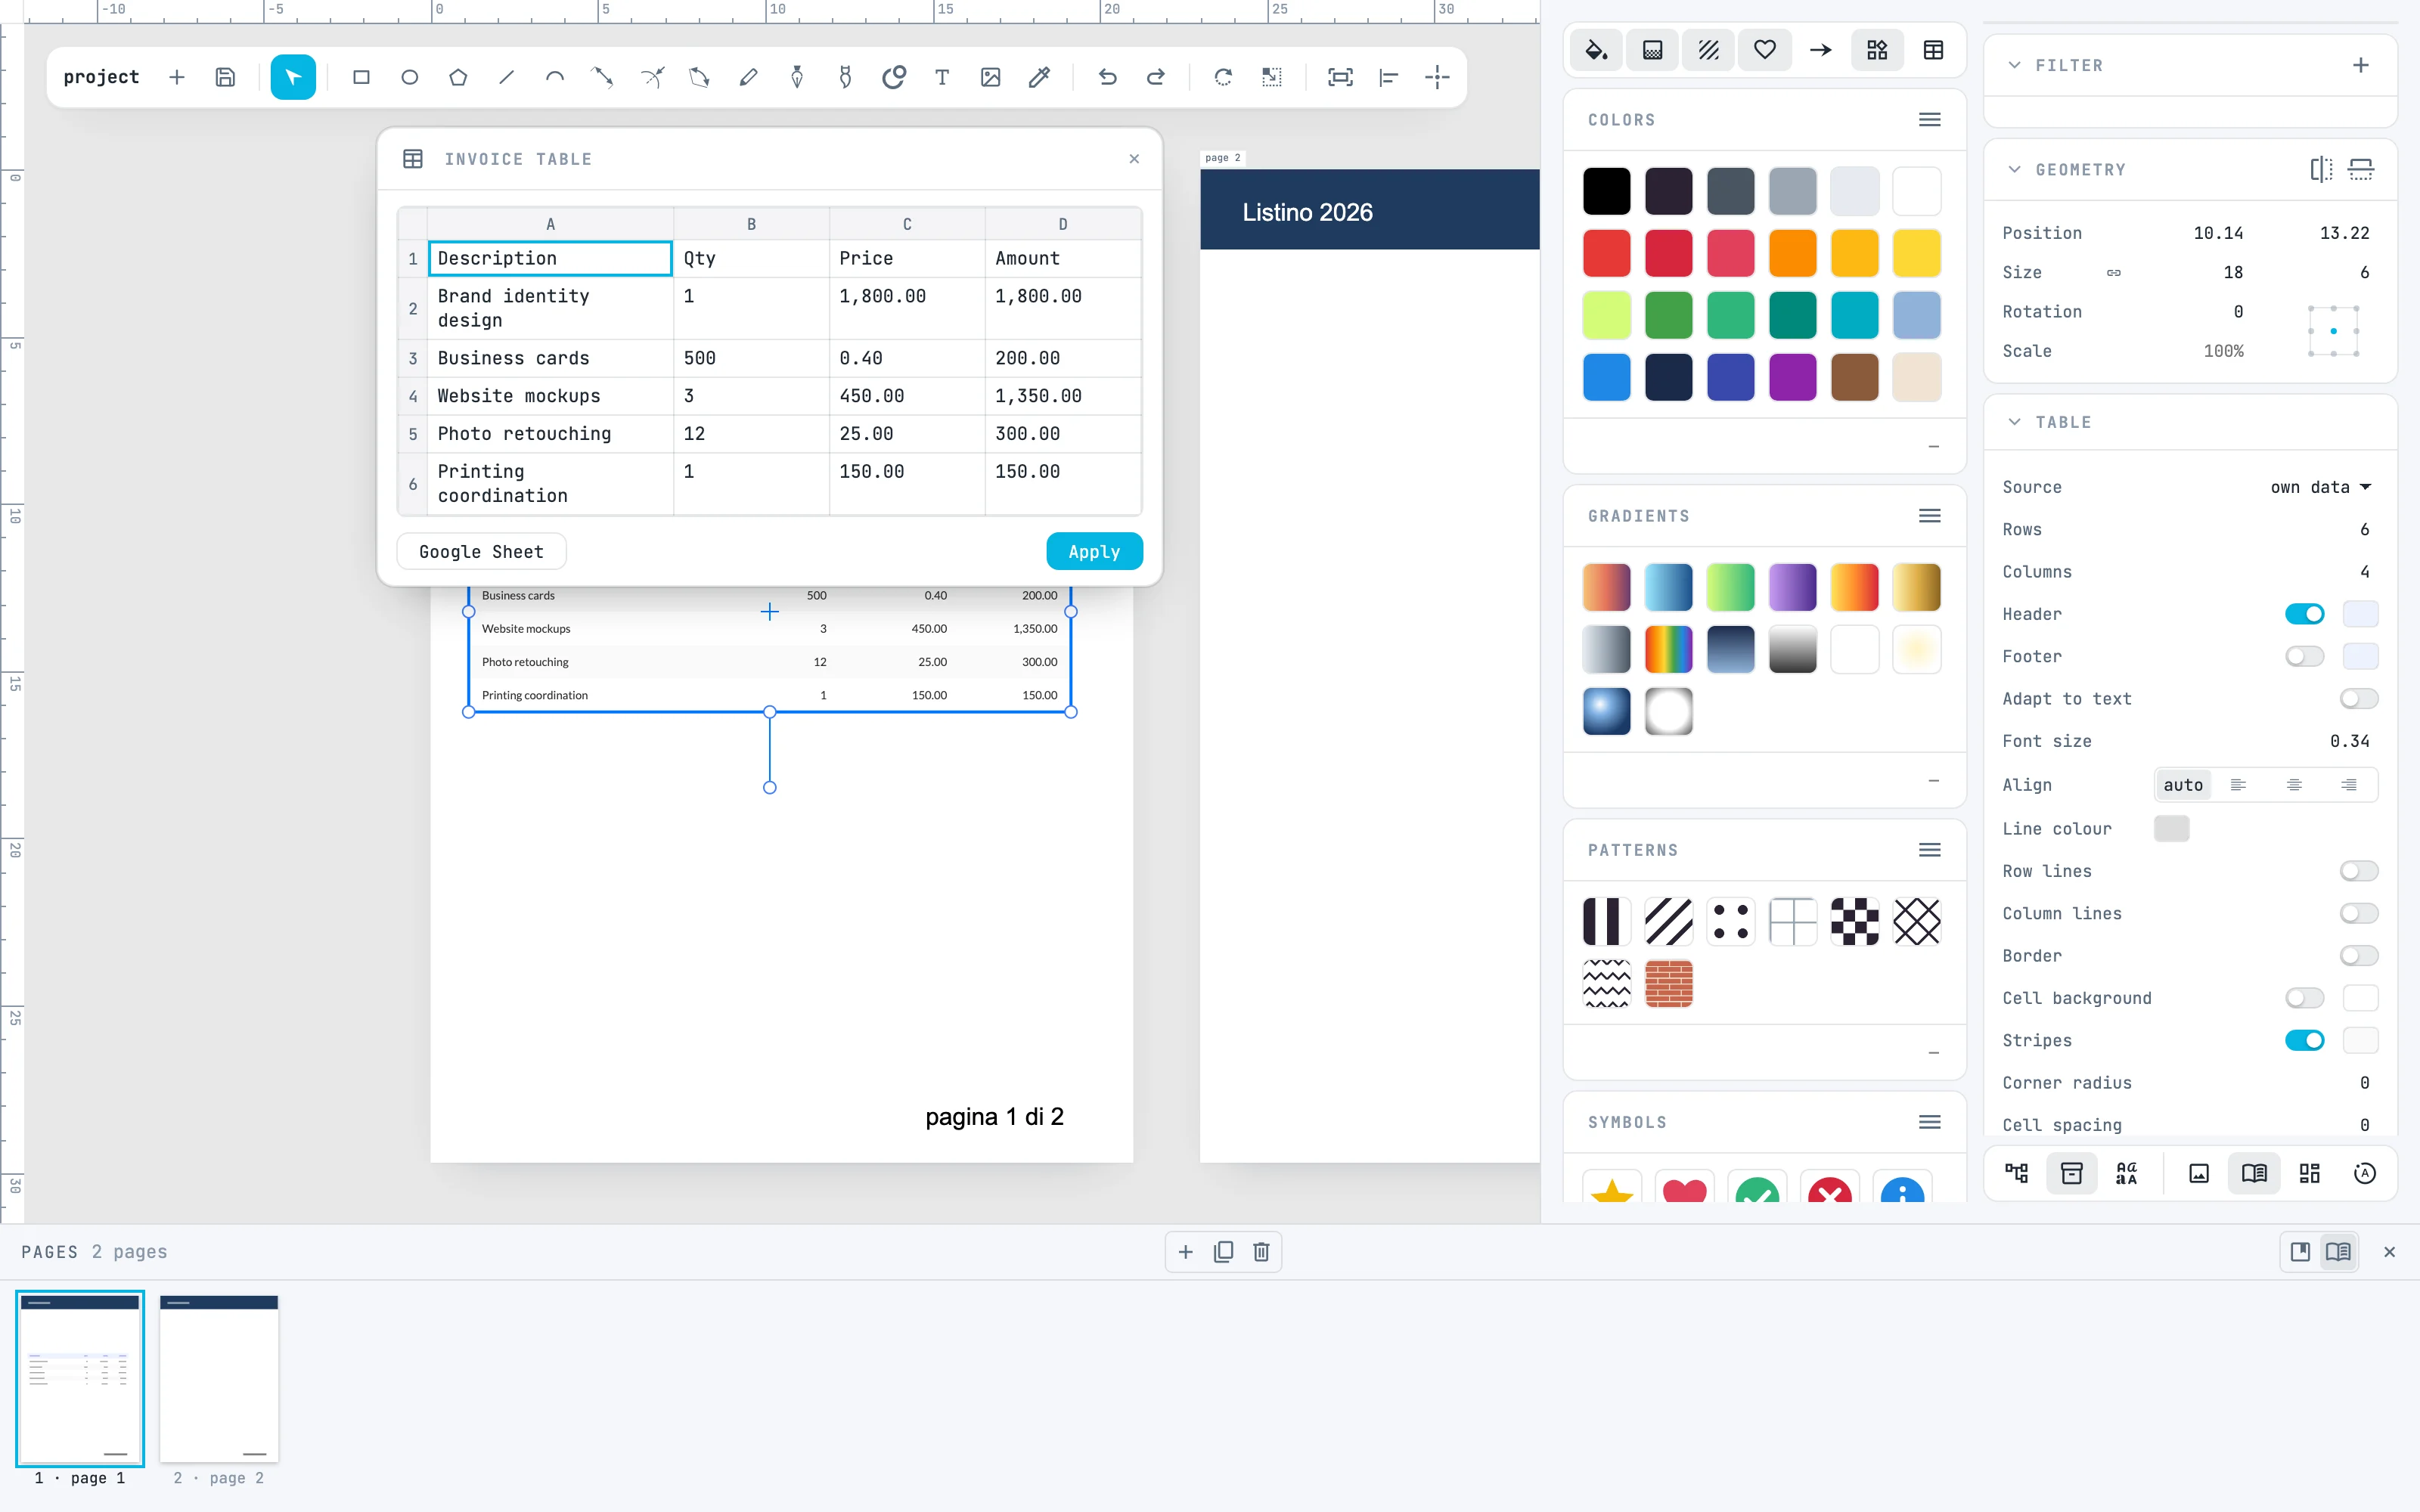
Open the Resources column from the resources button and turn on the widgets tab. Double-click Invoice table: the table is created in the middle of the view. Double-clicking the table opens the data panel: write the items as in a spreadsheet, or paste them from a sheet, and press Apply.
7 · Print
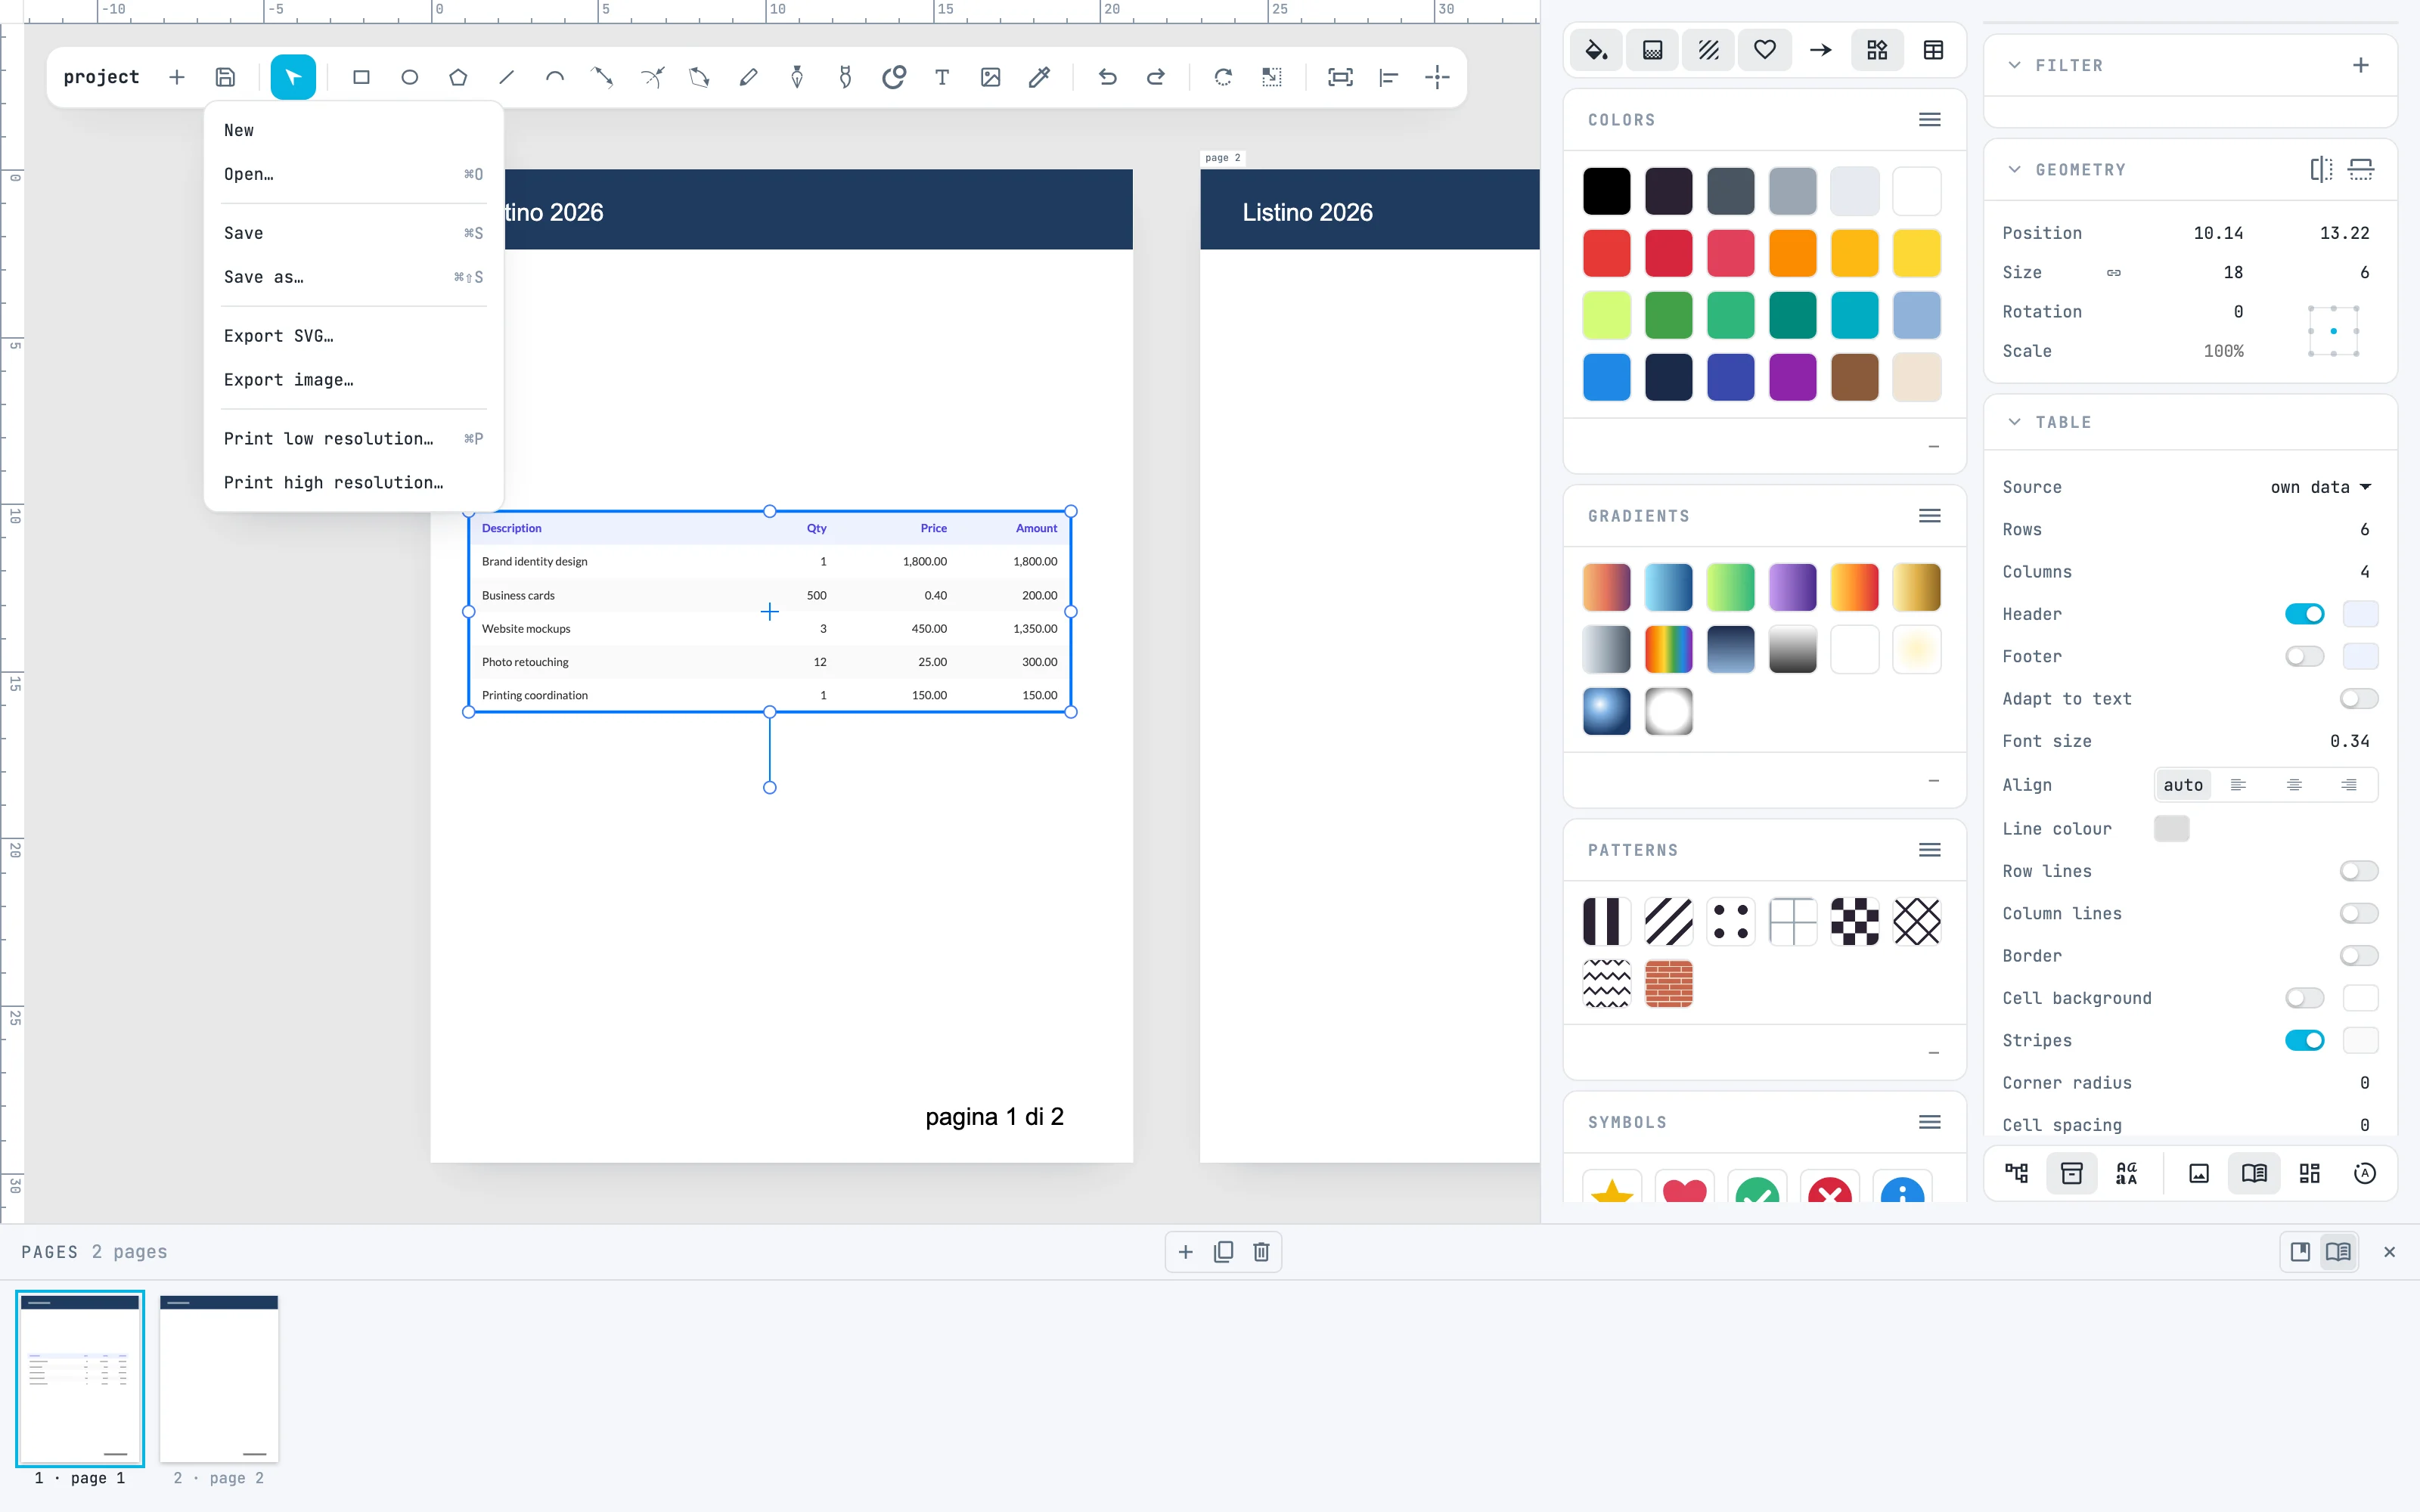
From the open and save button: Print low resolution… prints with the working images, Print high resolution… with the original photos. Pages come out one per sheet, each with its master; masters on their own do not. From the browser's print dialog you can also save to PDF.
Going further
In the guide: master pages, the Pages panel, tables and charts and printing.