Dimension a floor plan
Open a DXF, set the scale, add dimensions, view at scale and print
You open the plan of a room from a DXF file, set the drawing scale, add two dimensions, see how it will look on paper and print it to scale.
1 · Open the DXF
From the open and save button, Open…, and choose the DXF file: here a room drawn in centimeters. Walls, door, furniture and the file's dimensions become Janvas objects, on a page as large as the drawing. See DXF.

2 · The scale
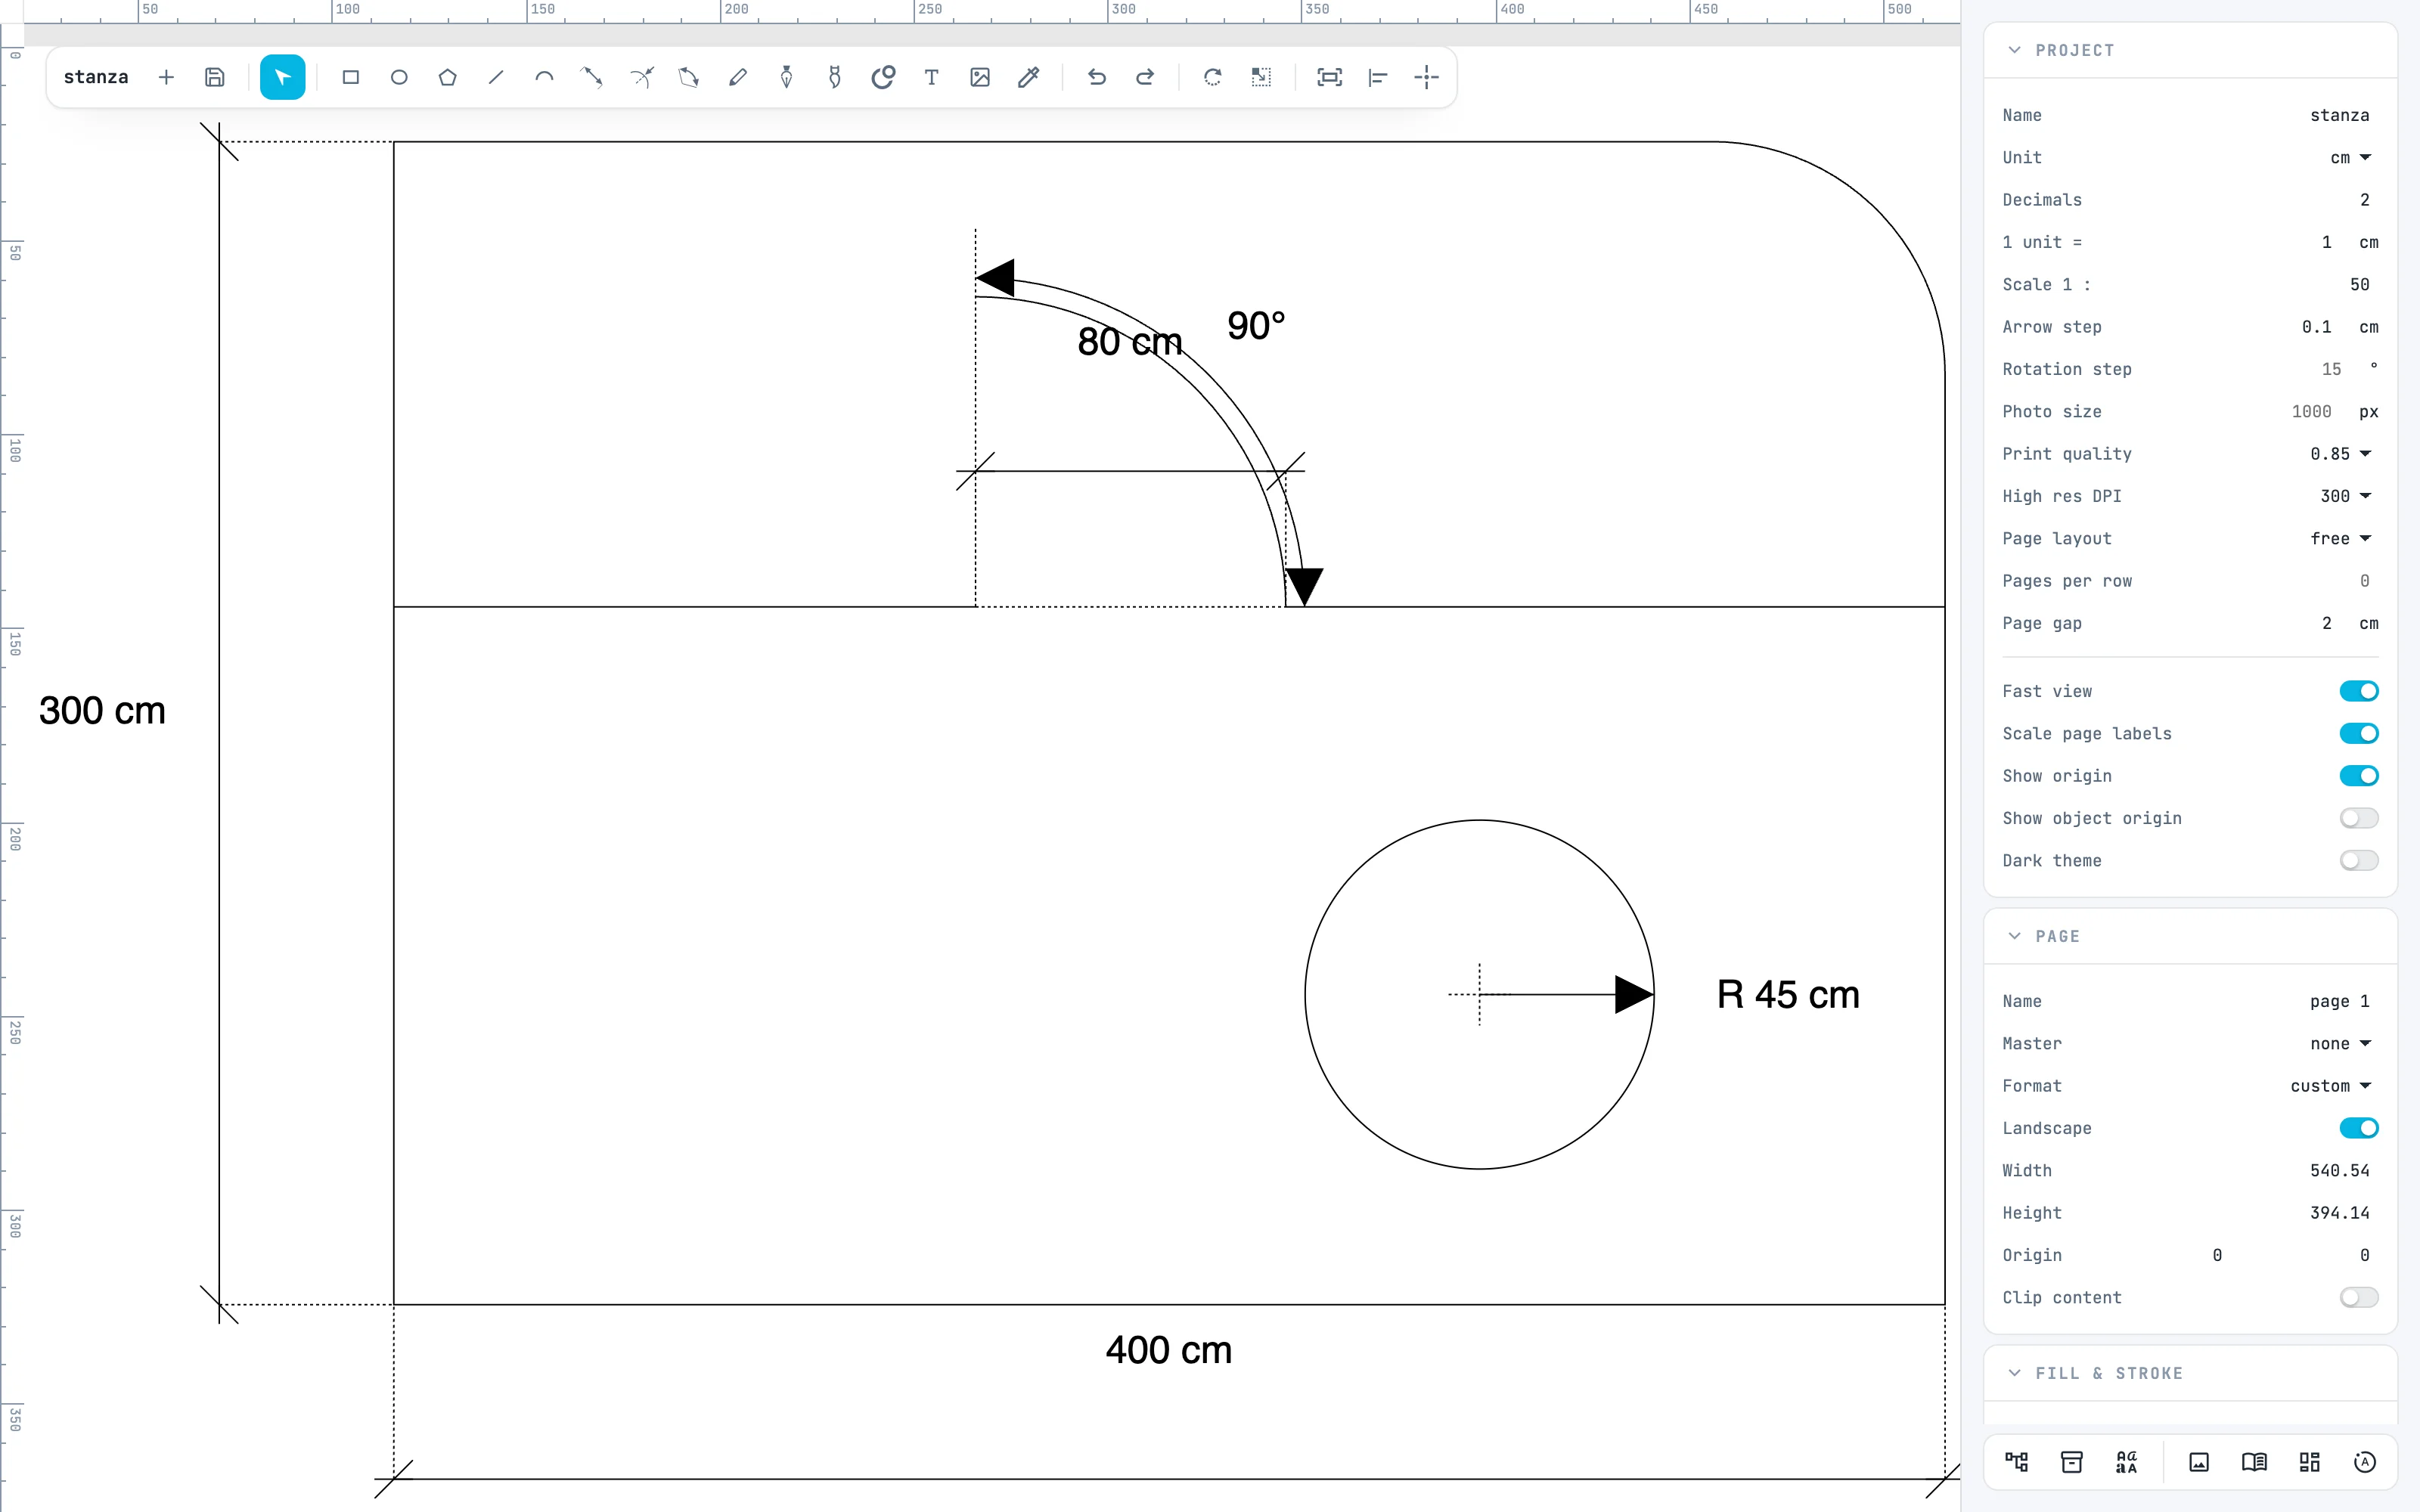
With nothing selected, in the Project panel: Unit says in which unit measurements are read — here cm, from the file —, Scale 1 : is the paper scale. Enter 50: the measurements do not change, what changes is how the drawing prints.
3 · A linear dimension
Take linear dimension from the toolbar: it has no letter. Click the first end of the wall and the second — snapping catches them —, then a third point, where the dimension line should fall. The dimension writes the number itself, in the project unit: here 170 cm. The third point also decides what kind of dimension it is: above or below the two points it measures horizontally, beside them vertically, in the central half aligned with them.

4 · The radius
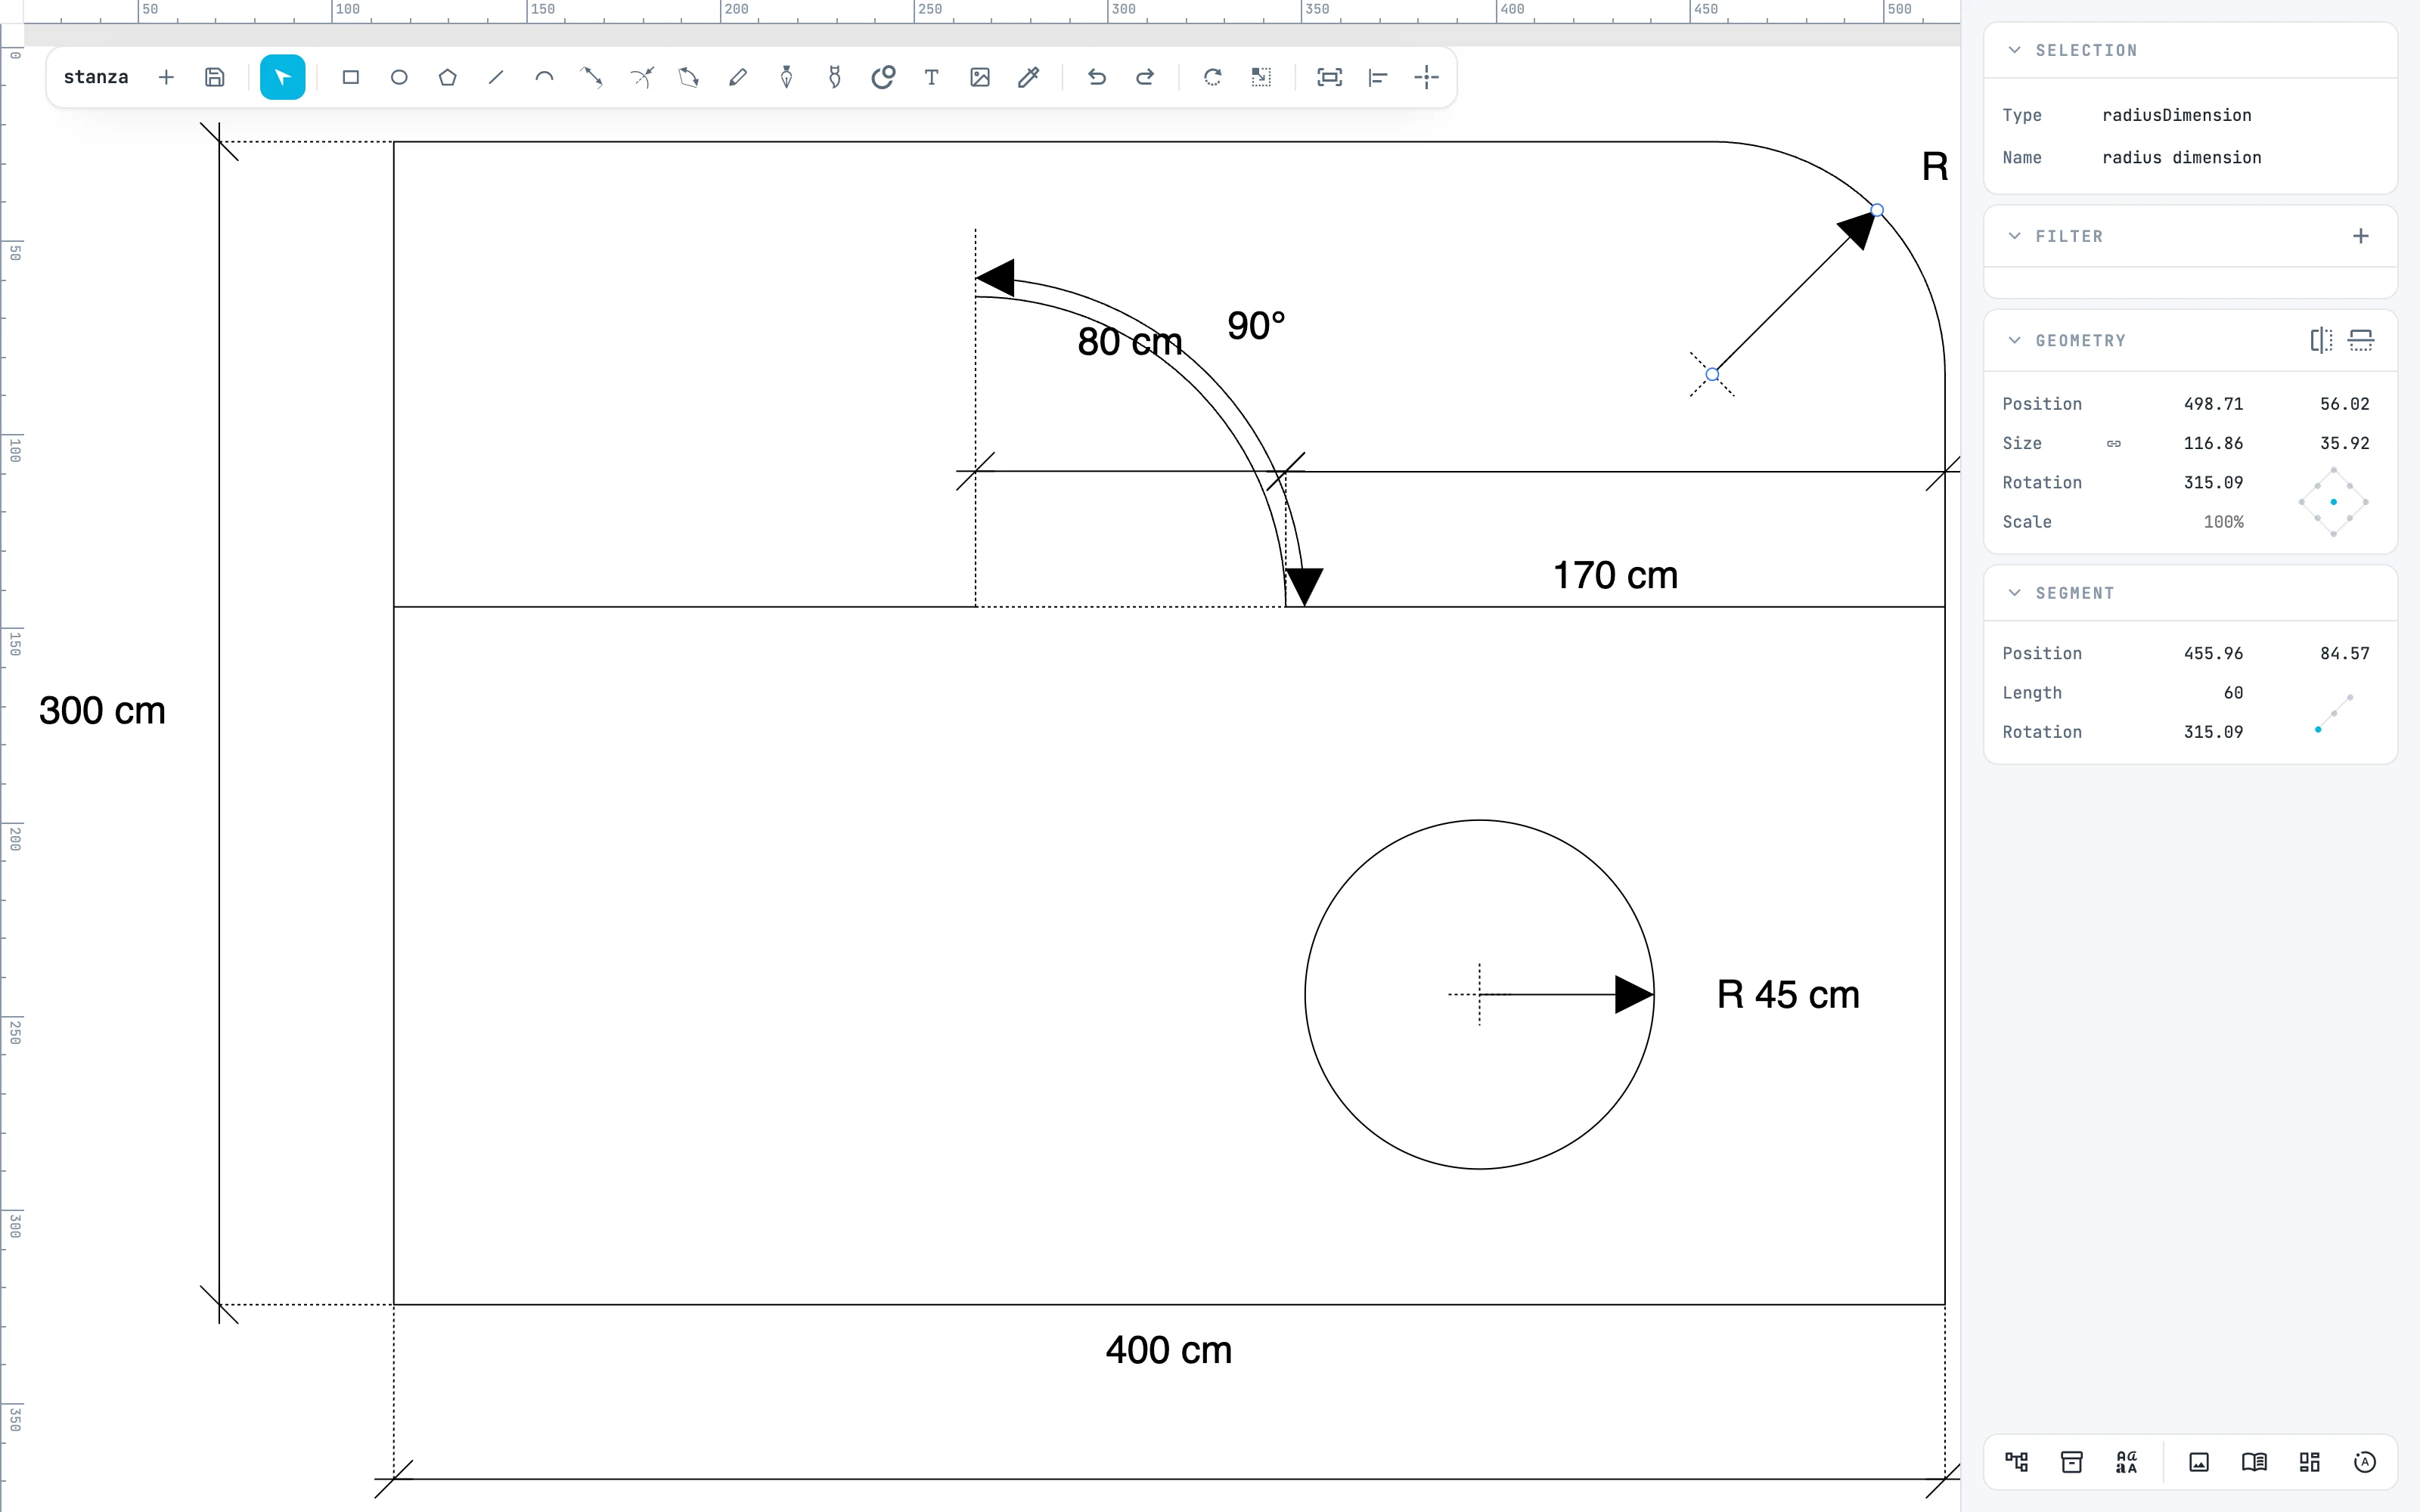
Take radius dimension: click the center of the arc — snapping finds it, center —, then a point on the arc. The text starts with R: here R 60 cm, the rounded corner of the room. If you later drag the ends of a dimension, the number updates itself.
5 · View at scale
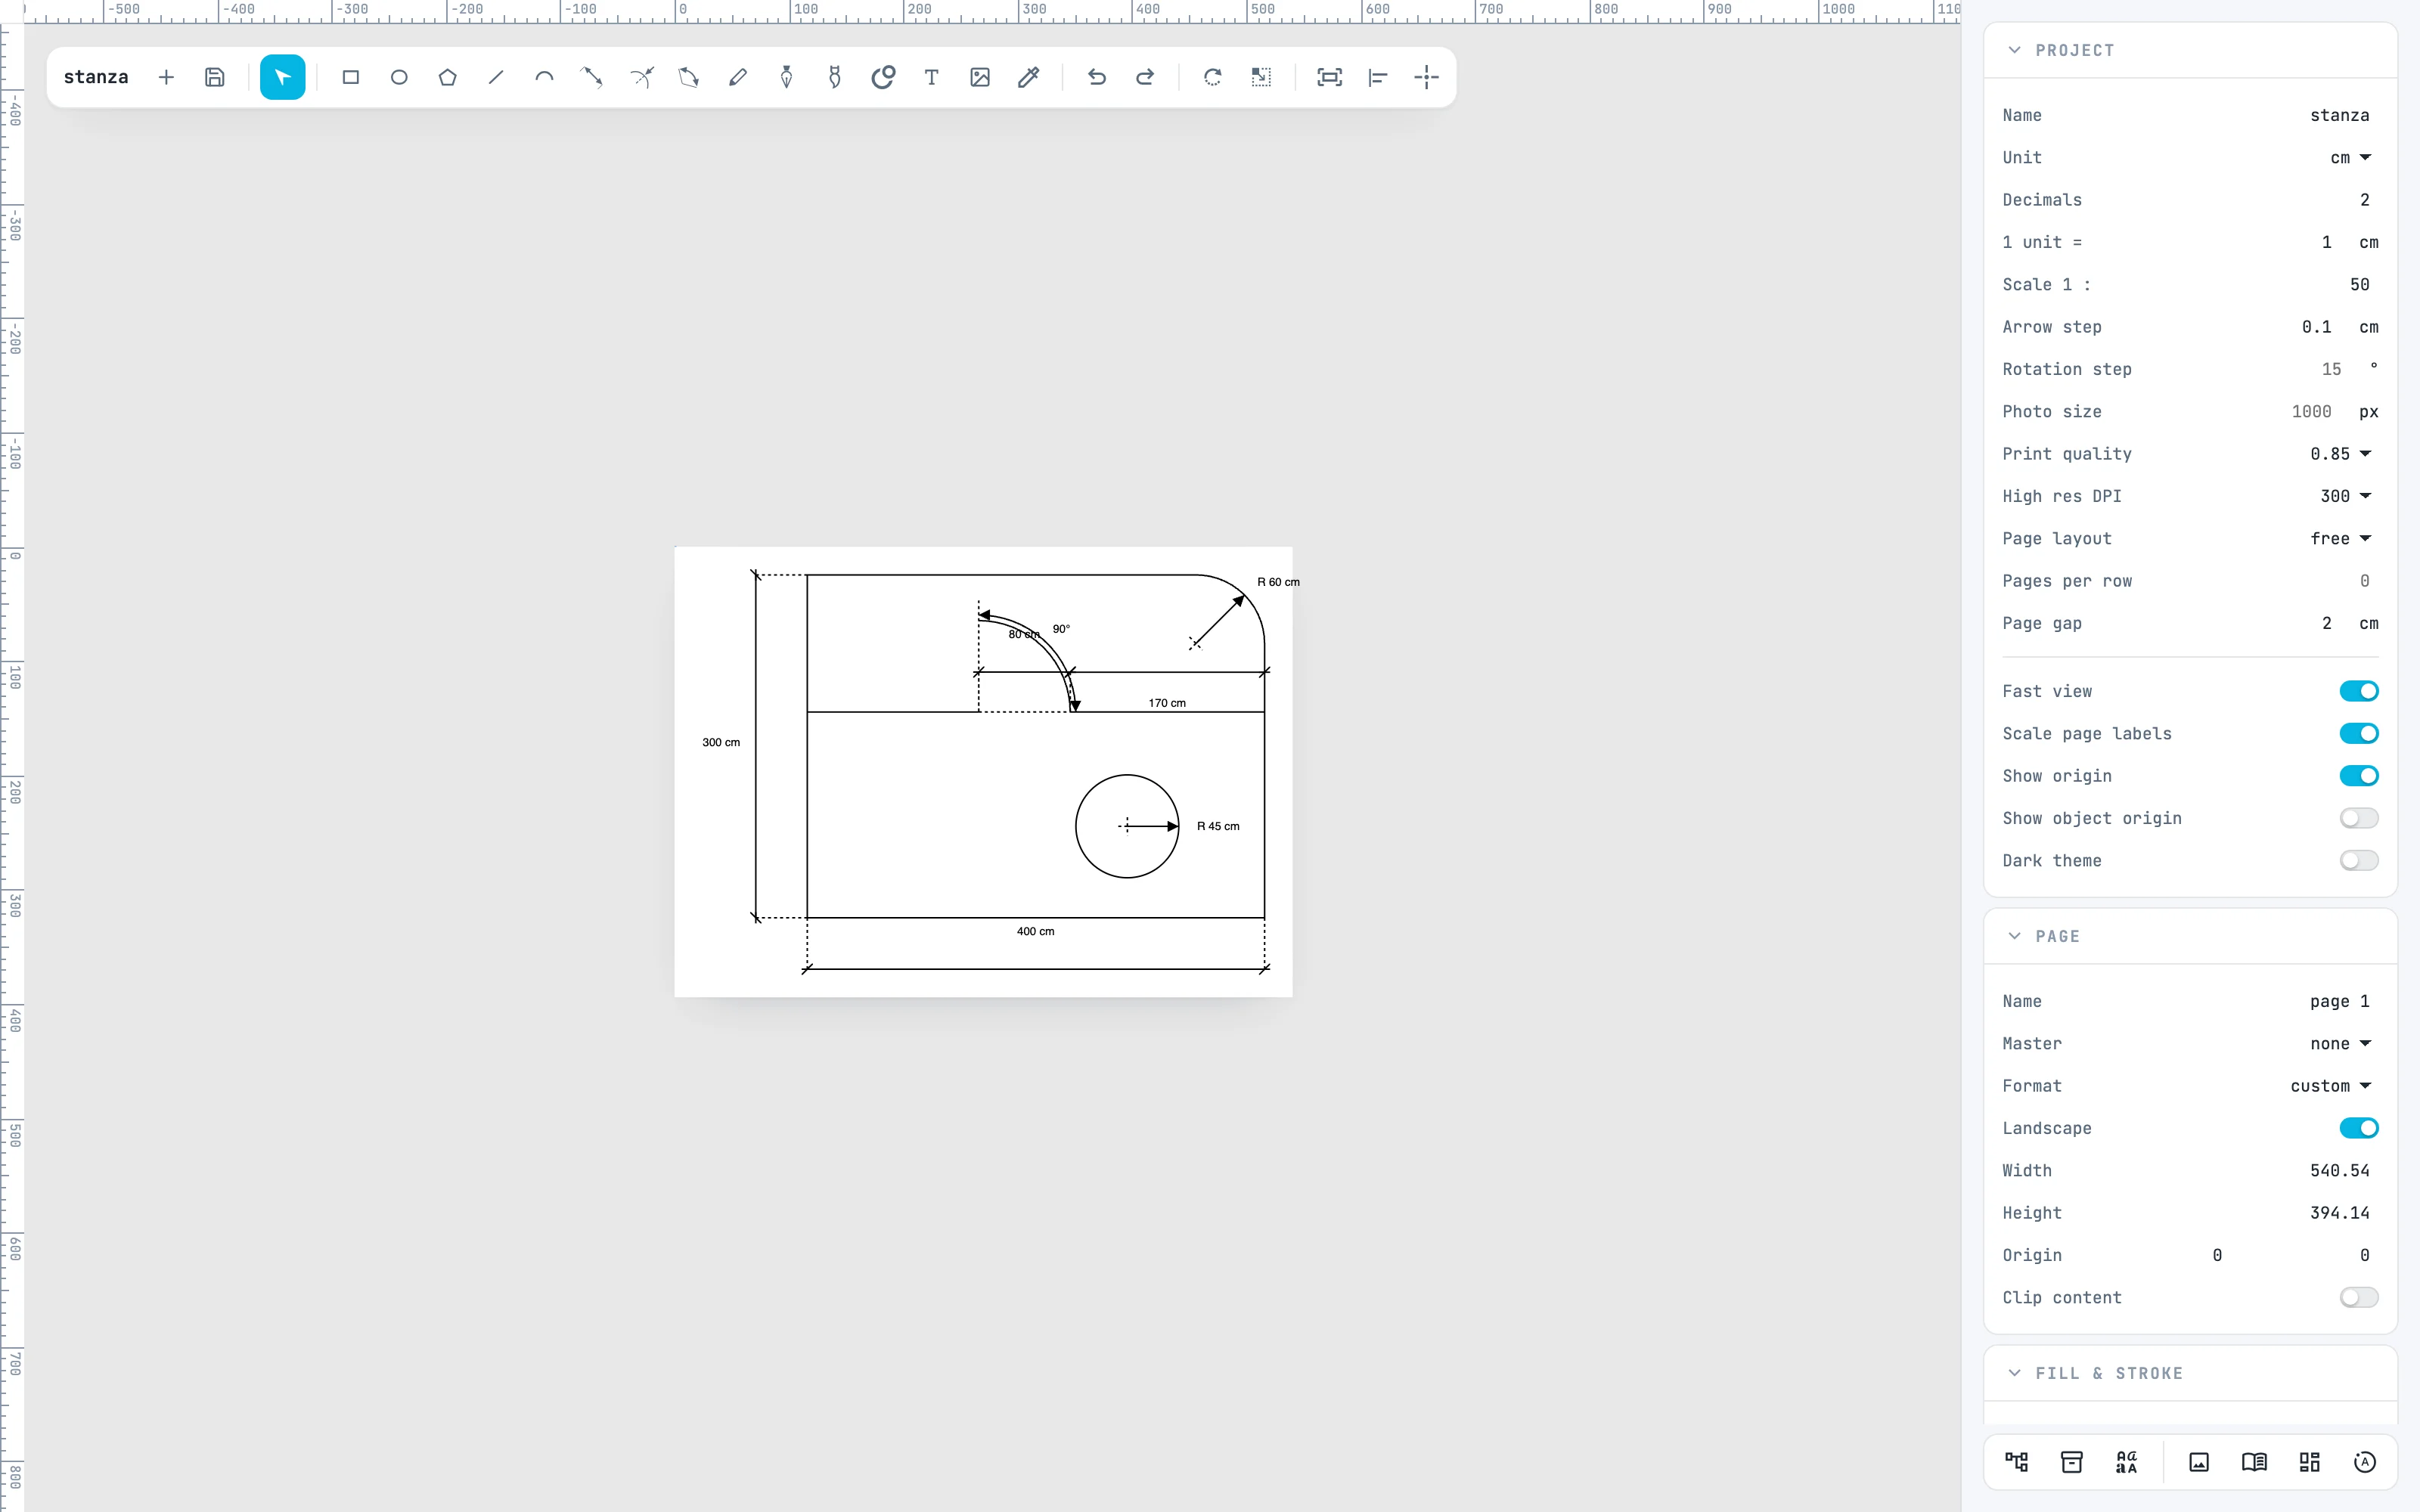
Right-click menu › View › View at scale: the screen shows the paper, at 96 pixels per inch, taking the scale into account. You see how large the room will be printed at 1:50.
6 · Print to scale
From the open and save button, Print low resolution… or Print high resolution…. The page prints on a sheet of its real size divided by the scale, with zero margins: this 540.54 × 394.14 cm page, at 1:50, fits on a 10.8 × 7.9 cm sheet. From the browser's dialog you can also save to PDF.
Going further
In the guide: dimensions, DXF files, units and scale and printing.