Clip and mask
A photo inside a star, and a photo that fades with a mask
A clip shows the content only inside a shape; a mask makes it fade away gradually. In both cases the position decides the role: the lowest object is the content, what lies above it is the shape.
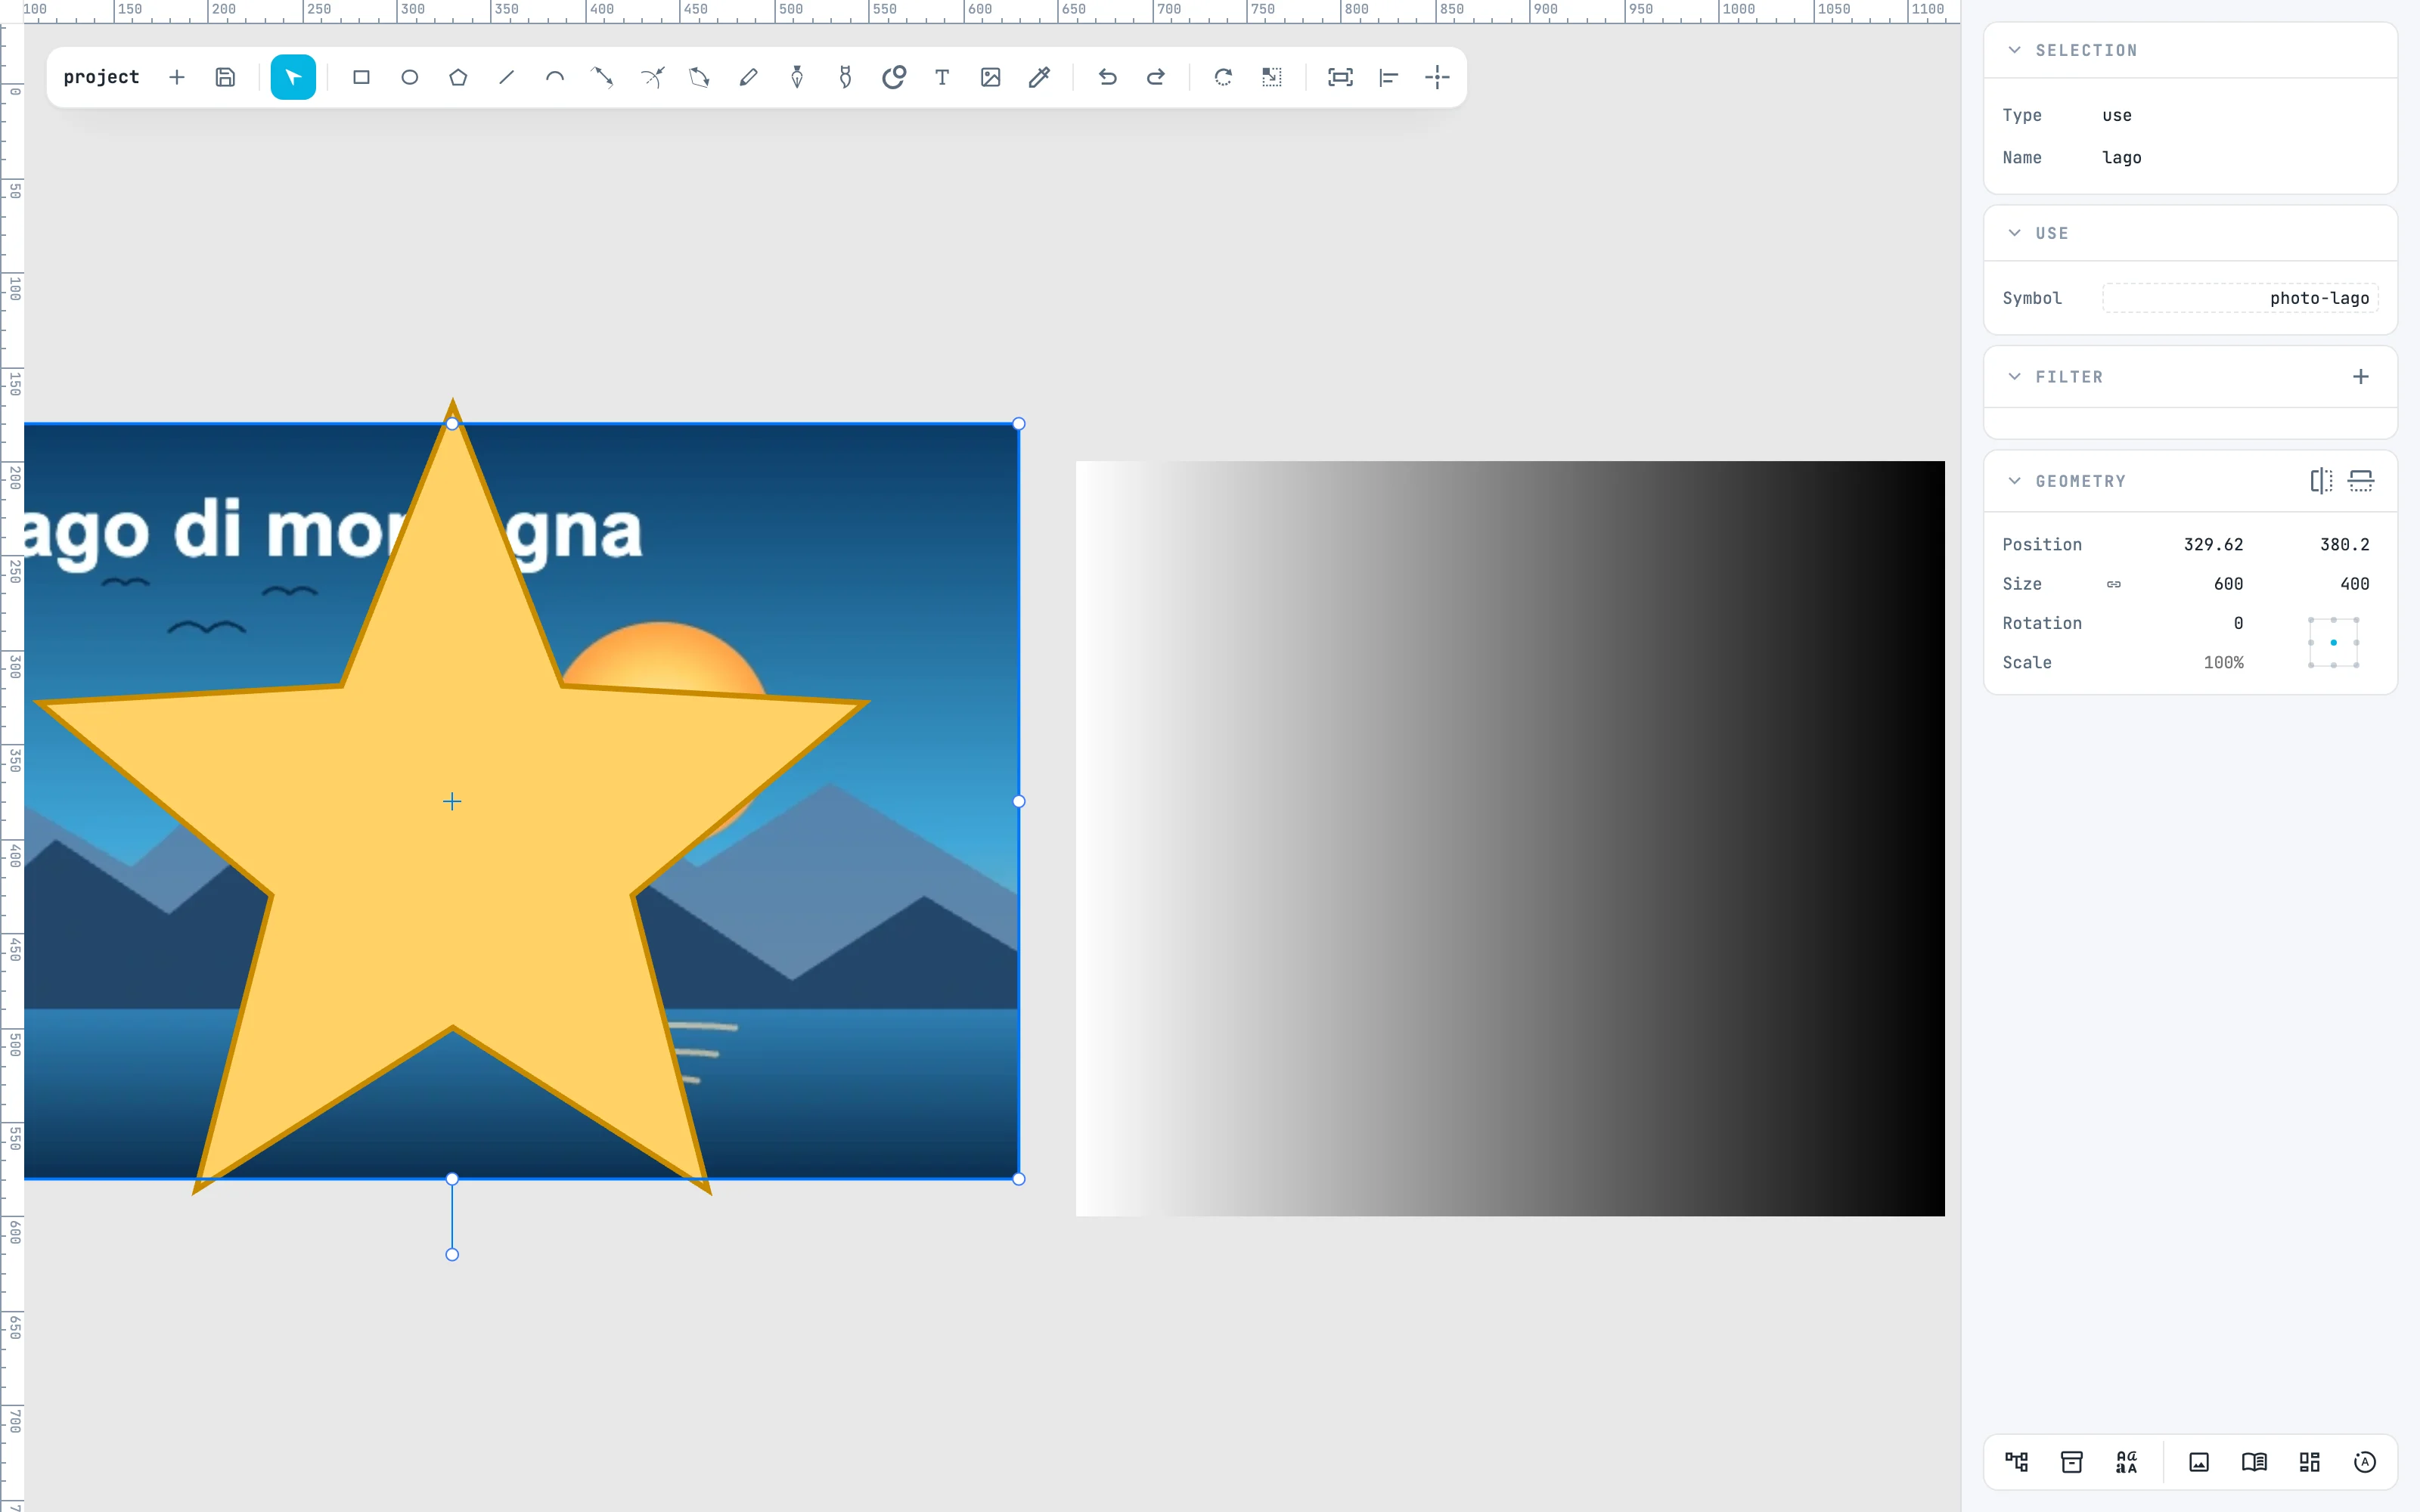
1 · The content goes below
Drop a photo on the star: it is created above it. With ⌘ B (Send to back) you send it below everything; ⌘ ⇧ B (Move down) moves it down one place only. The content can also be a group, a text, an image.
2 · Modifiers
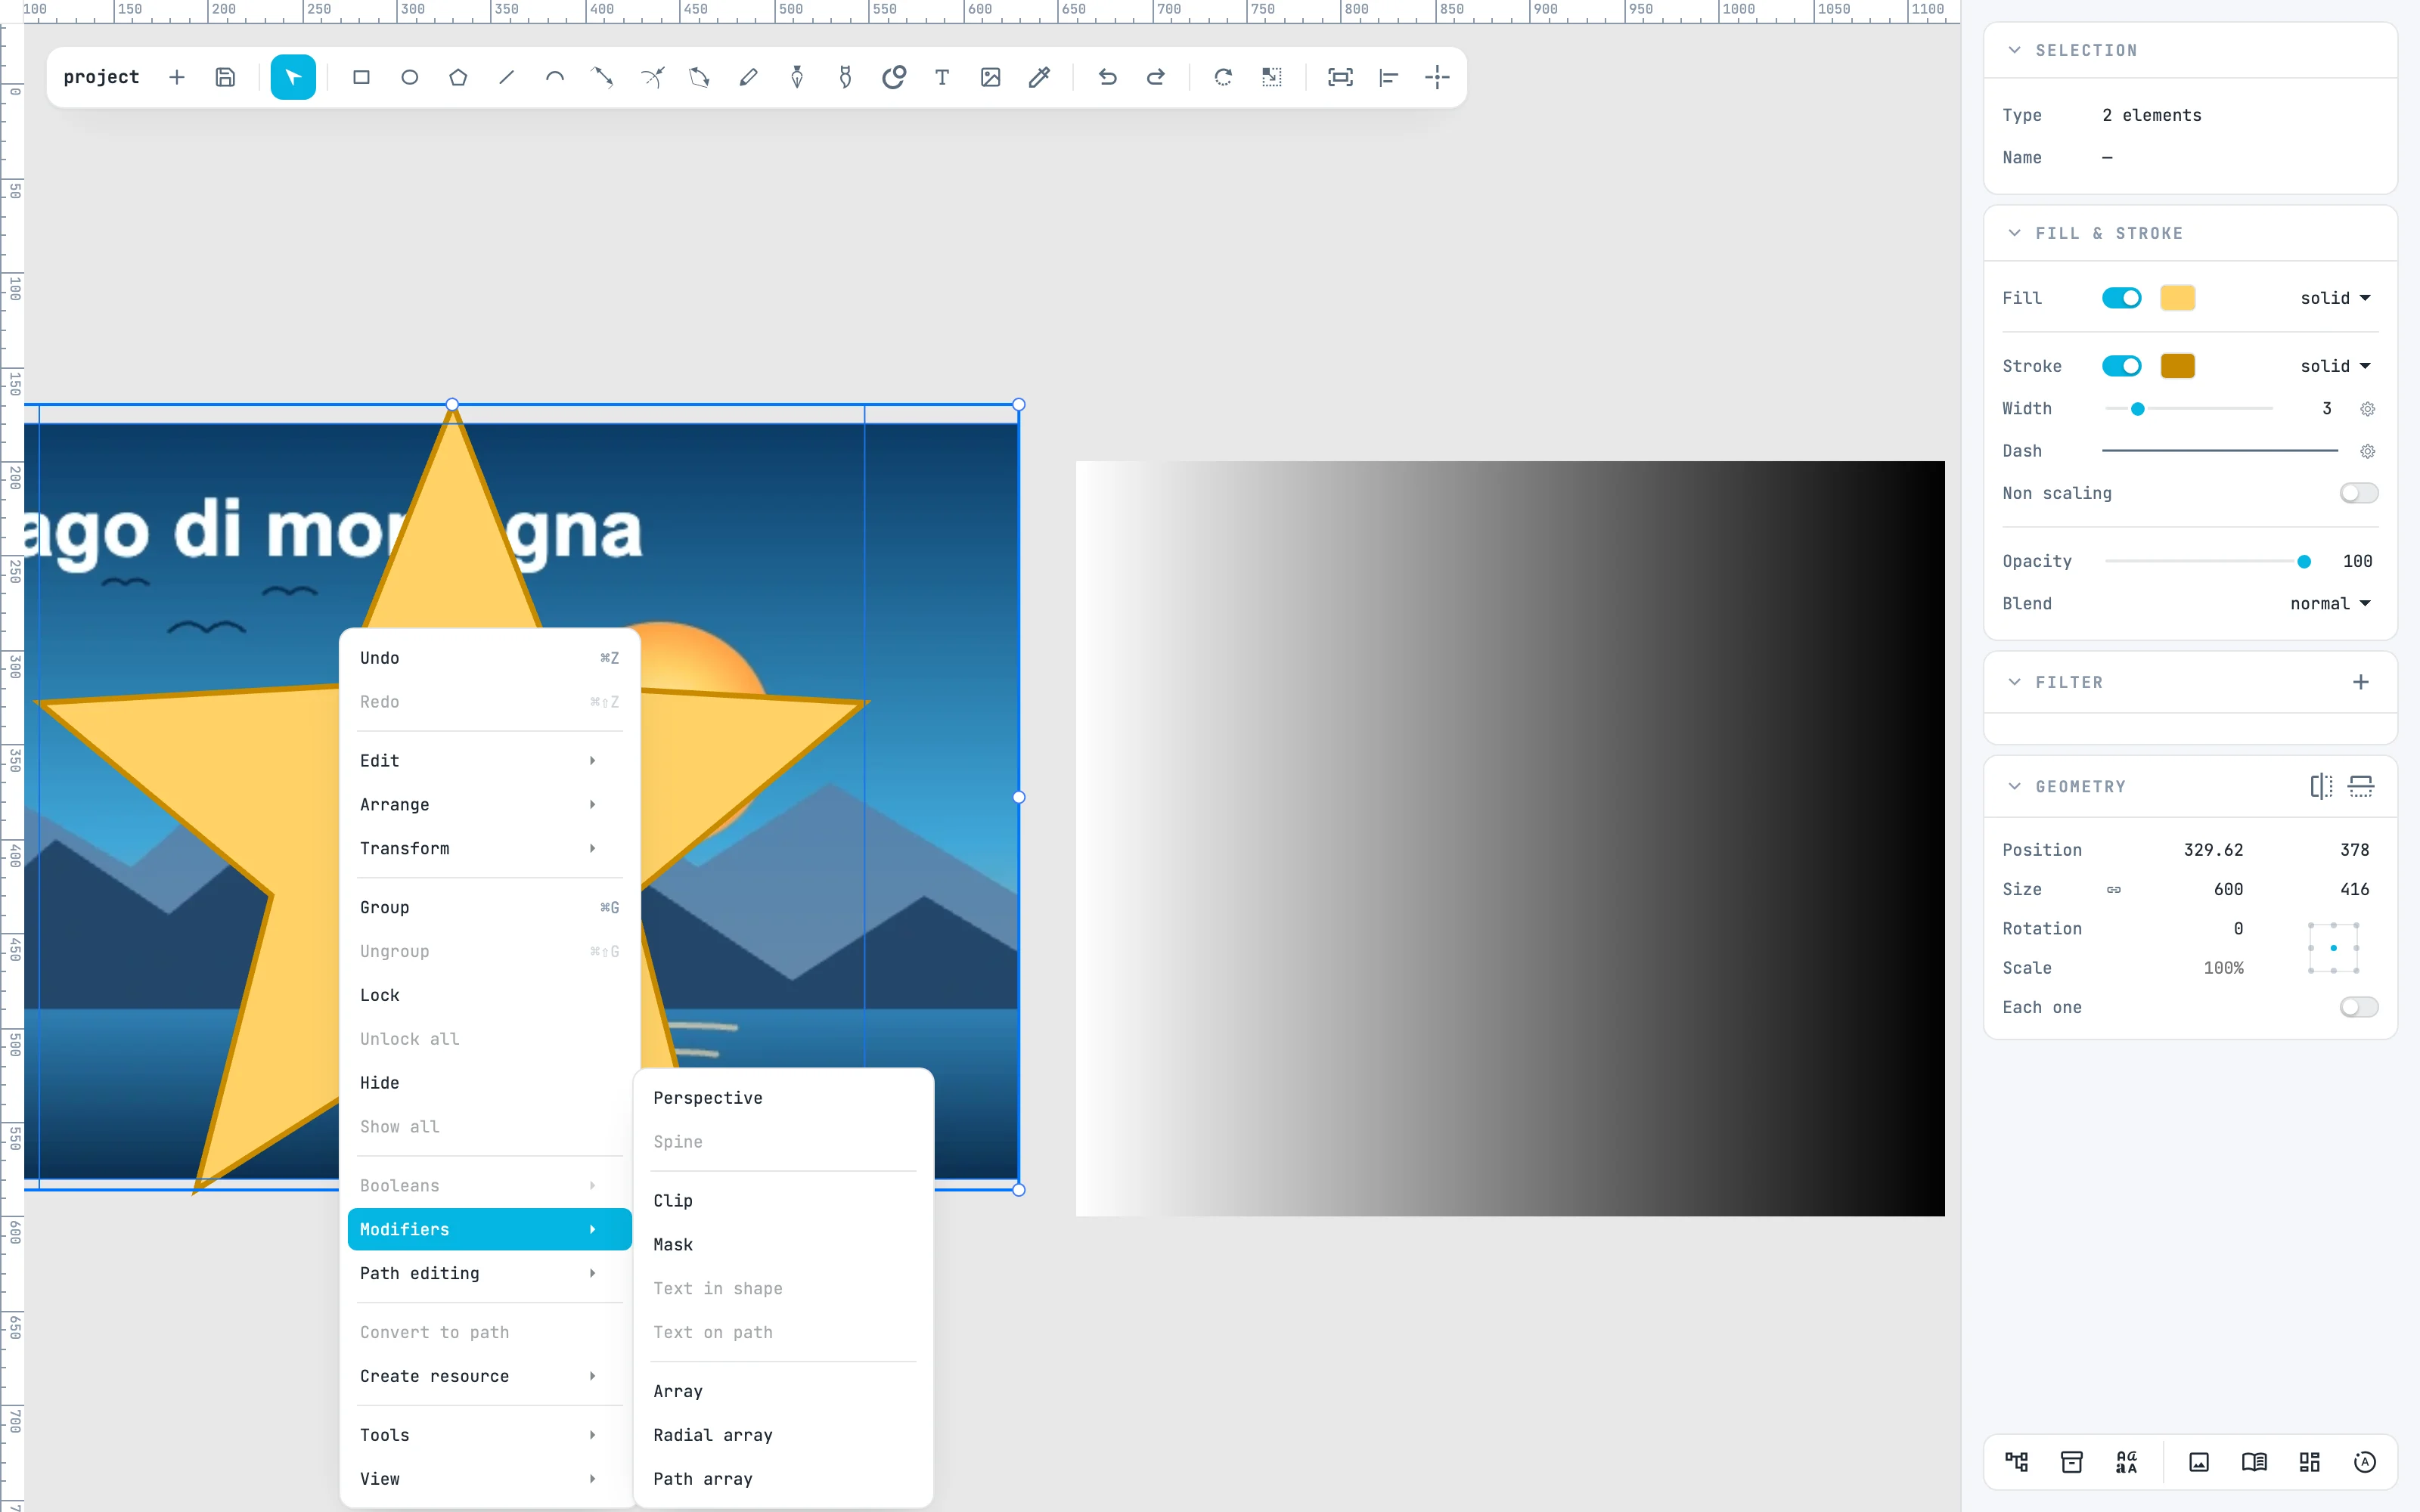
Select the photo and the star, and open the right-click menu: in the Modifiers submenu there are Clip and Mask, next to the other modifiers.
3 · Clip
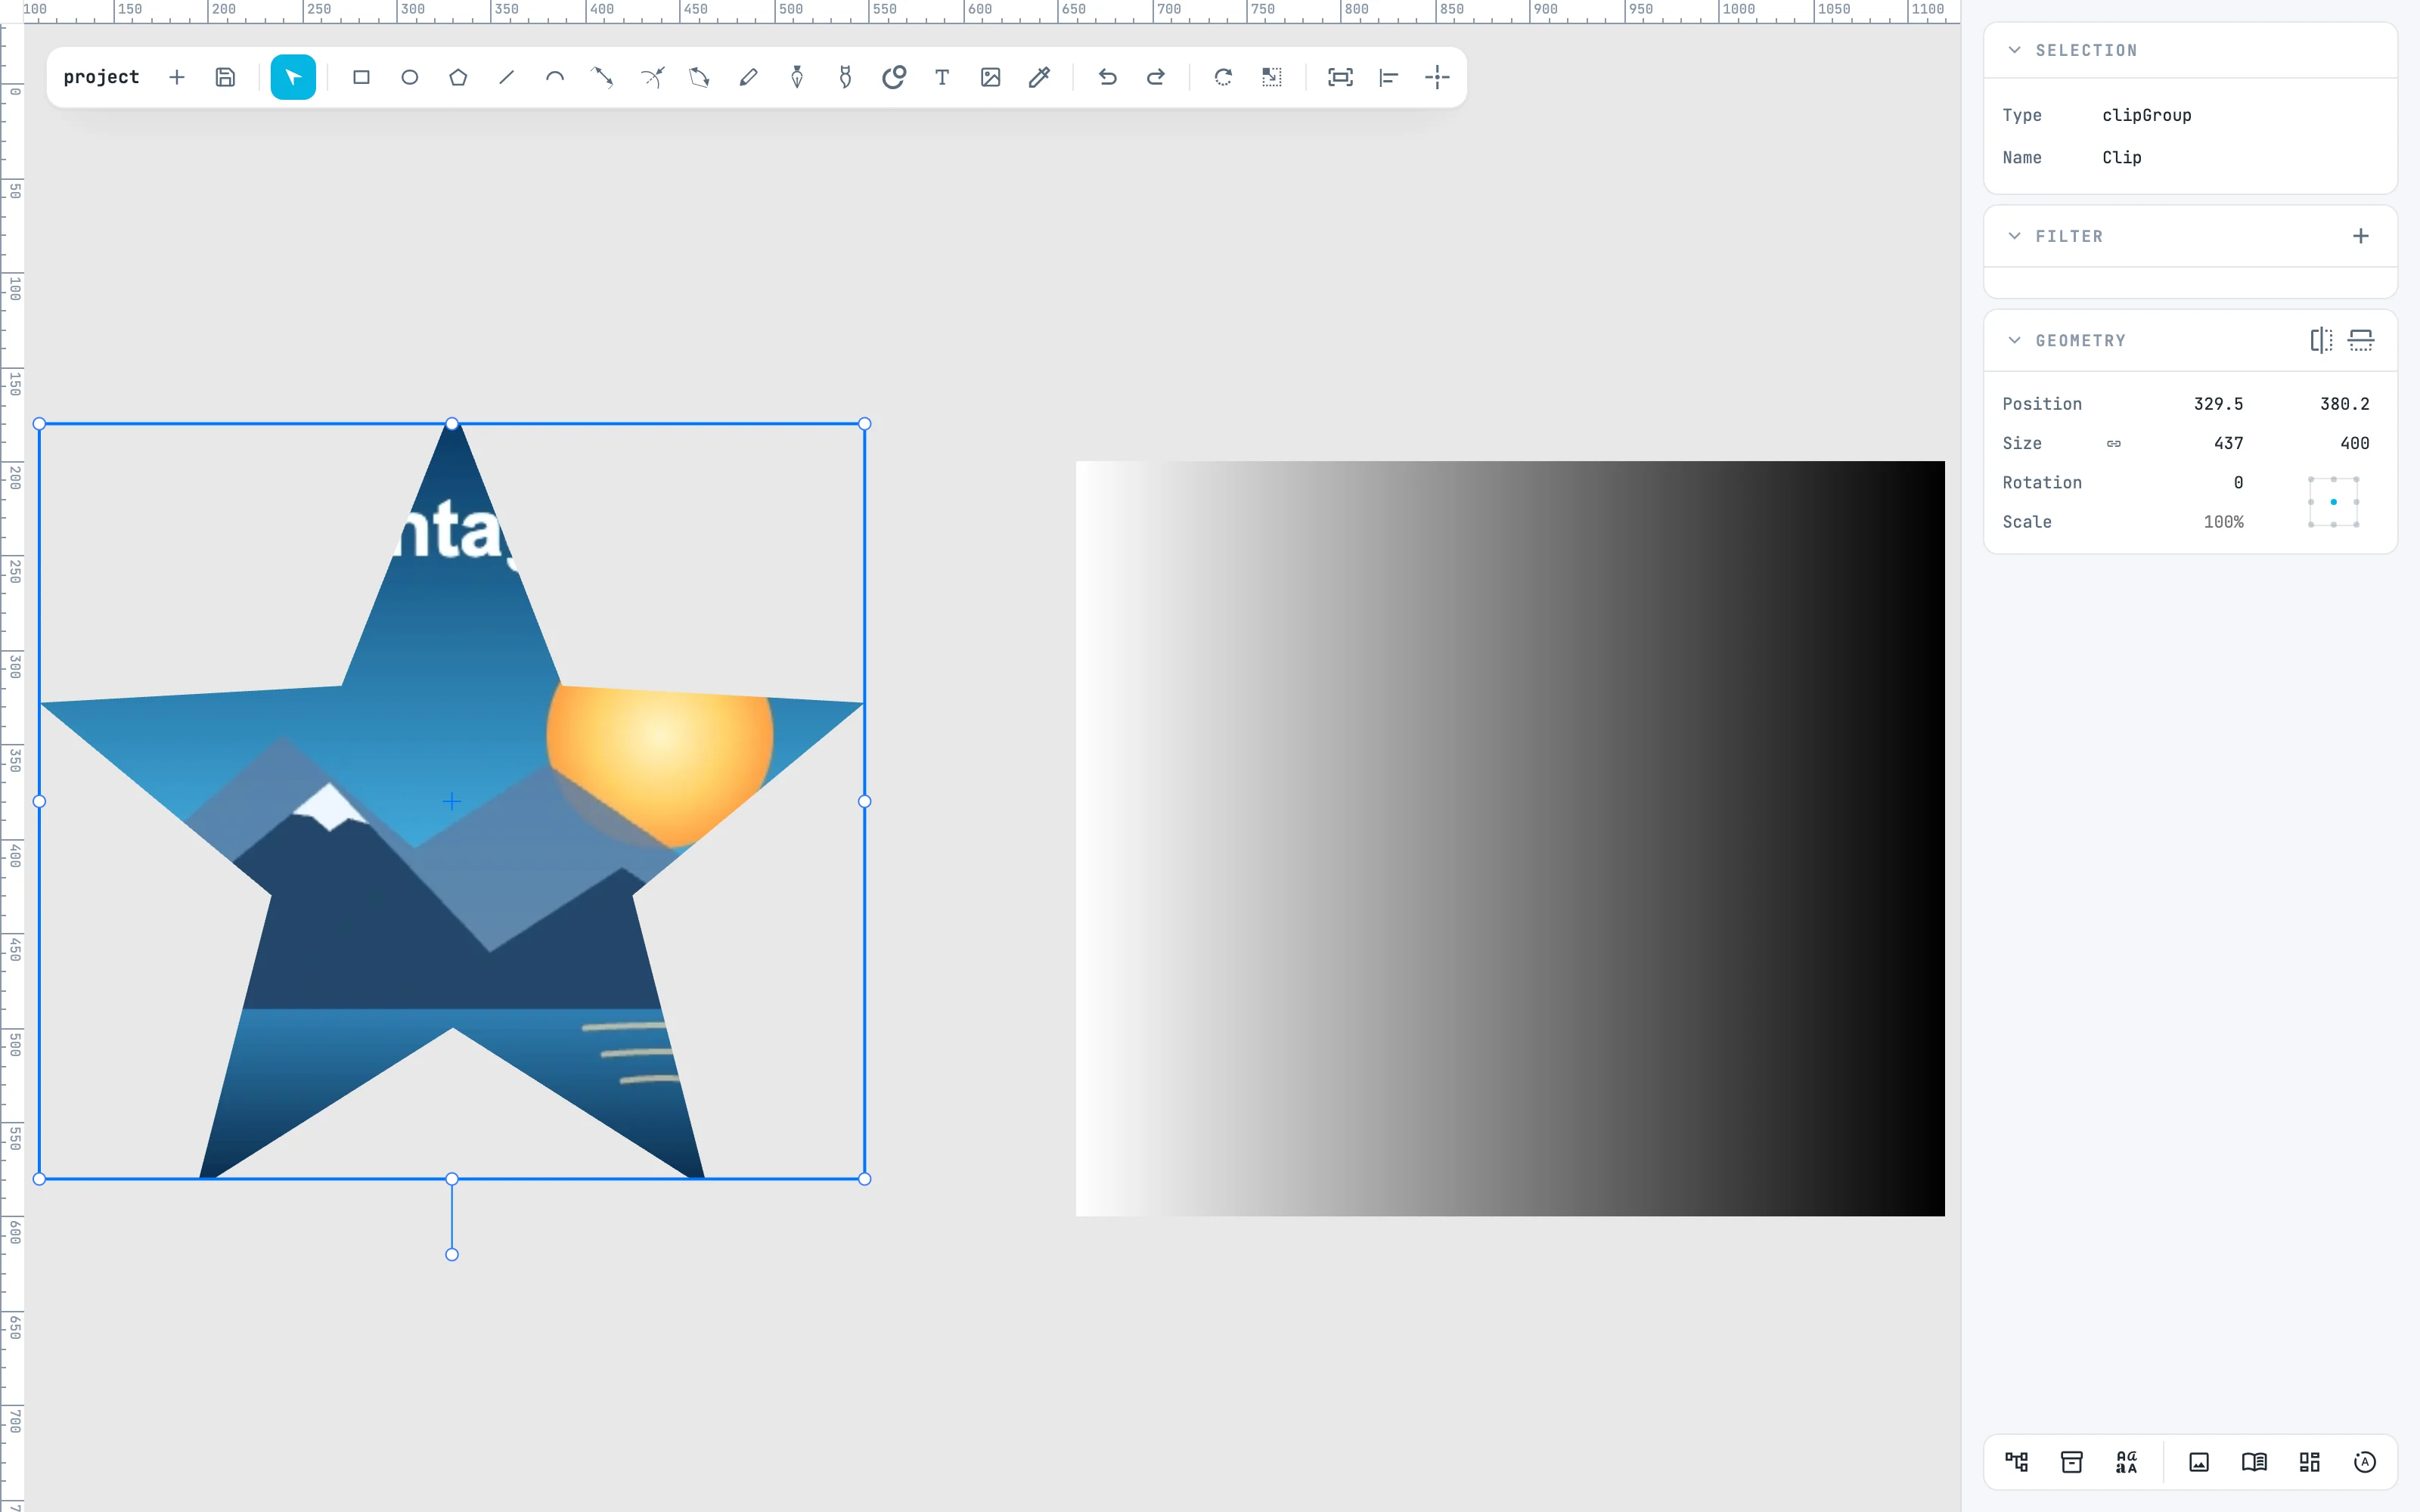
Clip: only the part of the photo inside the star shows. Nothing is really cut: the photo stays whole, inside the clip.
4 · Inside the clip
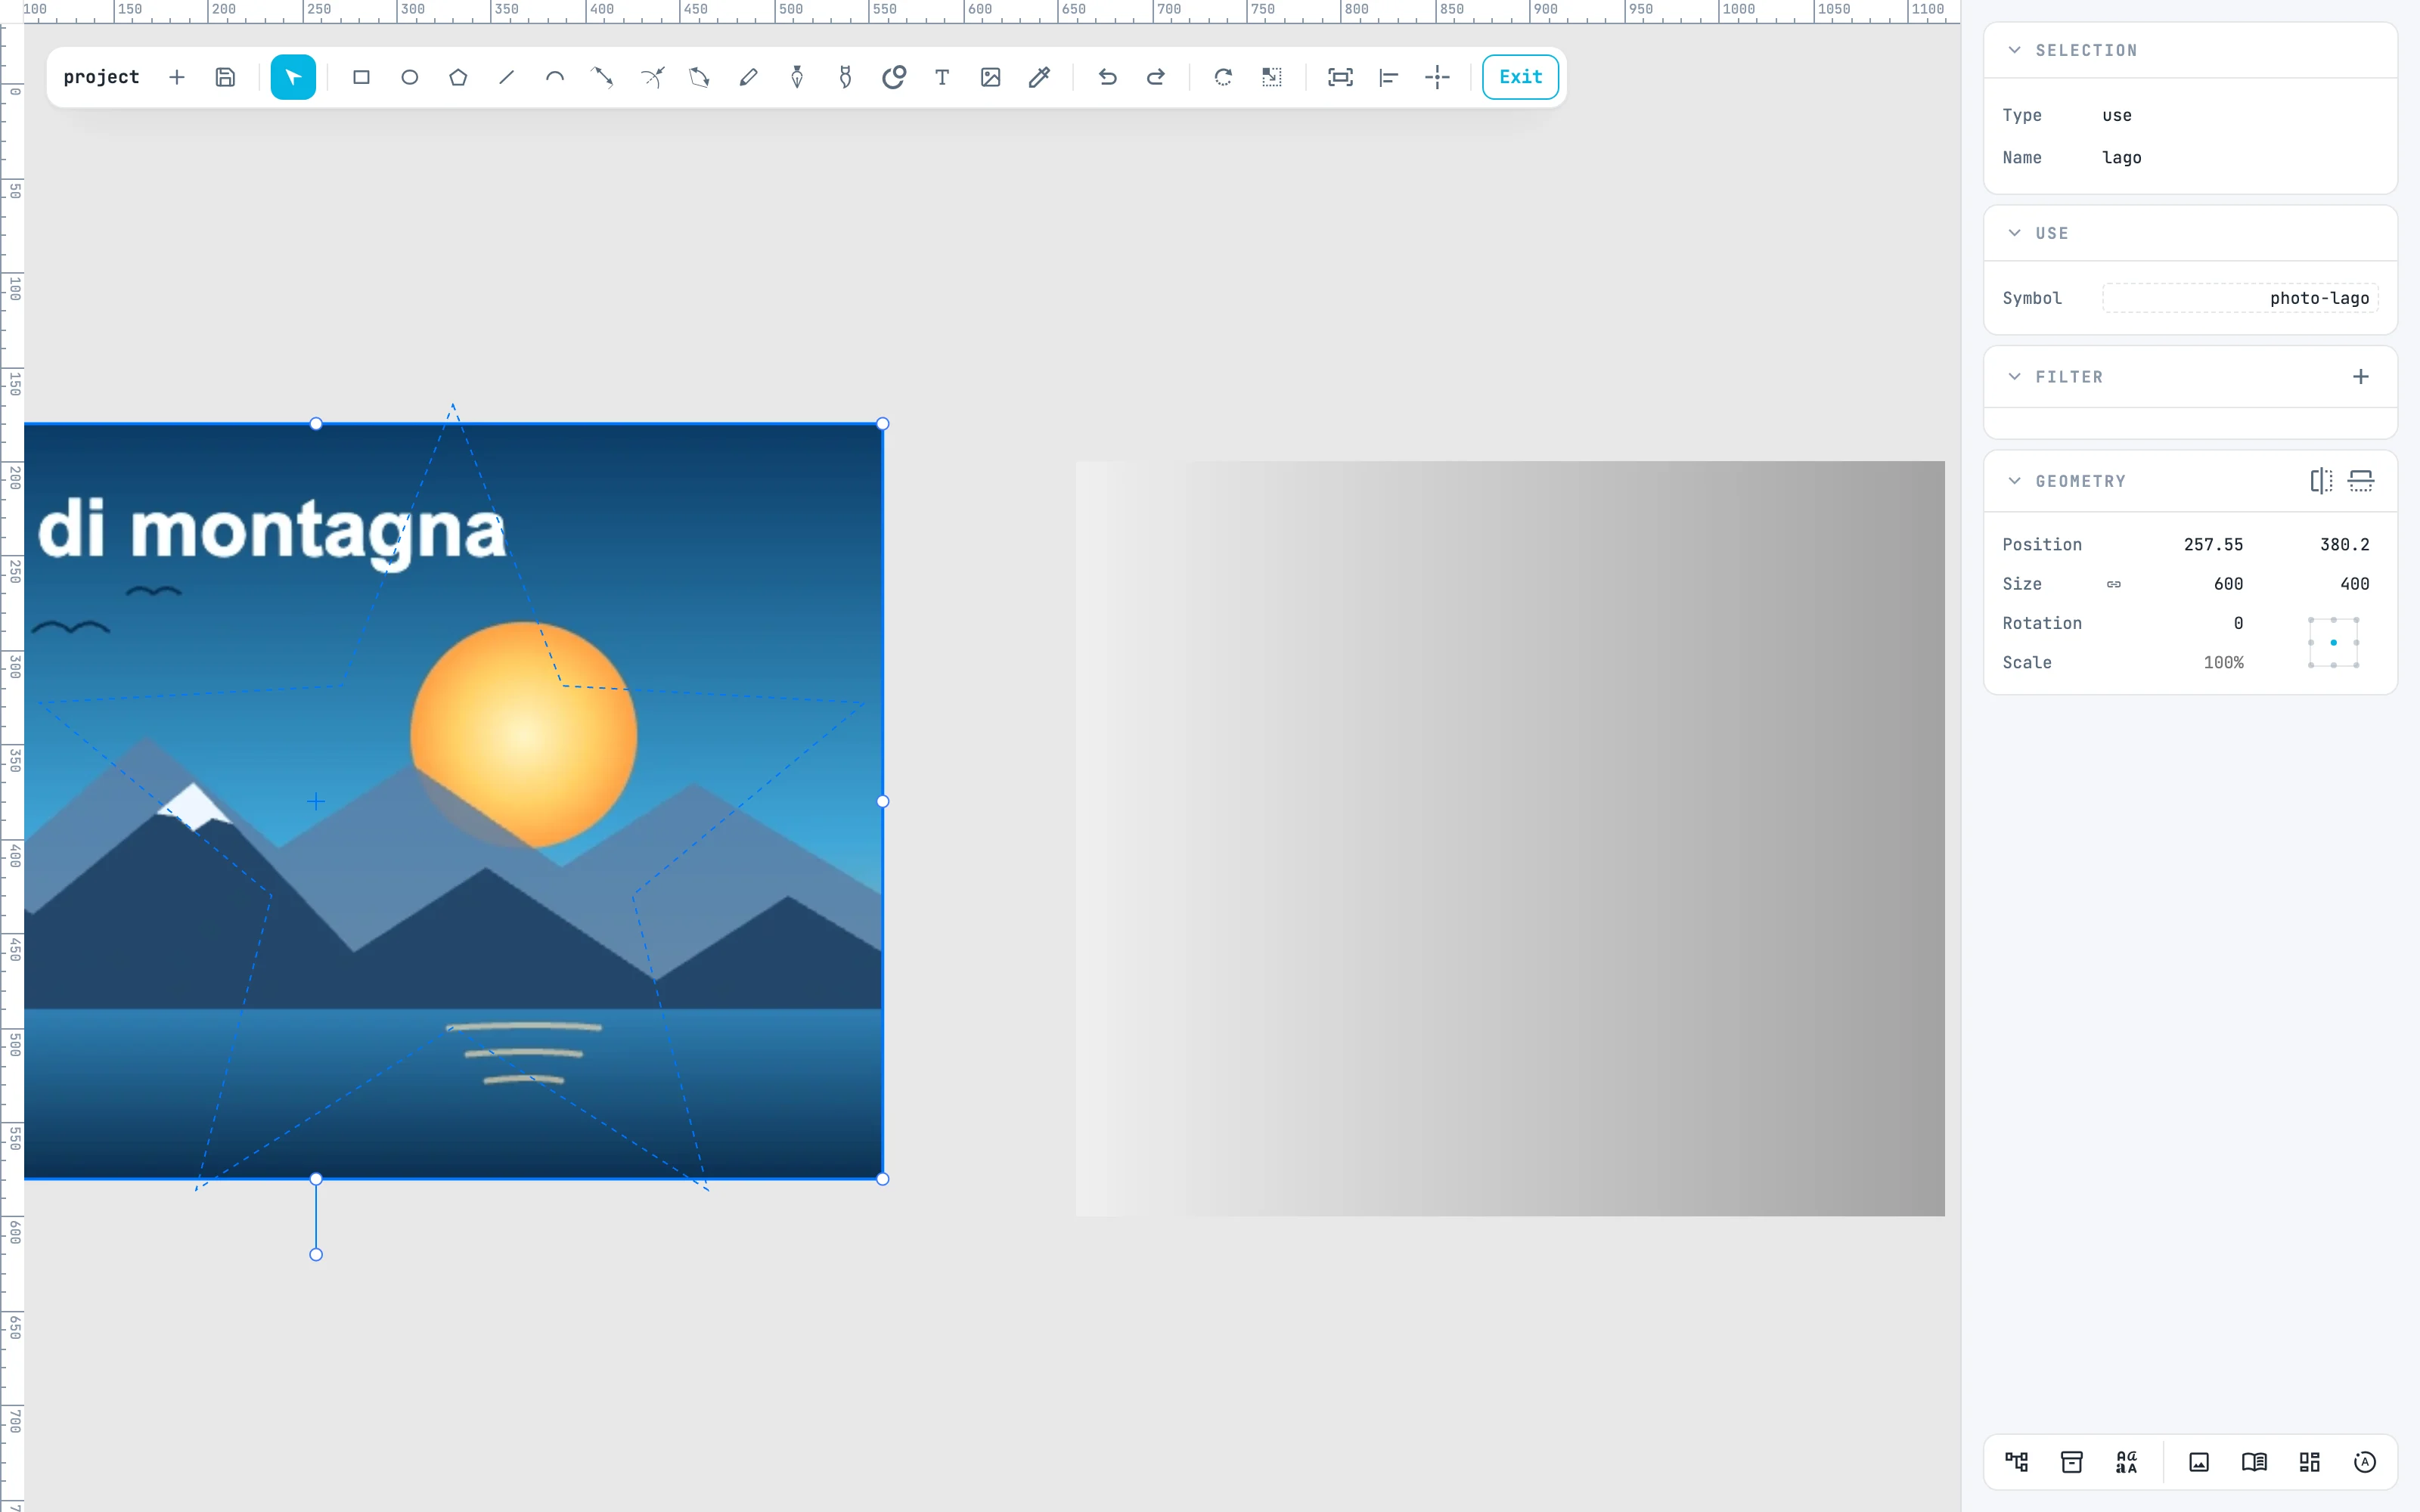
Double-click: you enter it. The shape shows as a dashed blue outline and the content whole, so you see what it cuts. Here the photo, dragged to the left, shows another part of the lake. You exit with Esc or Exit.
5 · Mask
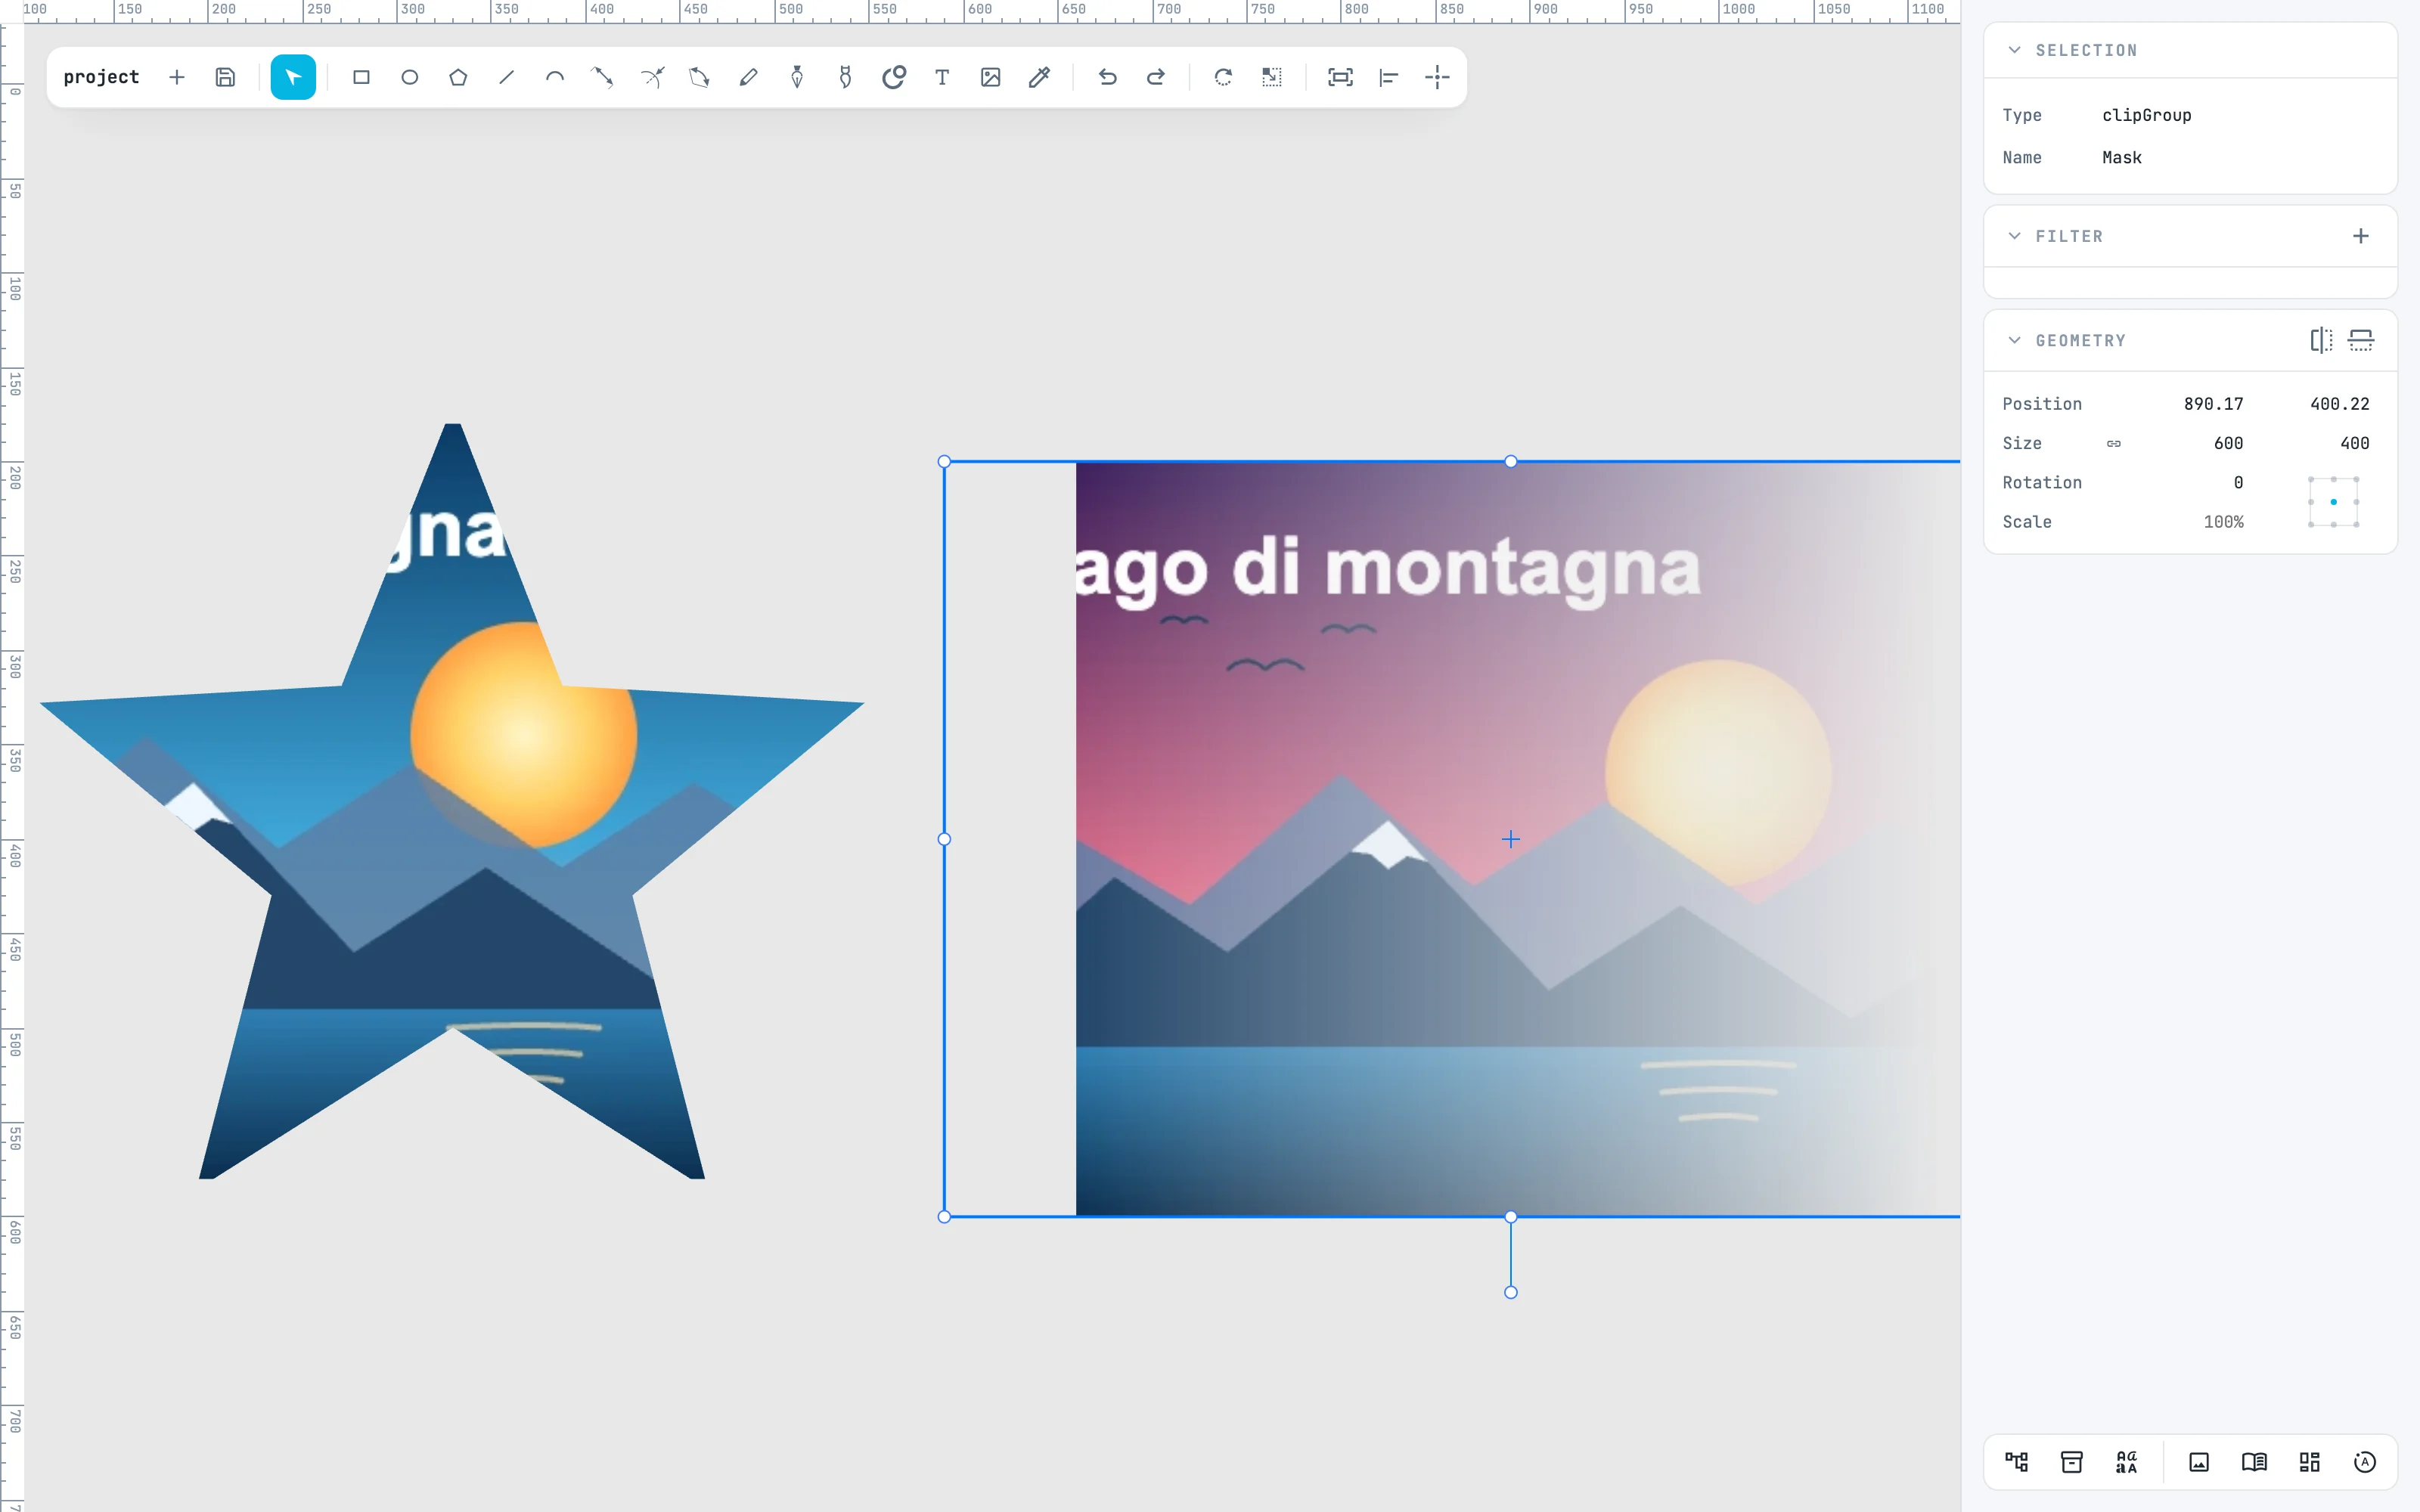
A second photo below the gradient rectangle, and Modifiers › Mask: the shape works as a luminance mask. White lets through, black hides, greys halfway: the photo fades to the right. A shape without fill takes white, otherwise it would mask nothing.
Going further
In the guide: Clip and Mask, stacking order and entering and exiting containers.