Draw with brushes
The freehand stroke, thickness, scale along the line, a brush given to a path
A brush is a shape that bends along the line you draw. You choose one, draw a stroke, thicken it, make it thin at the start, and then give it to shapes and paths you already have.
1 · The brush list
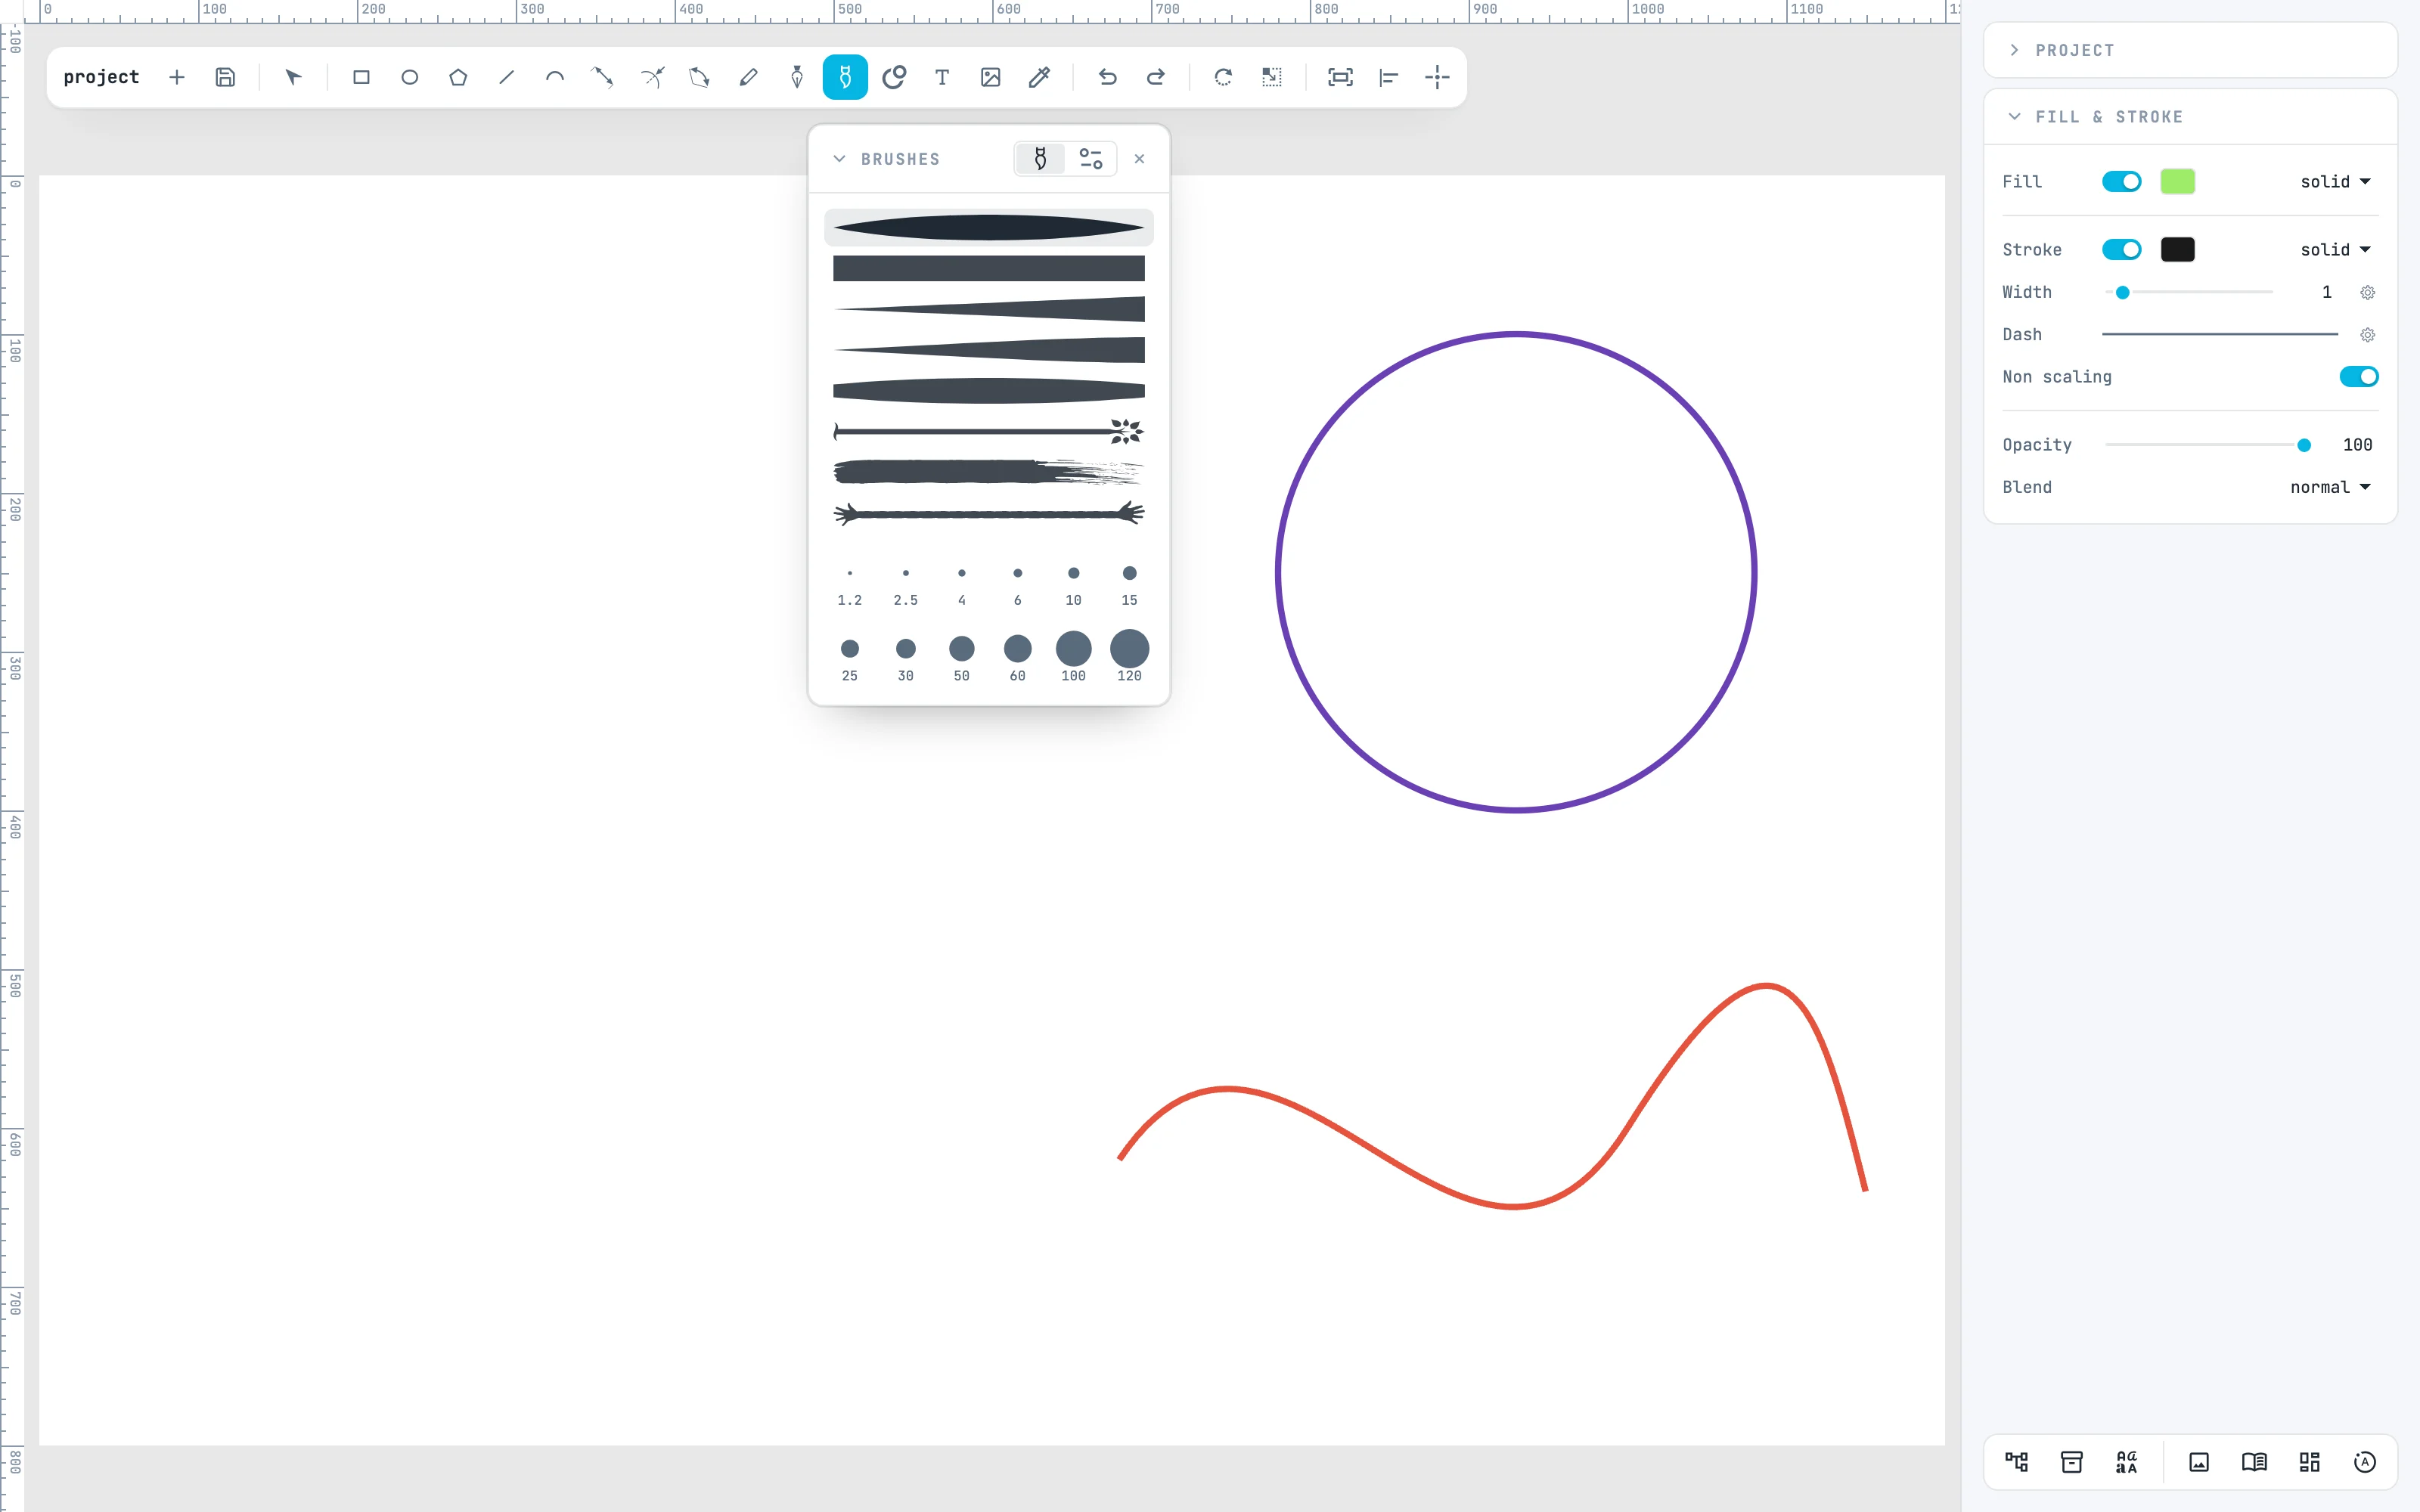
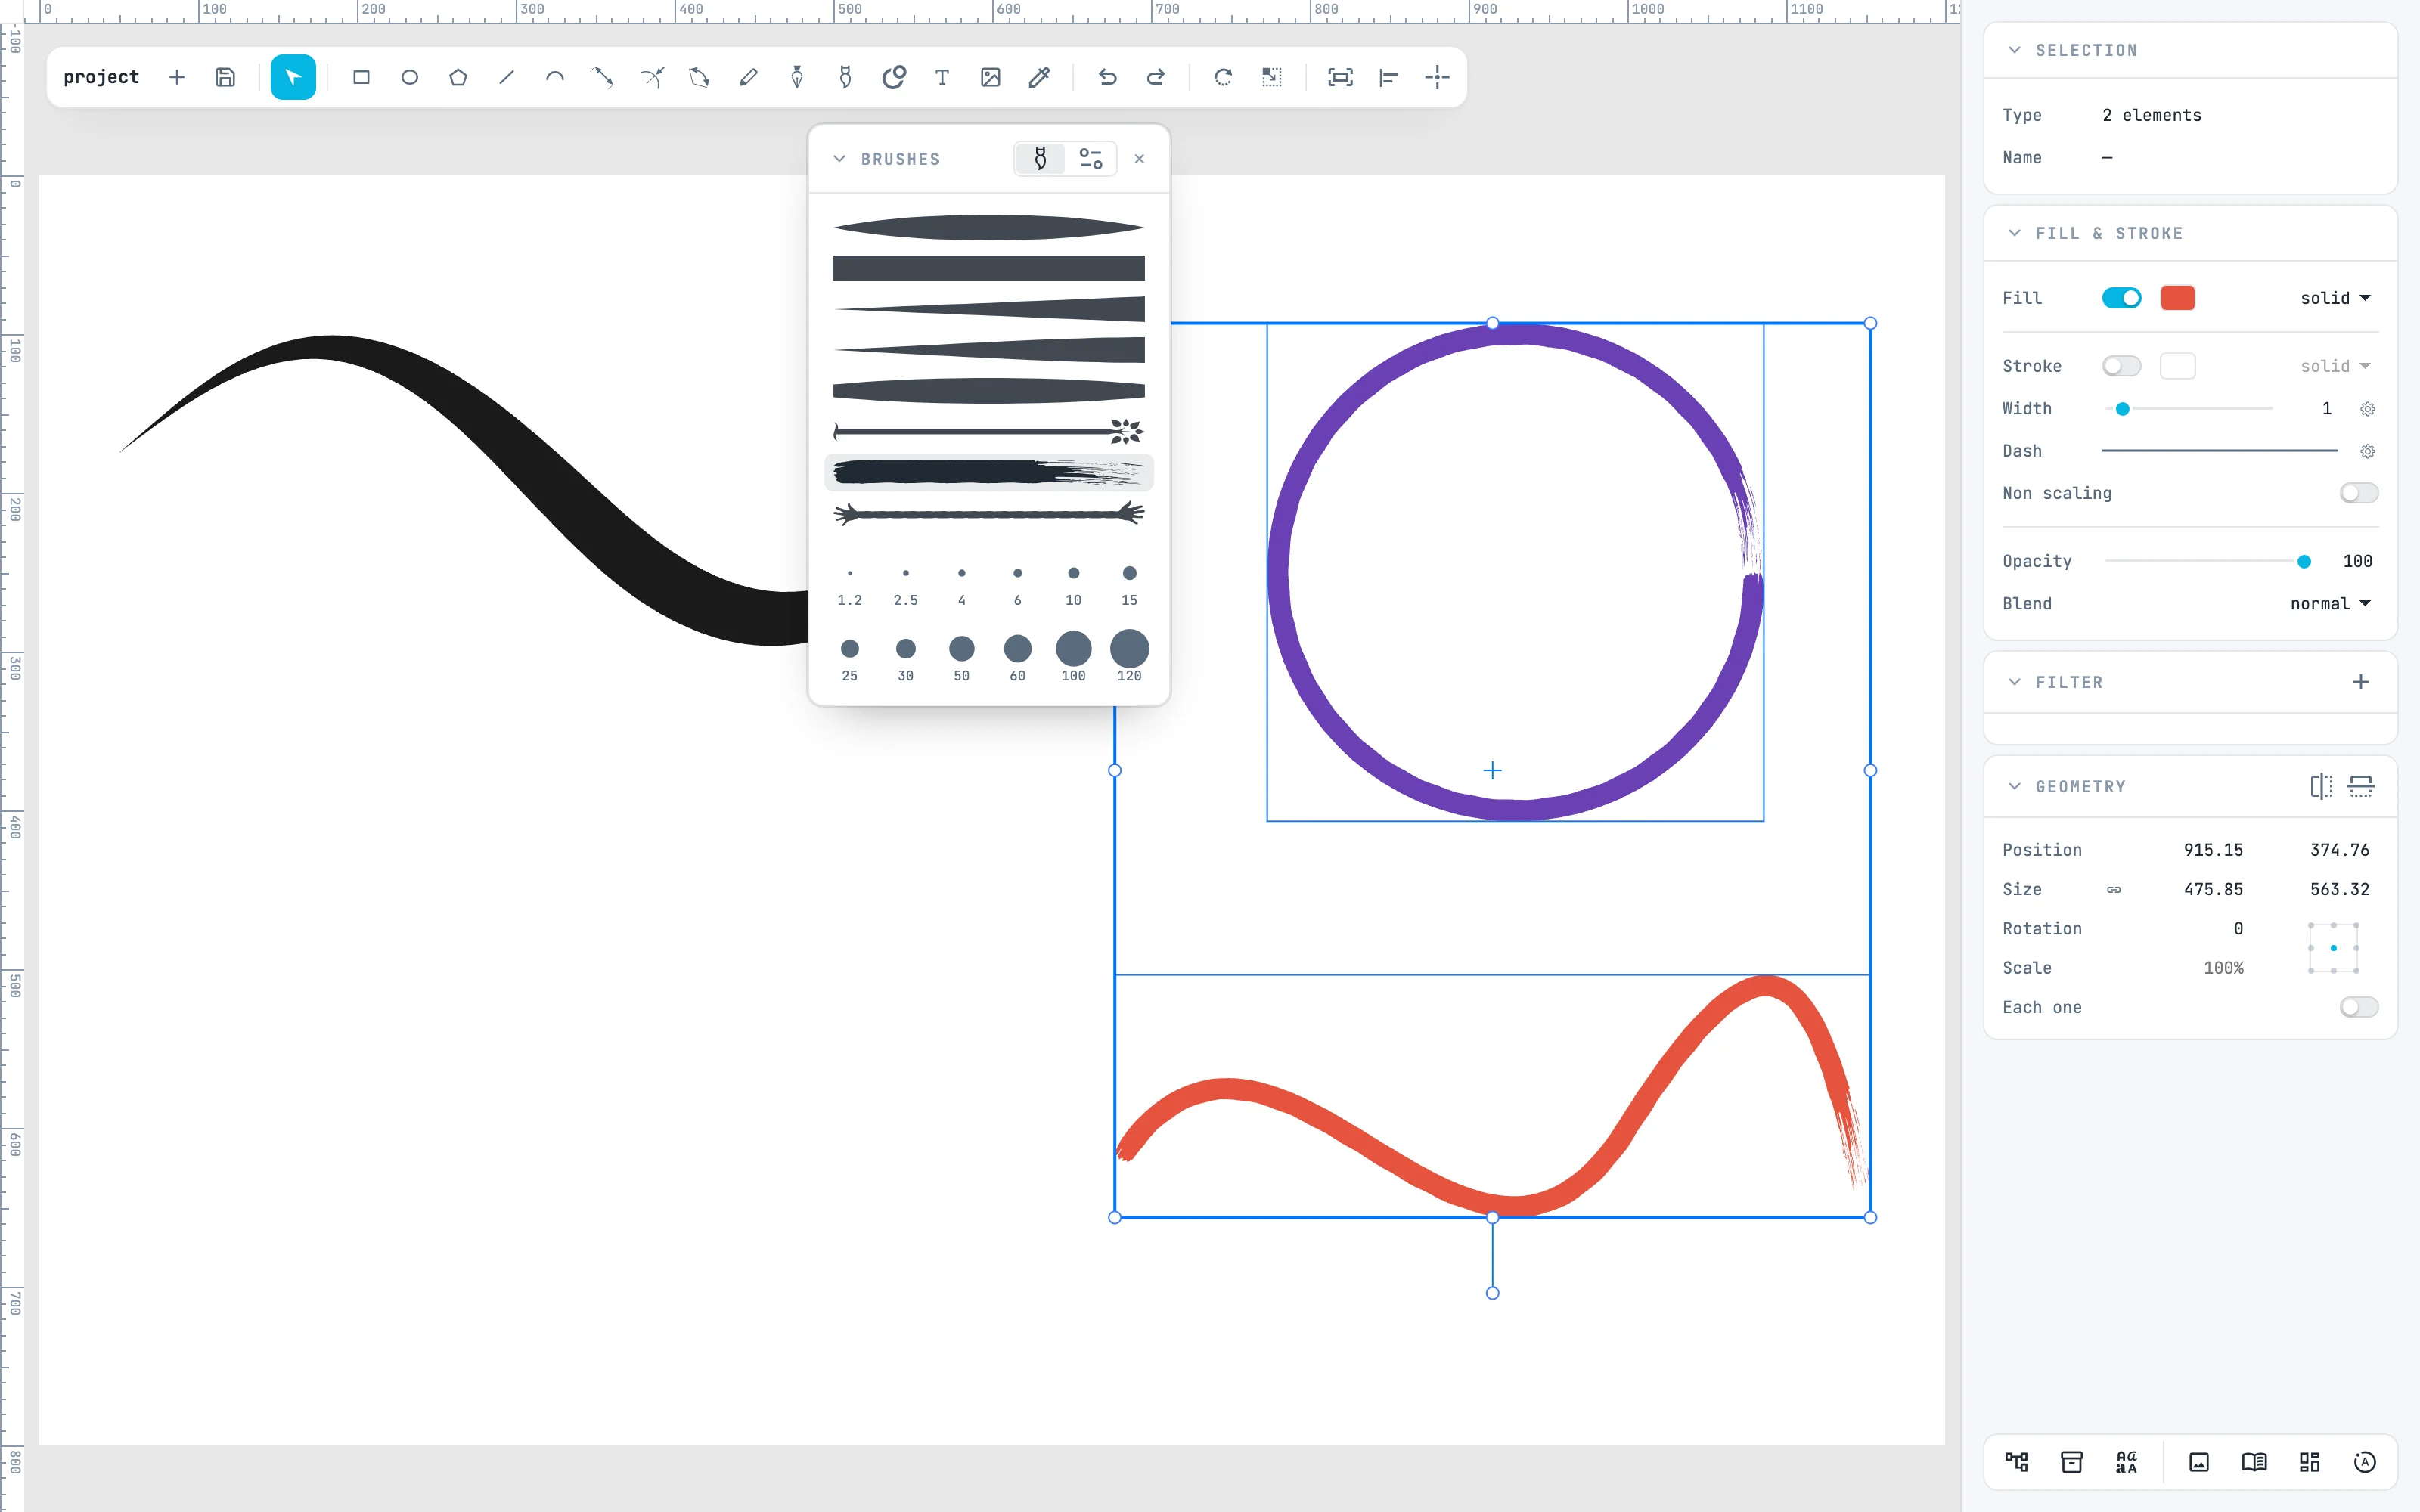
Take the brush from the toolbar (B) and move over its button: the list opens. Each entry shows the real mark of the brush, the name is in the tooltip. The library has eight: Taper, Flat, Wedge, Blade, Bulge, Tipped, Beads, Arrow. There is always a brush in hand: the first, until you choose another.
2 · Draw a stroke
Choose Taper and draw a freehand stroke, as with the pencil; the brush does not snap. What is created is a brush stroke: the shape of the brush bent along the line, which stays selected with the brush in hand. The list closes with its ×.
3 · Thickness
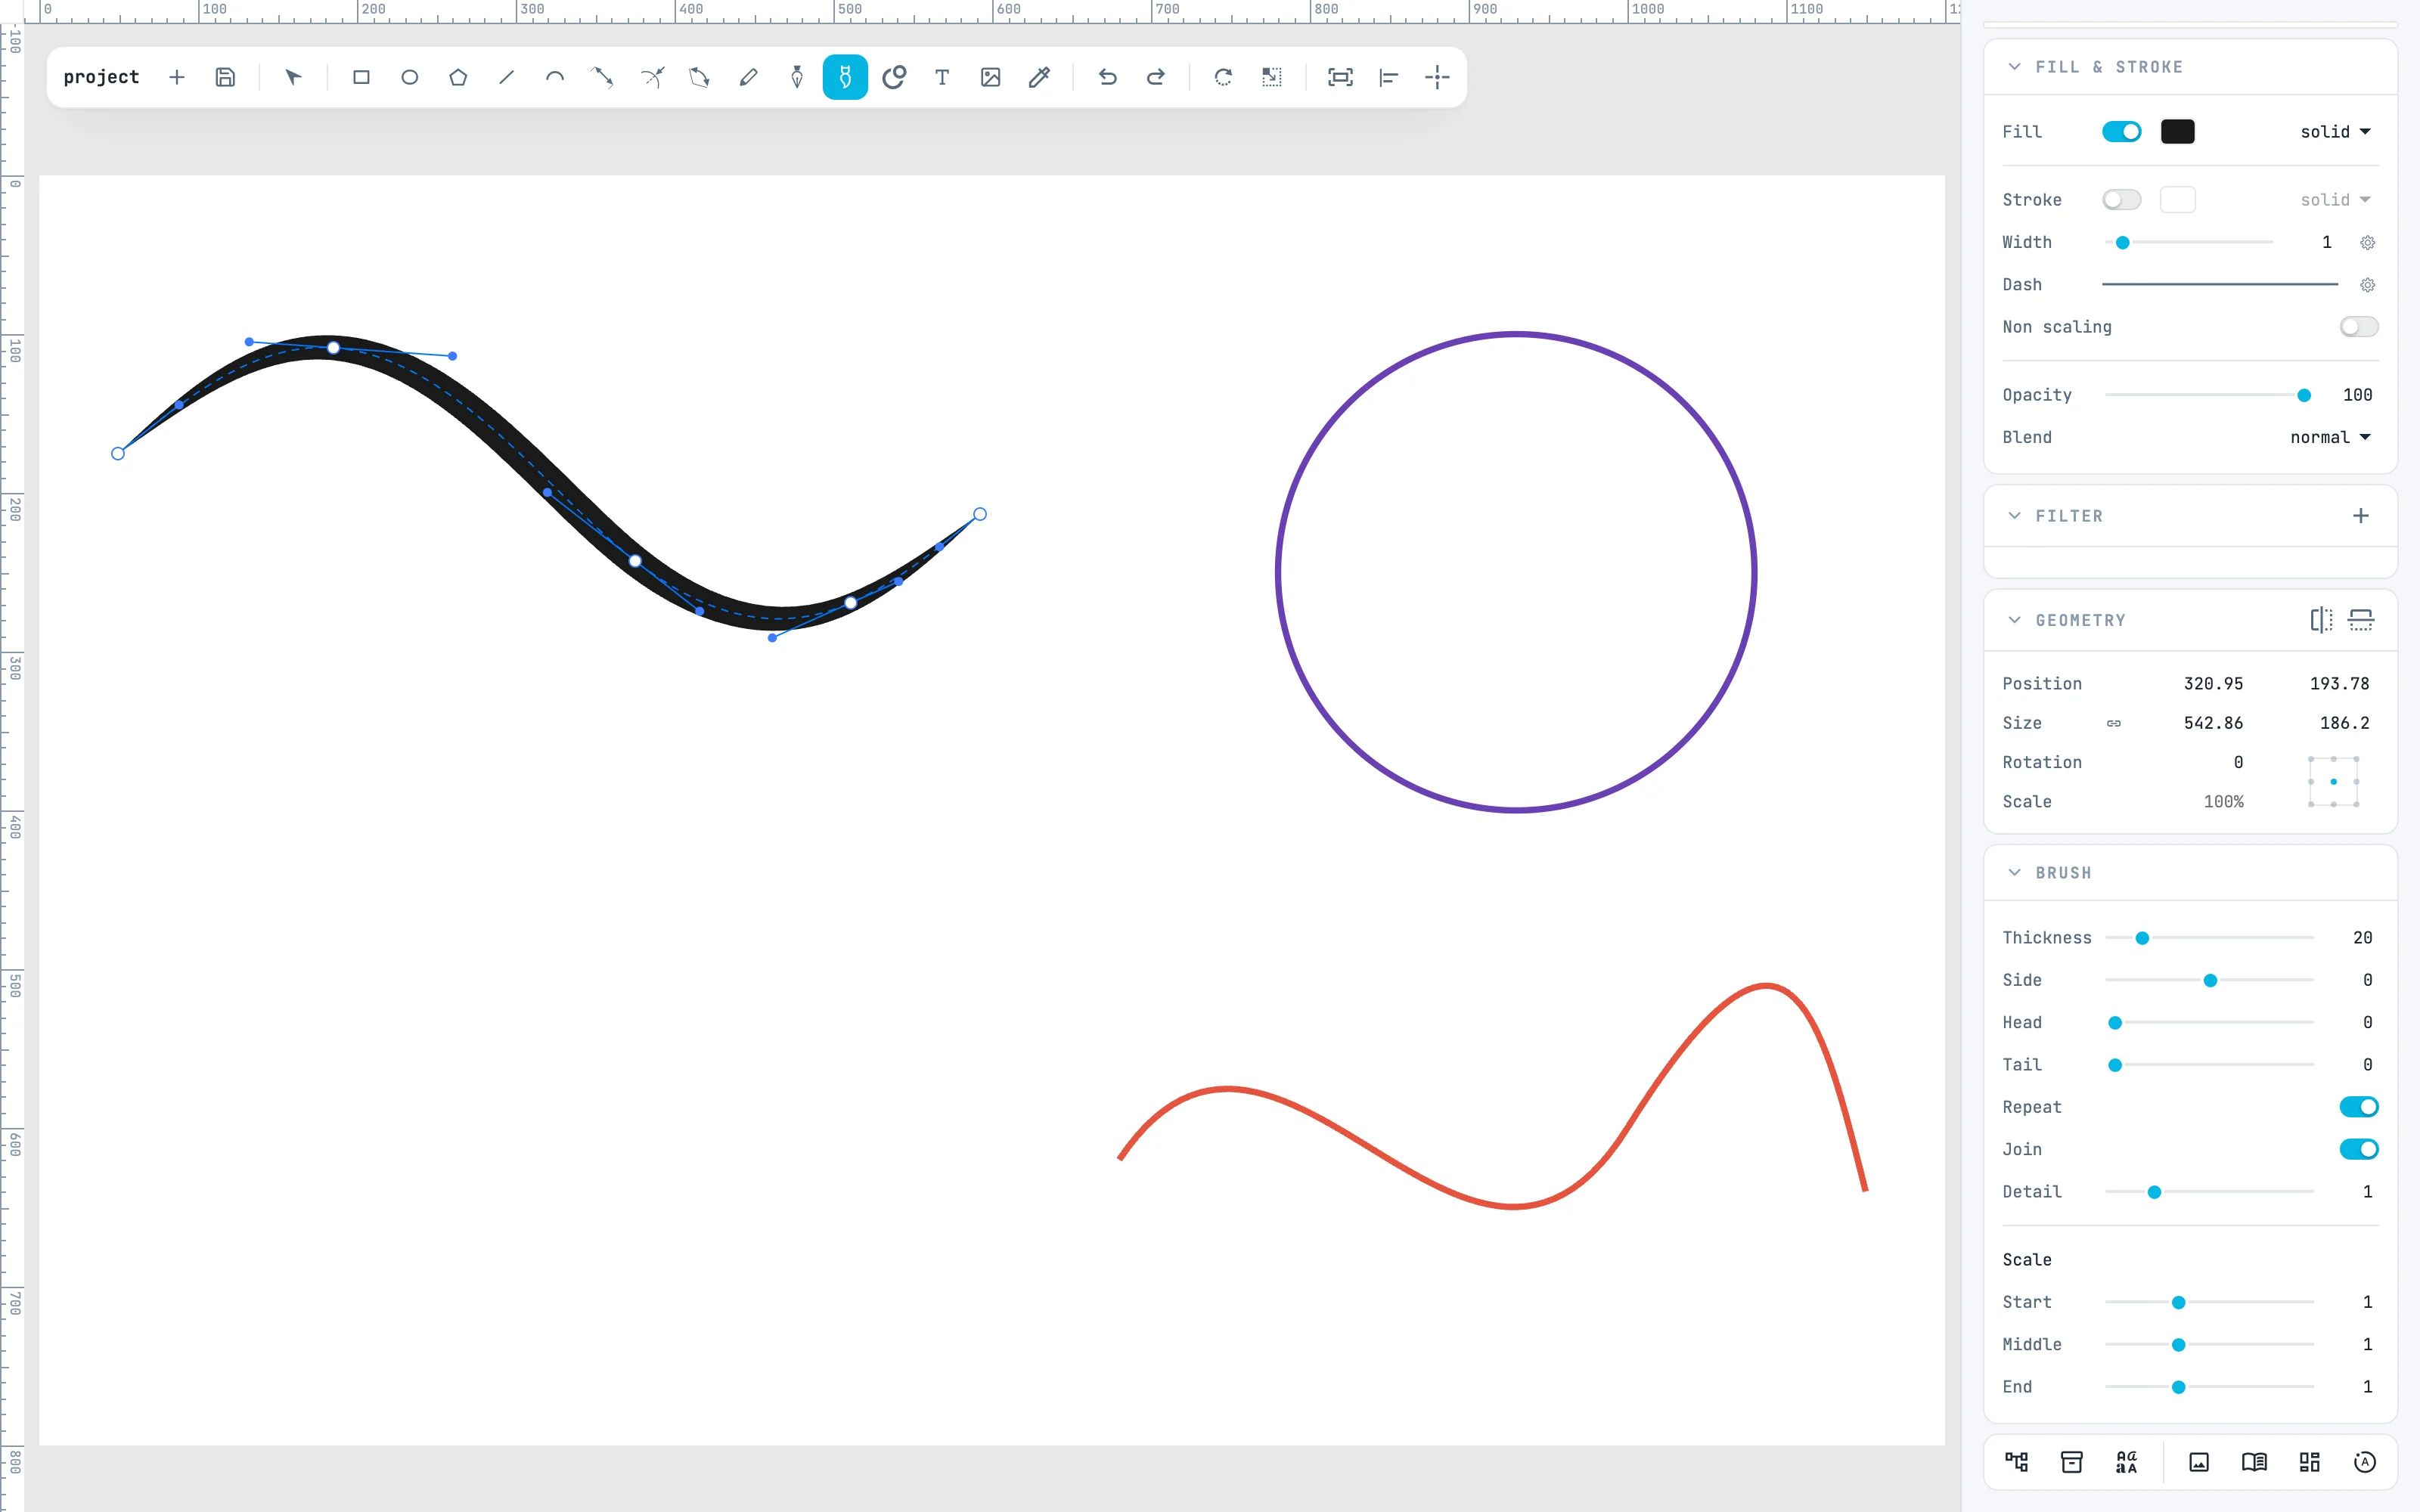
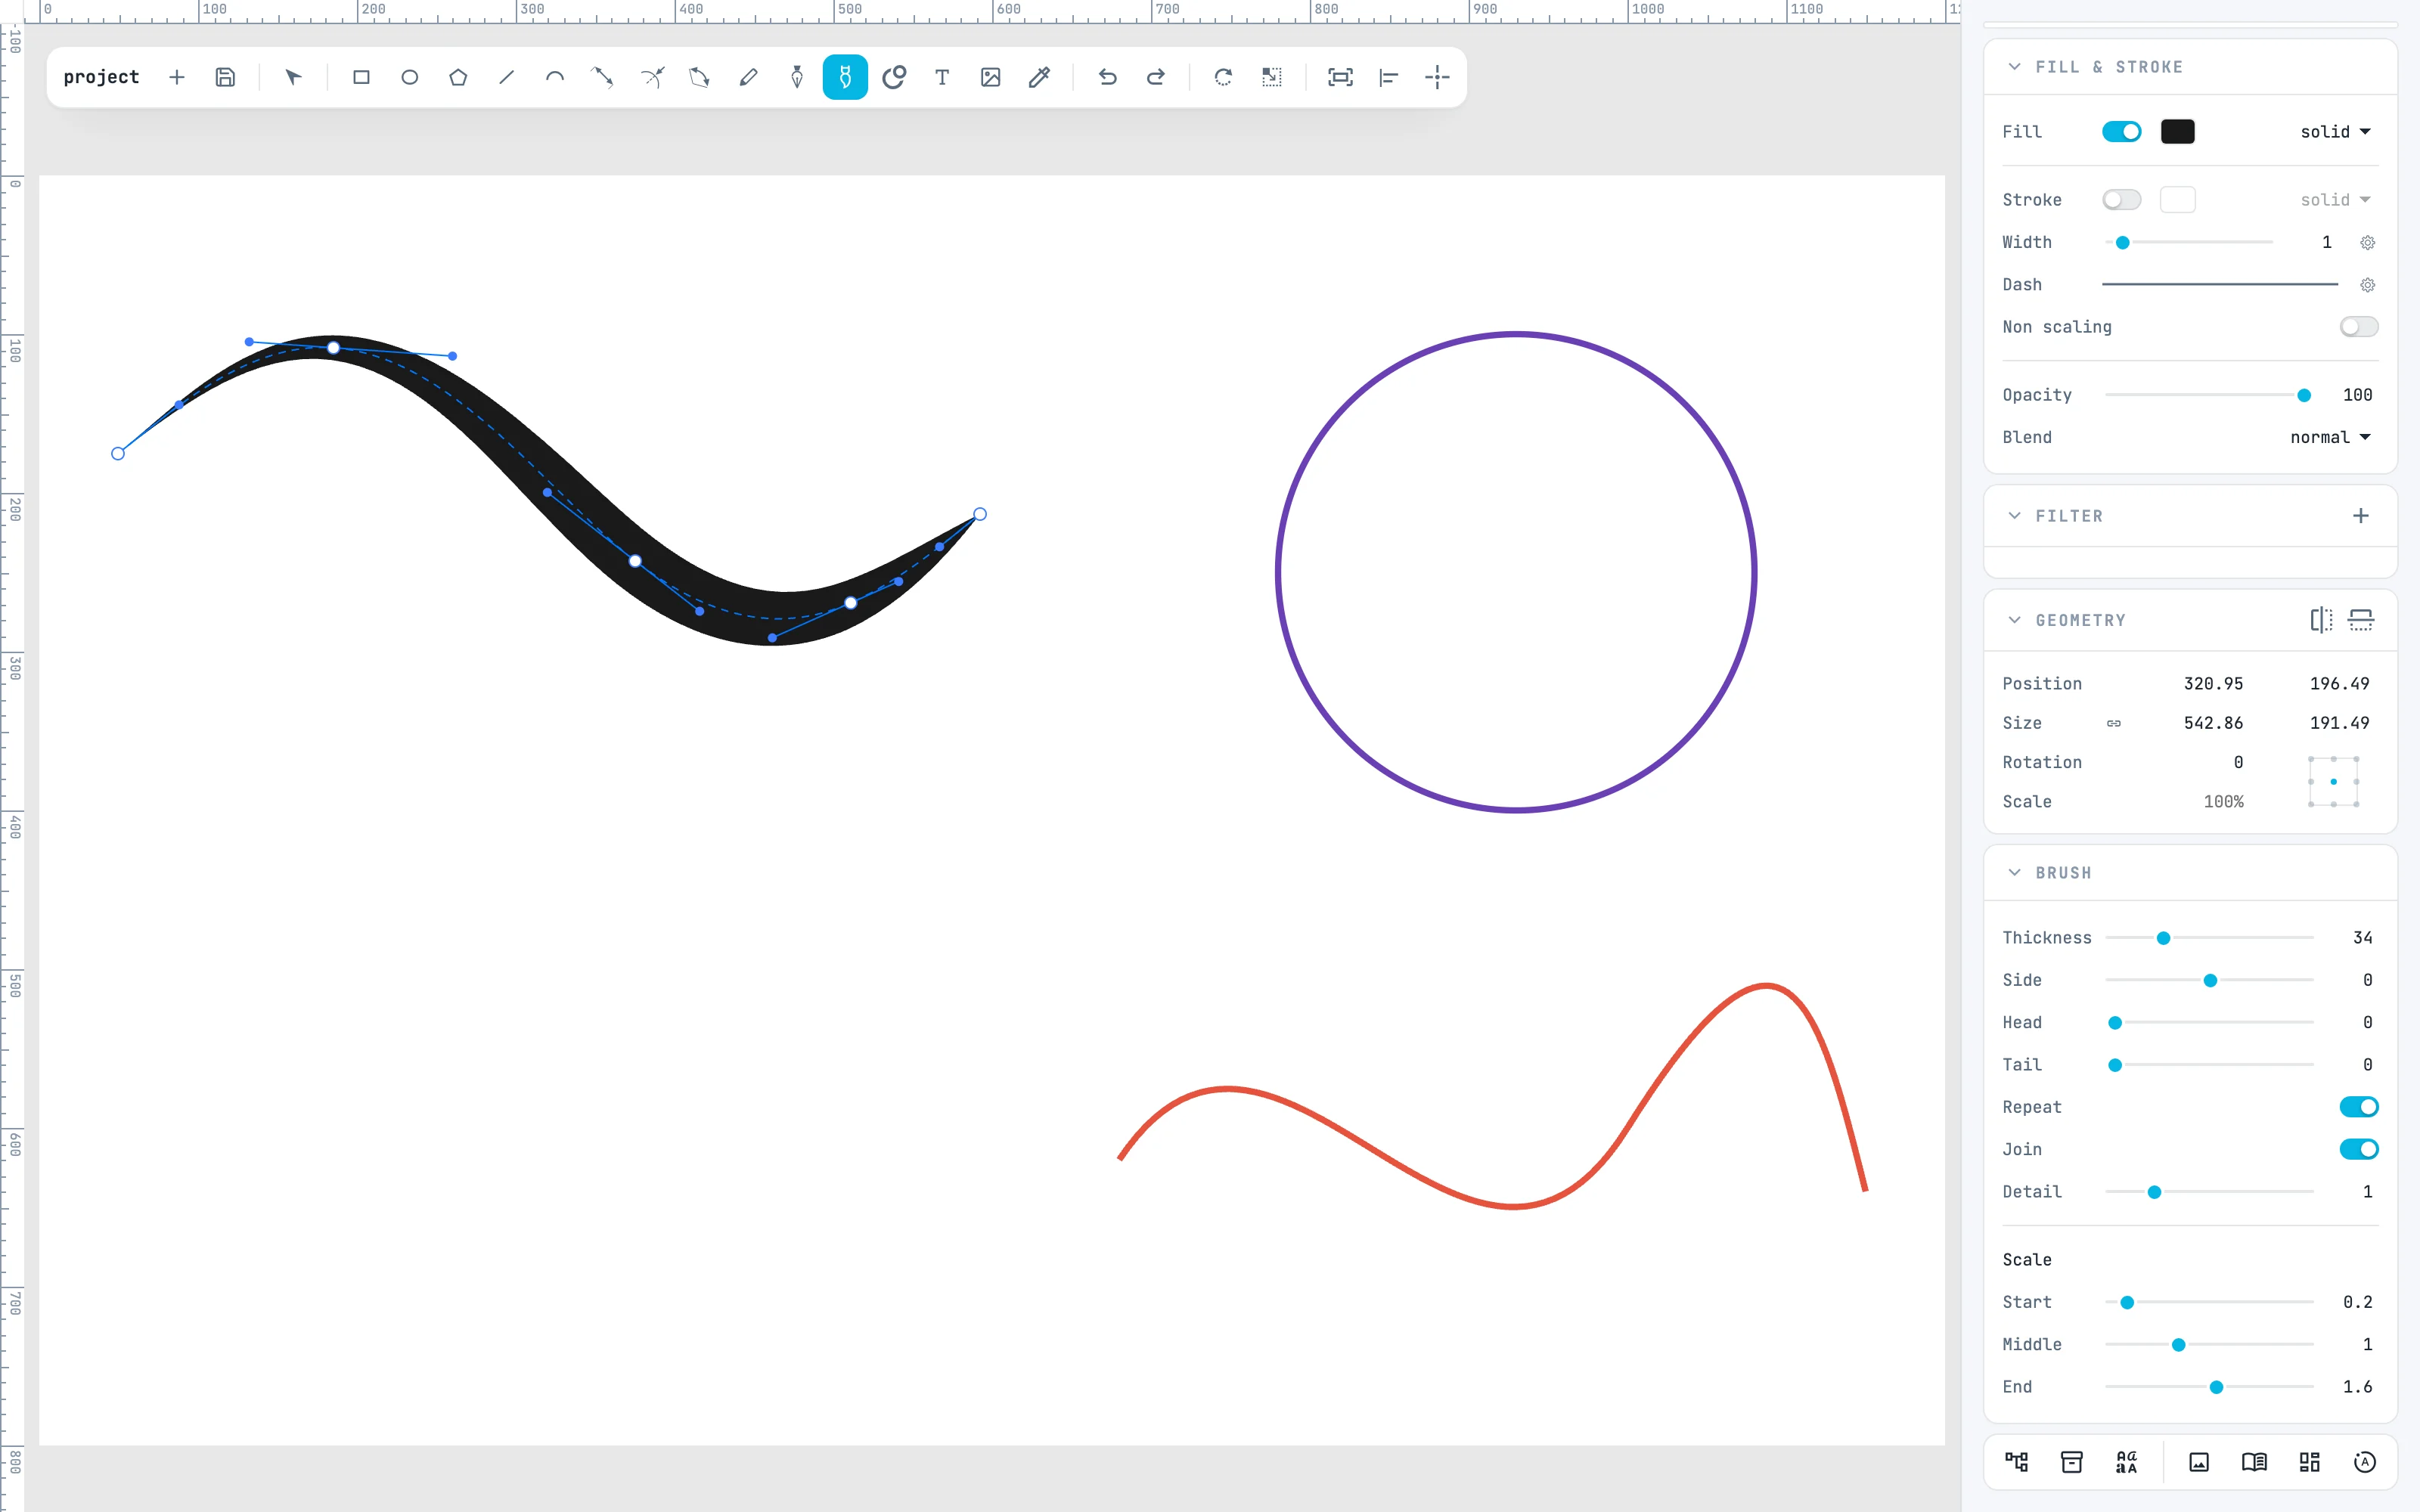
In the Brush panel, Thickness is the thickness of the stroke. Next to it Head and Tail say how much of the shape is head and tail, which do not repeat; Repeat fills the stroke with copies of the middle piece, so the brush gets longer without stretching; Join merges the pieces into a single outline.
4 · Scale along the line
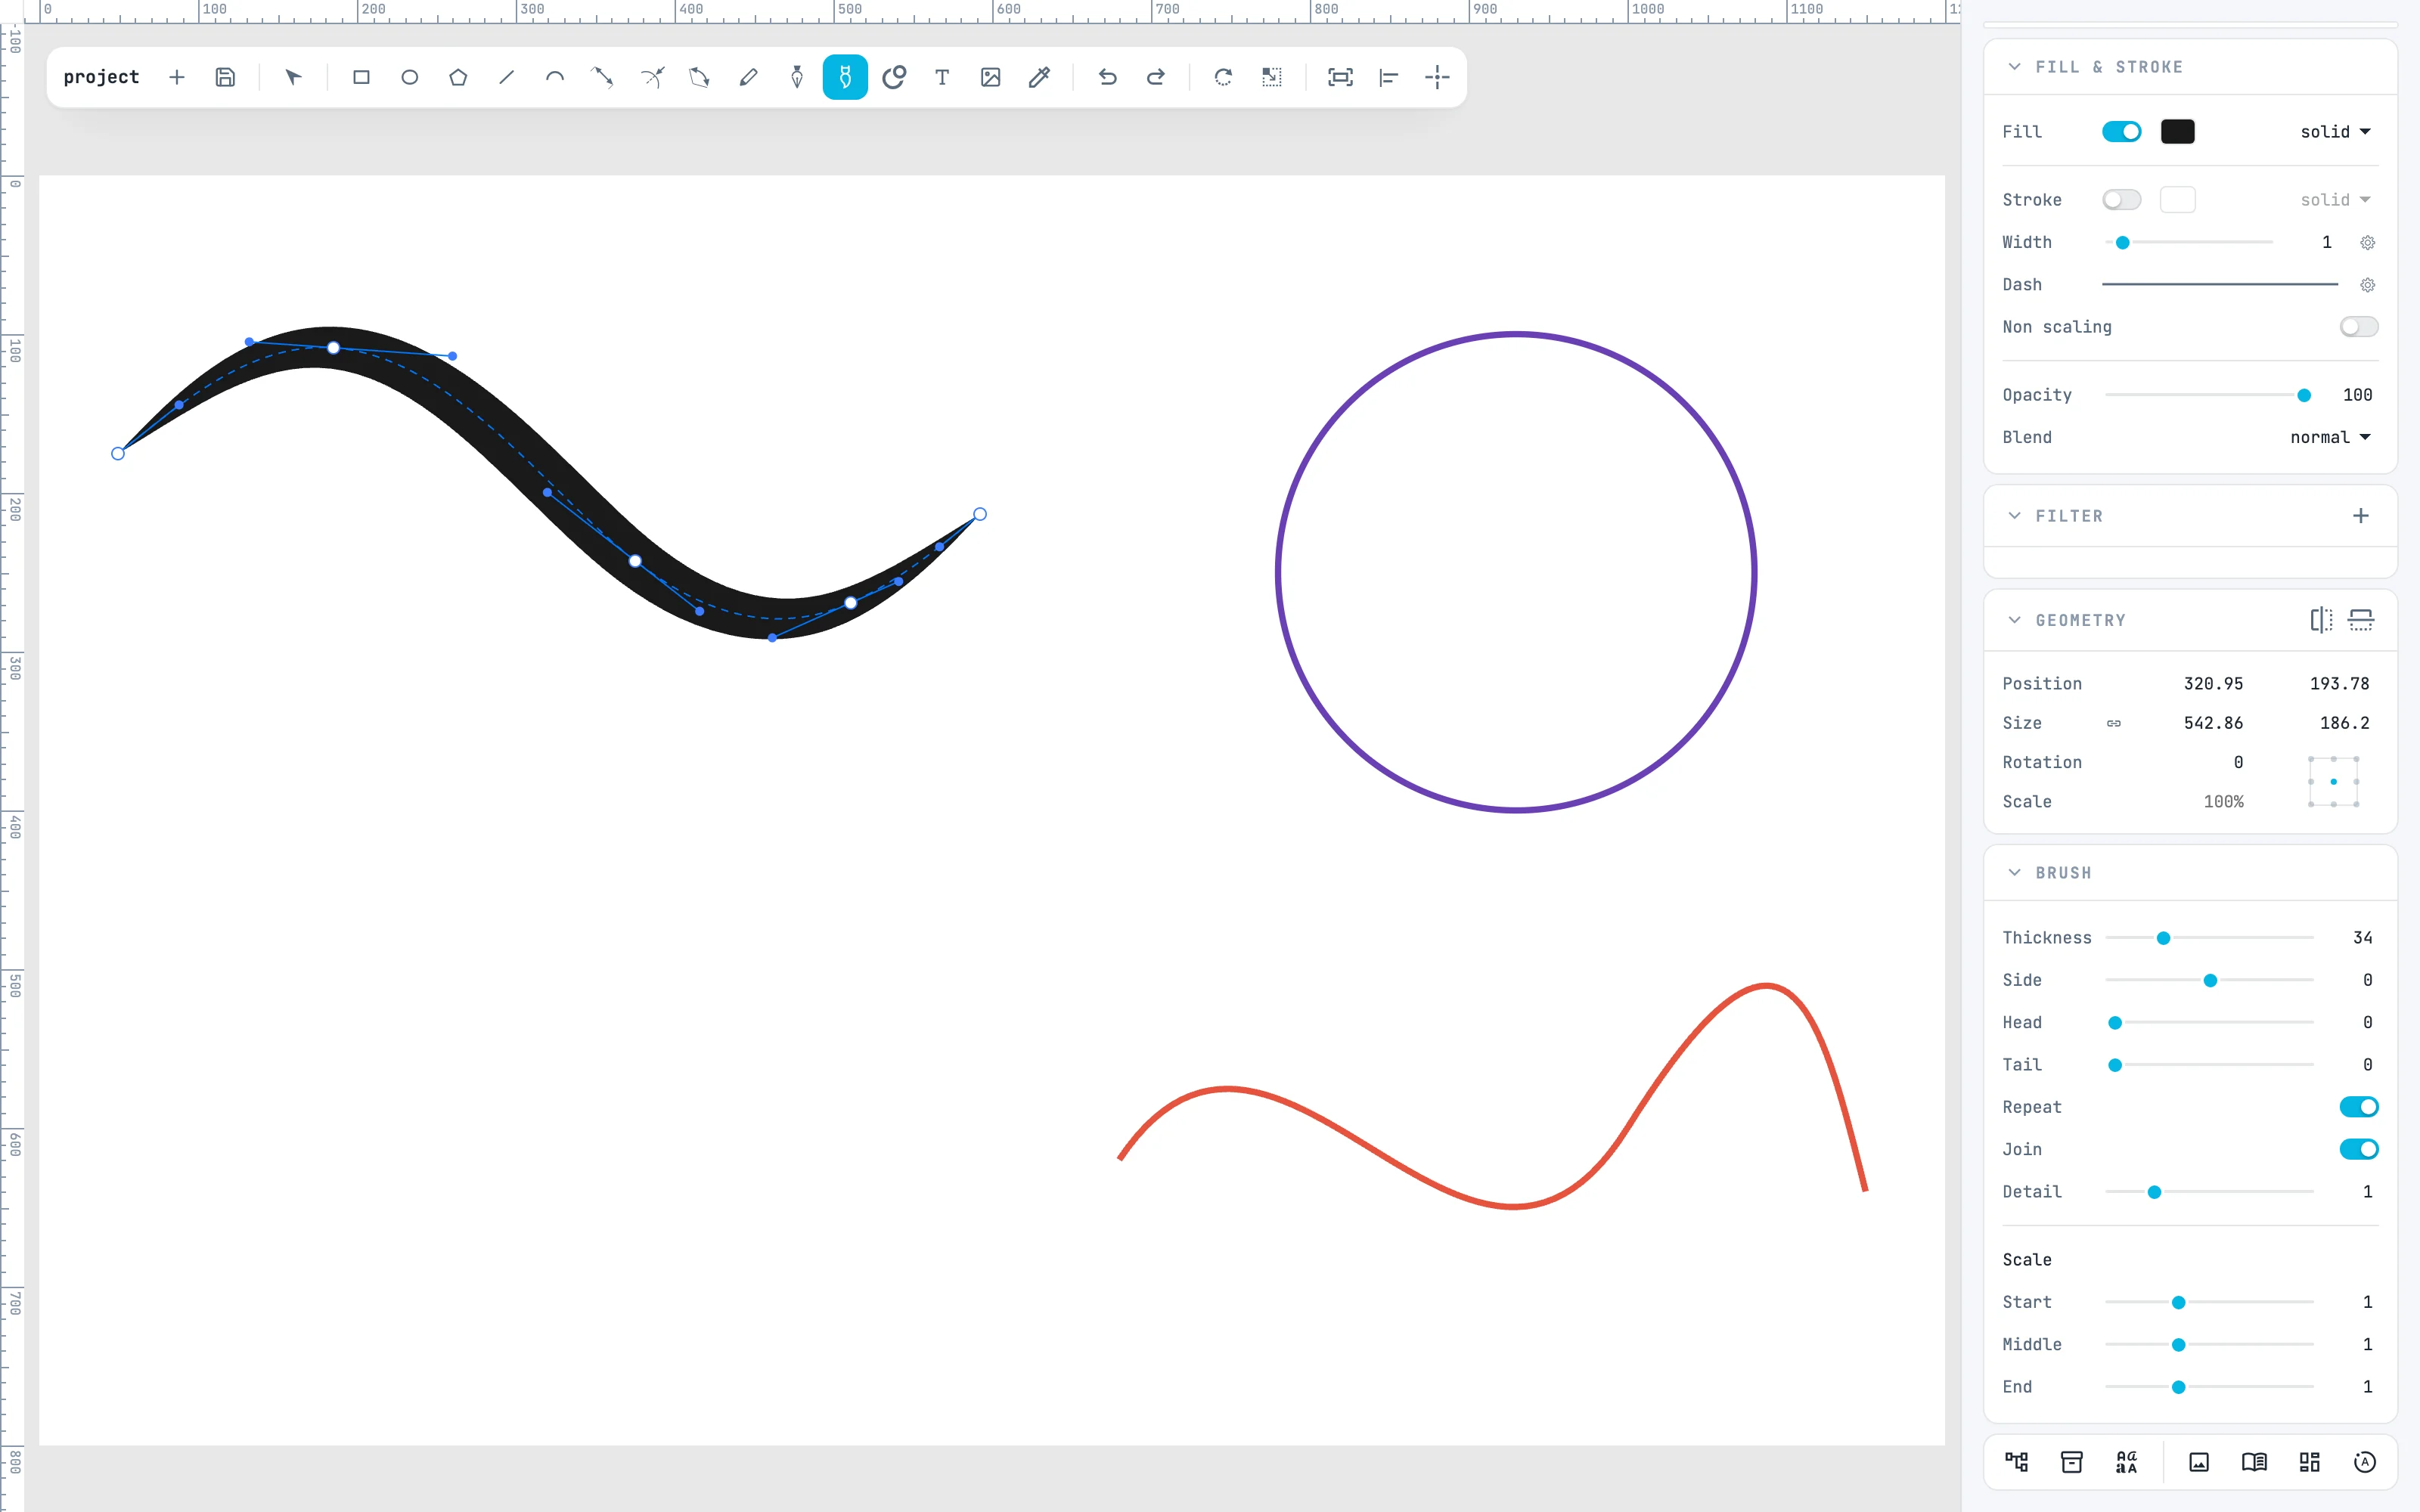
The three Scale rows give the cross scale at the start (Start), the middle (Middle) and the end (End) of the line. Here 0.2 at the start and 1.6 at the end: the stroke starts thin and ends wide. With a double-click you enter the stroke and edit its line.
5 · A brush for shapes and paths
Select the shapes or paths, take the brush (the selection stays) and click a brush in the list: each one becomes a stroke of that brush along its outline, with the stroke color, or the fill color if there is no stroke. A single step, and the arrow comes back. On an existing stroke, the same click changes the brush and keeps the line.
Going further
In the guide: the brush, the spine and the brush stroke and the Spine panel.