Align to the page and to objects
The align bar: aligning, distributing, centering on the sheet, reflecting
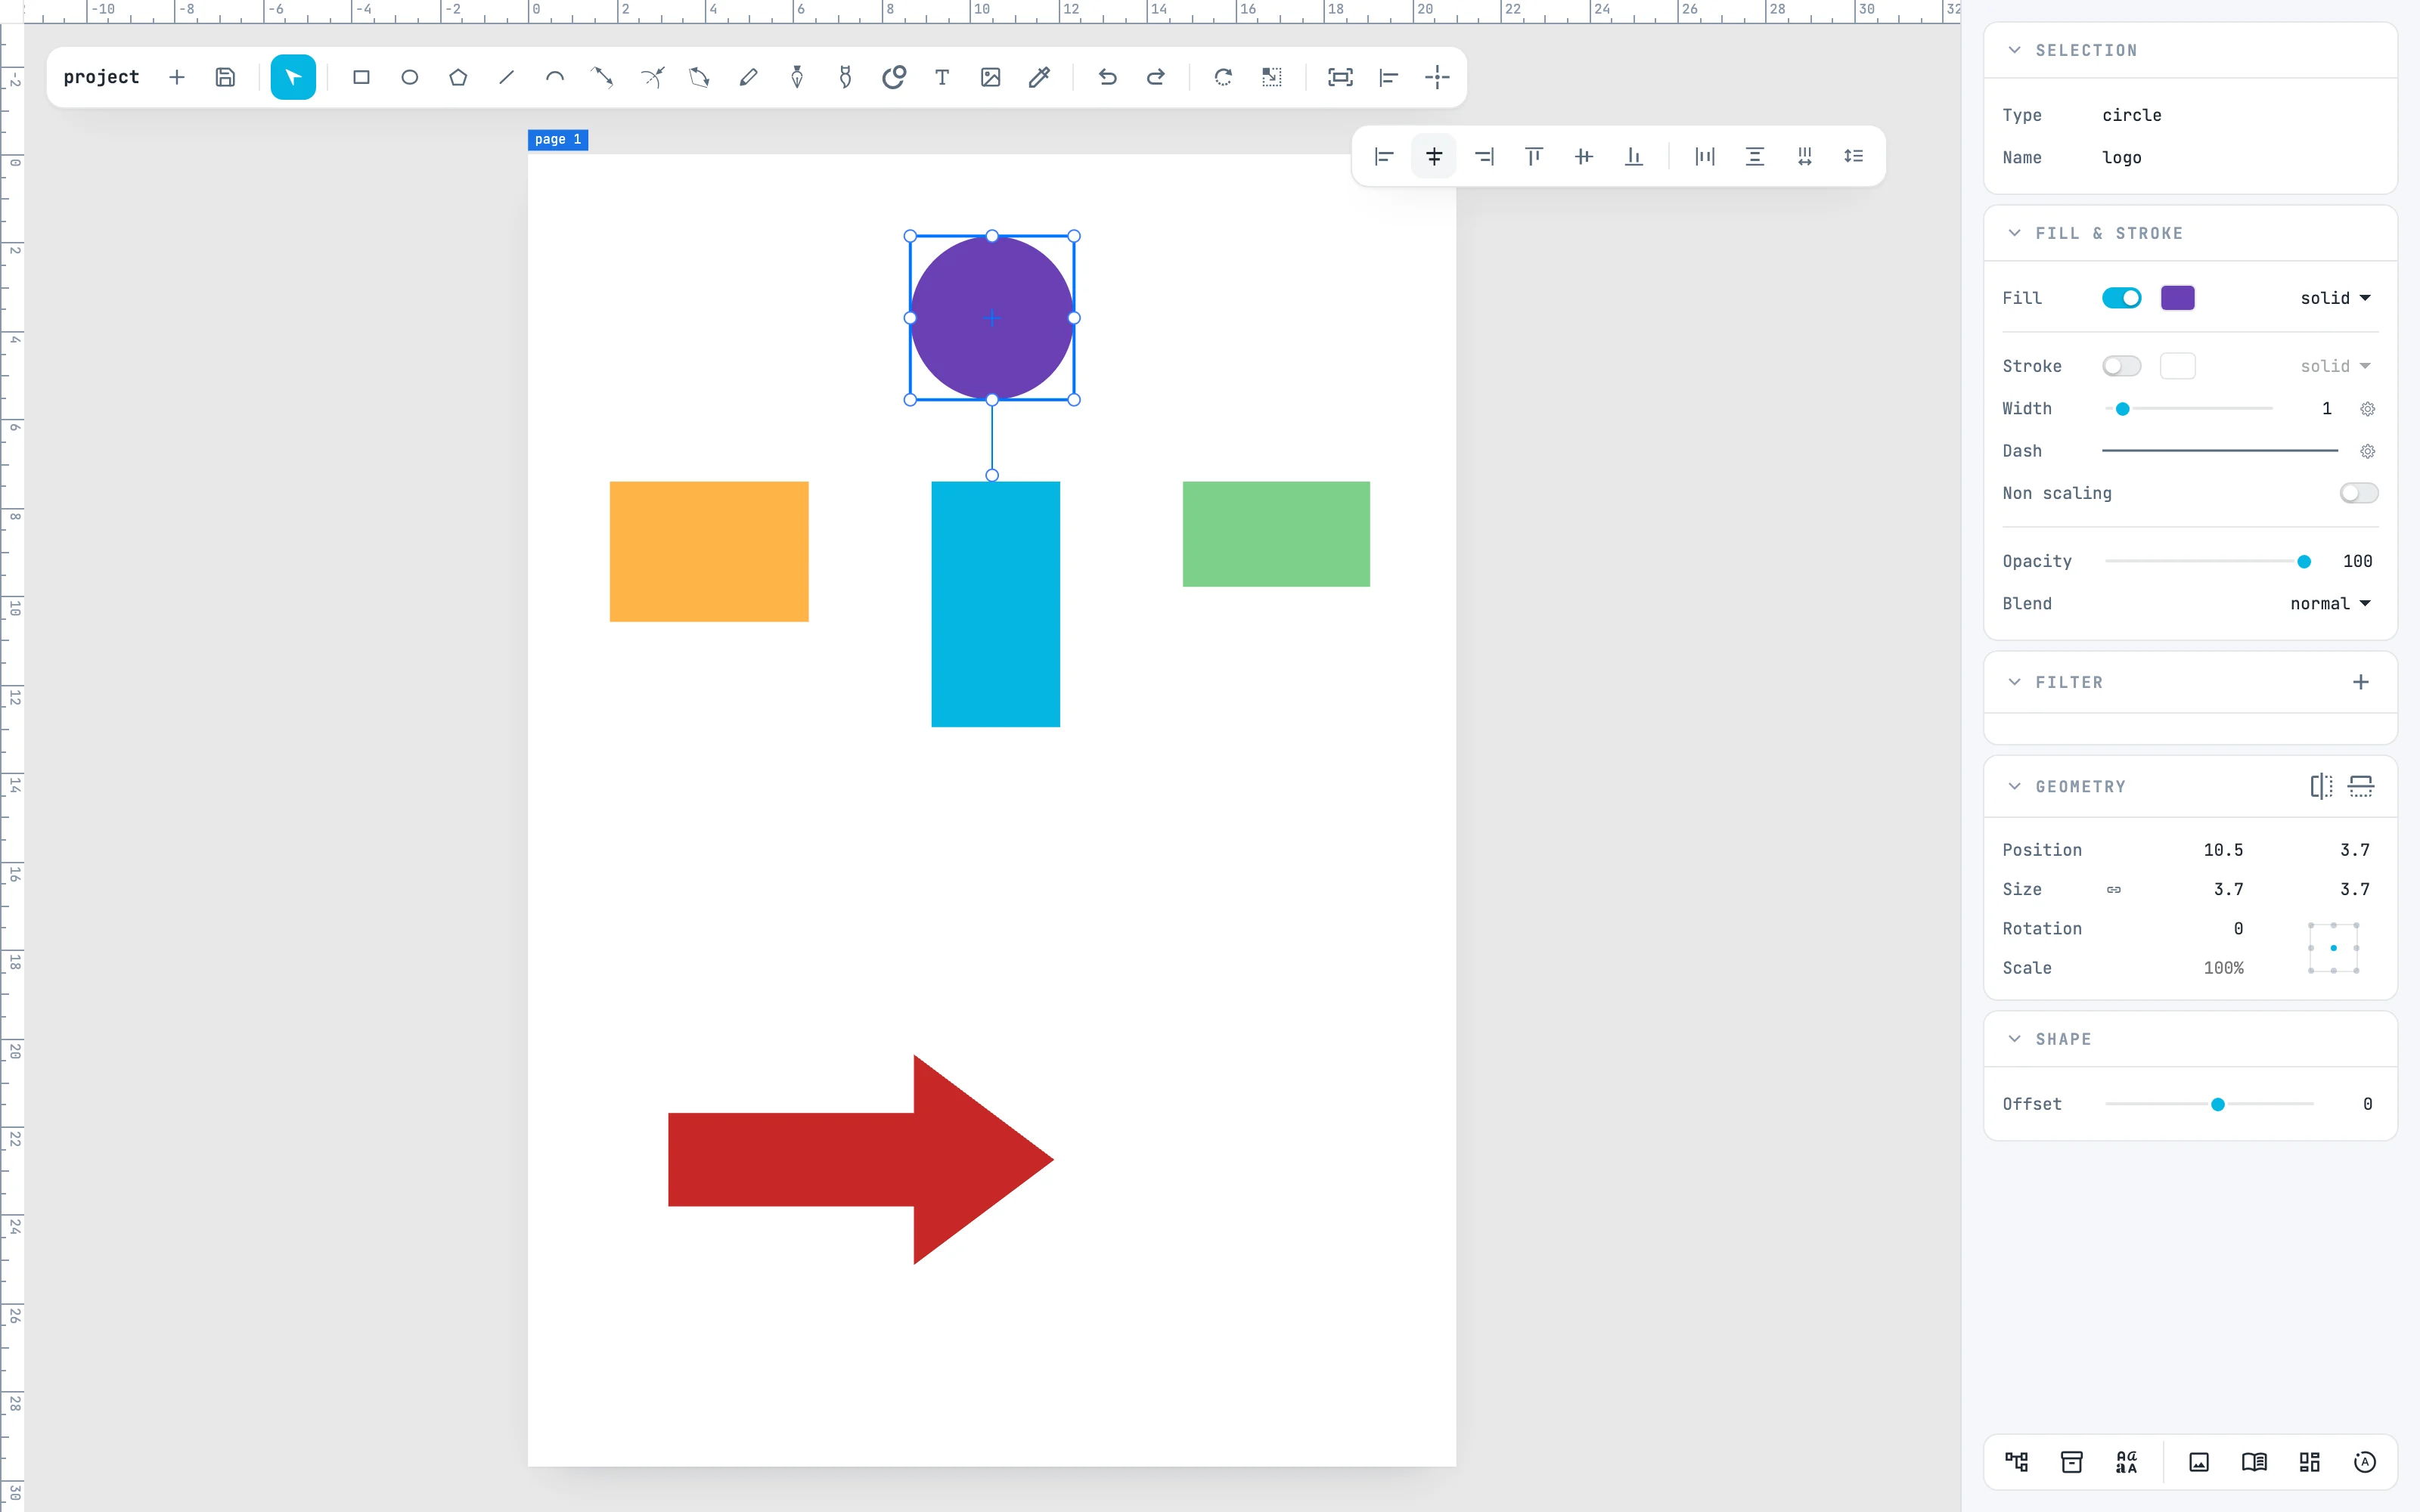
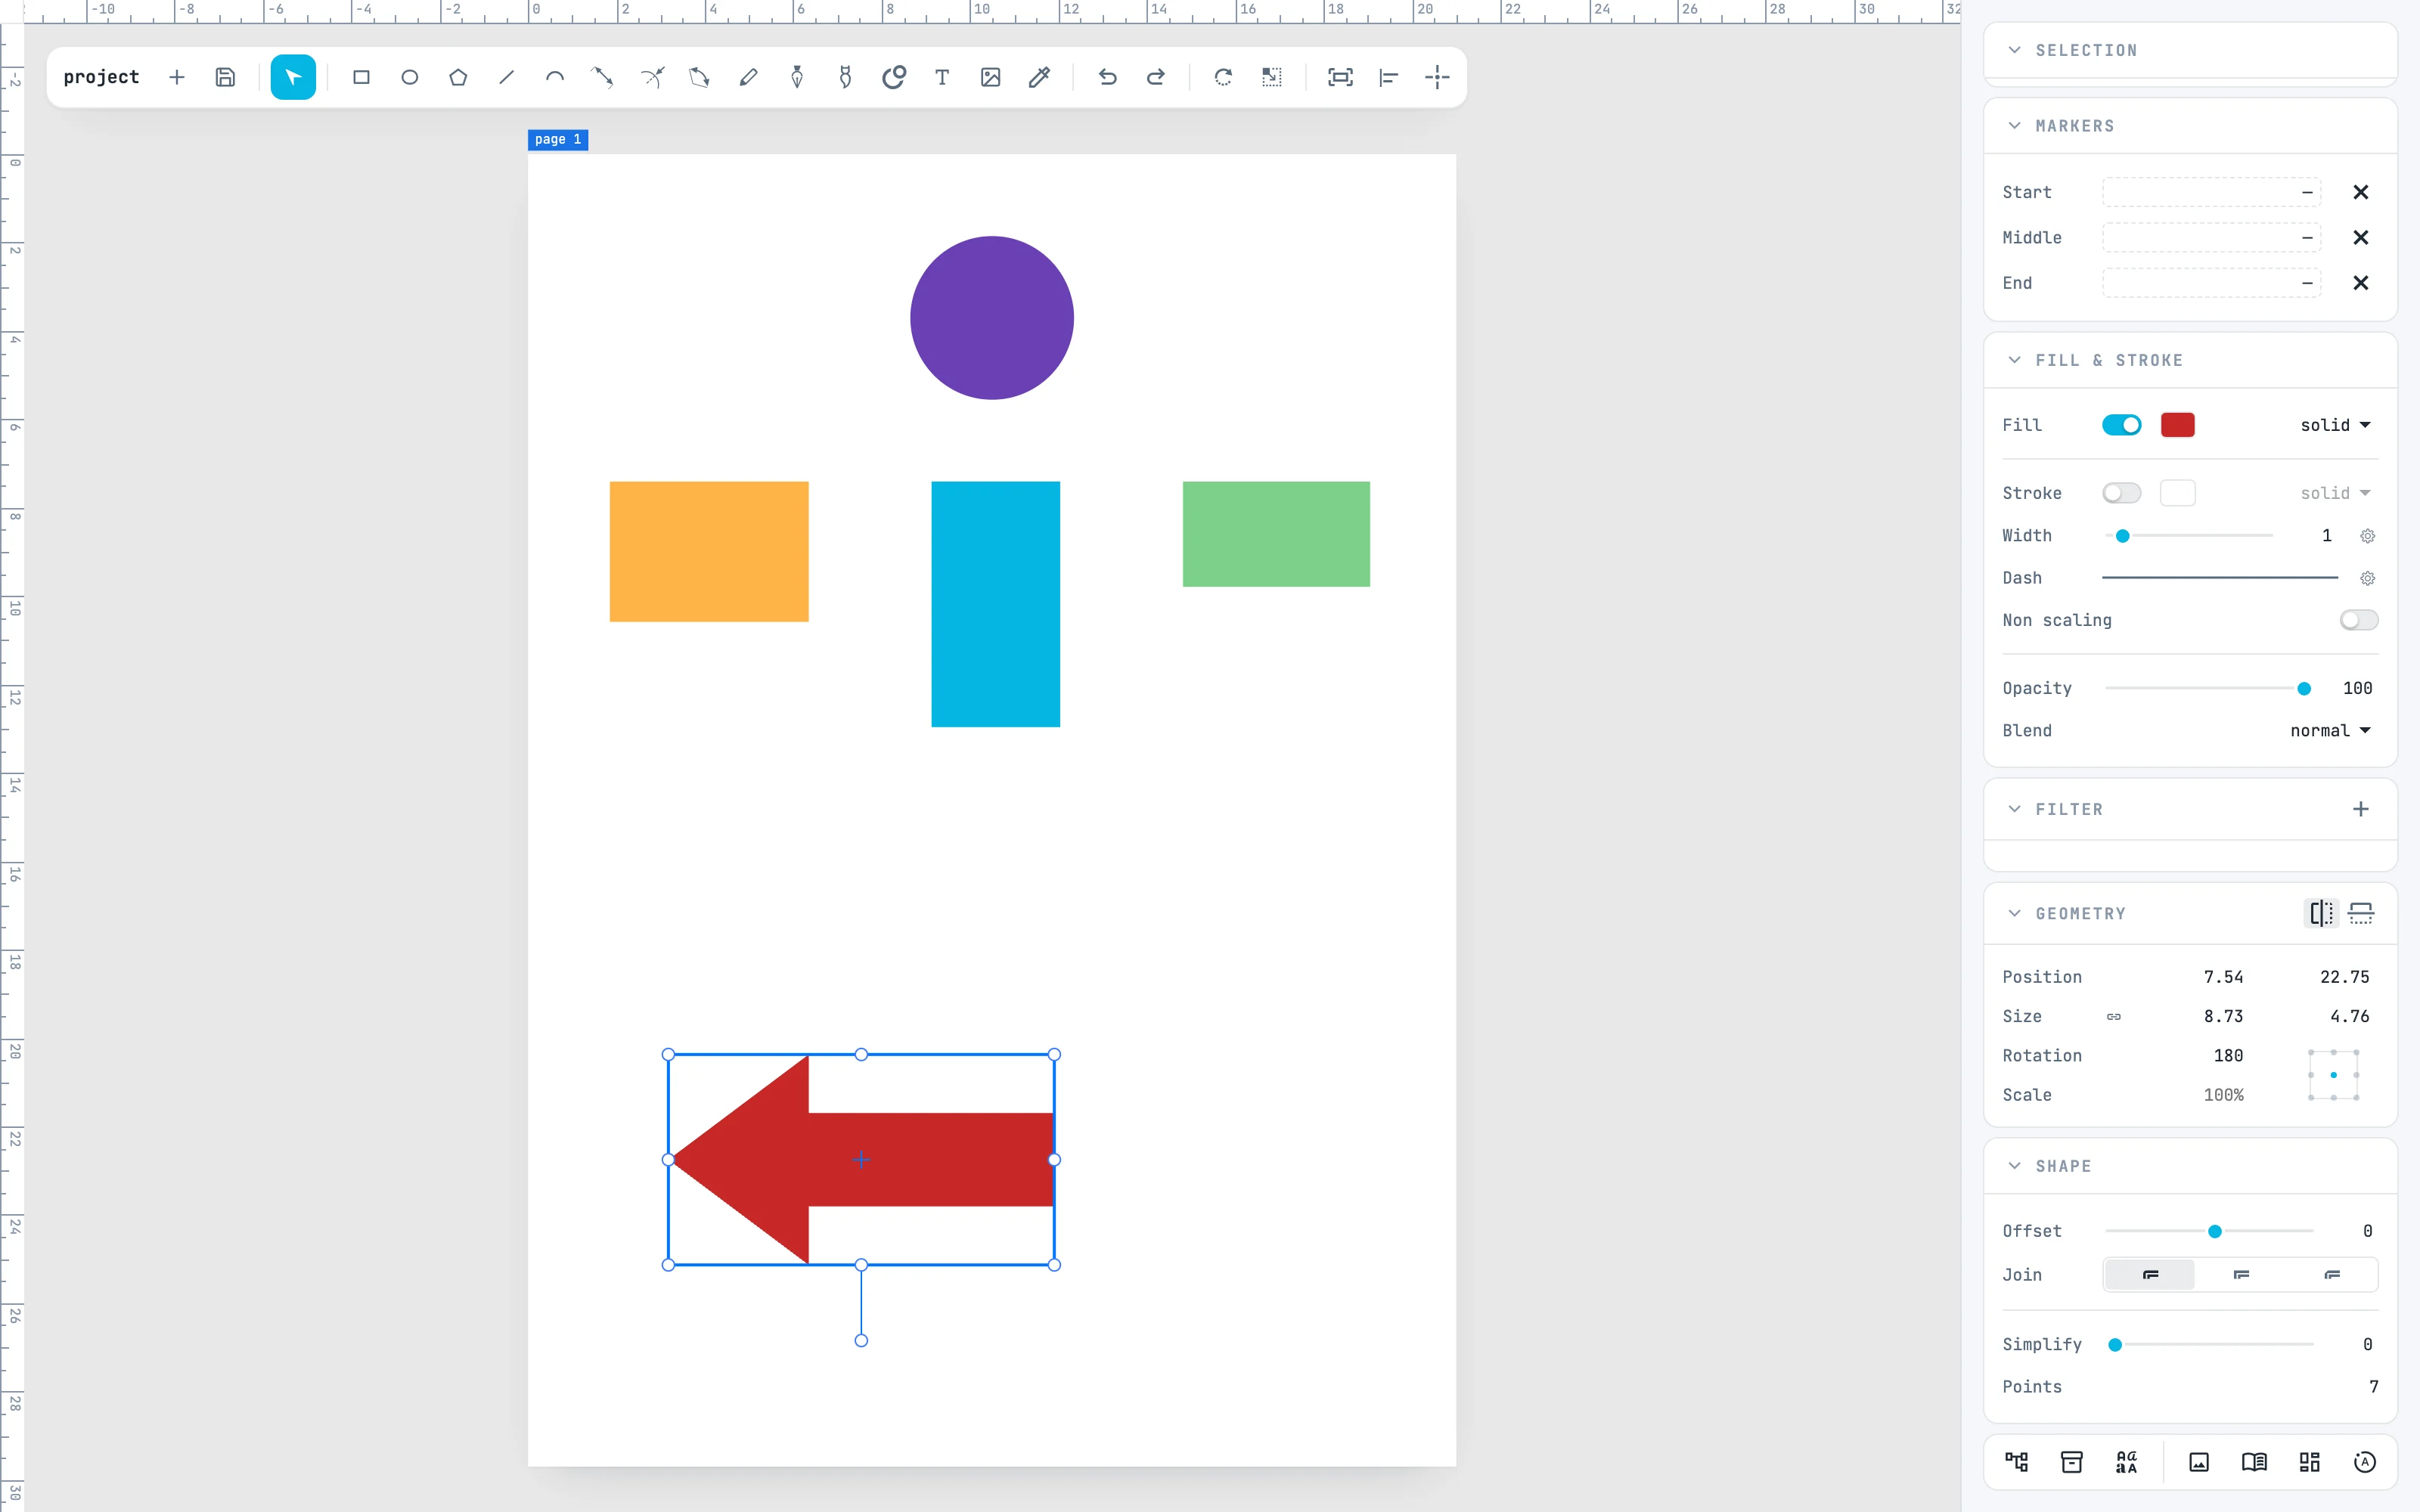
On an A4 sheet, three scattered boxes, a circle and an arrow. You line them up, even out the gaps, center the circle on the page and turn the arrow around: four clicks.
1 · The align bar
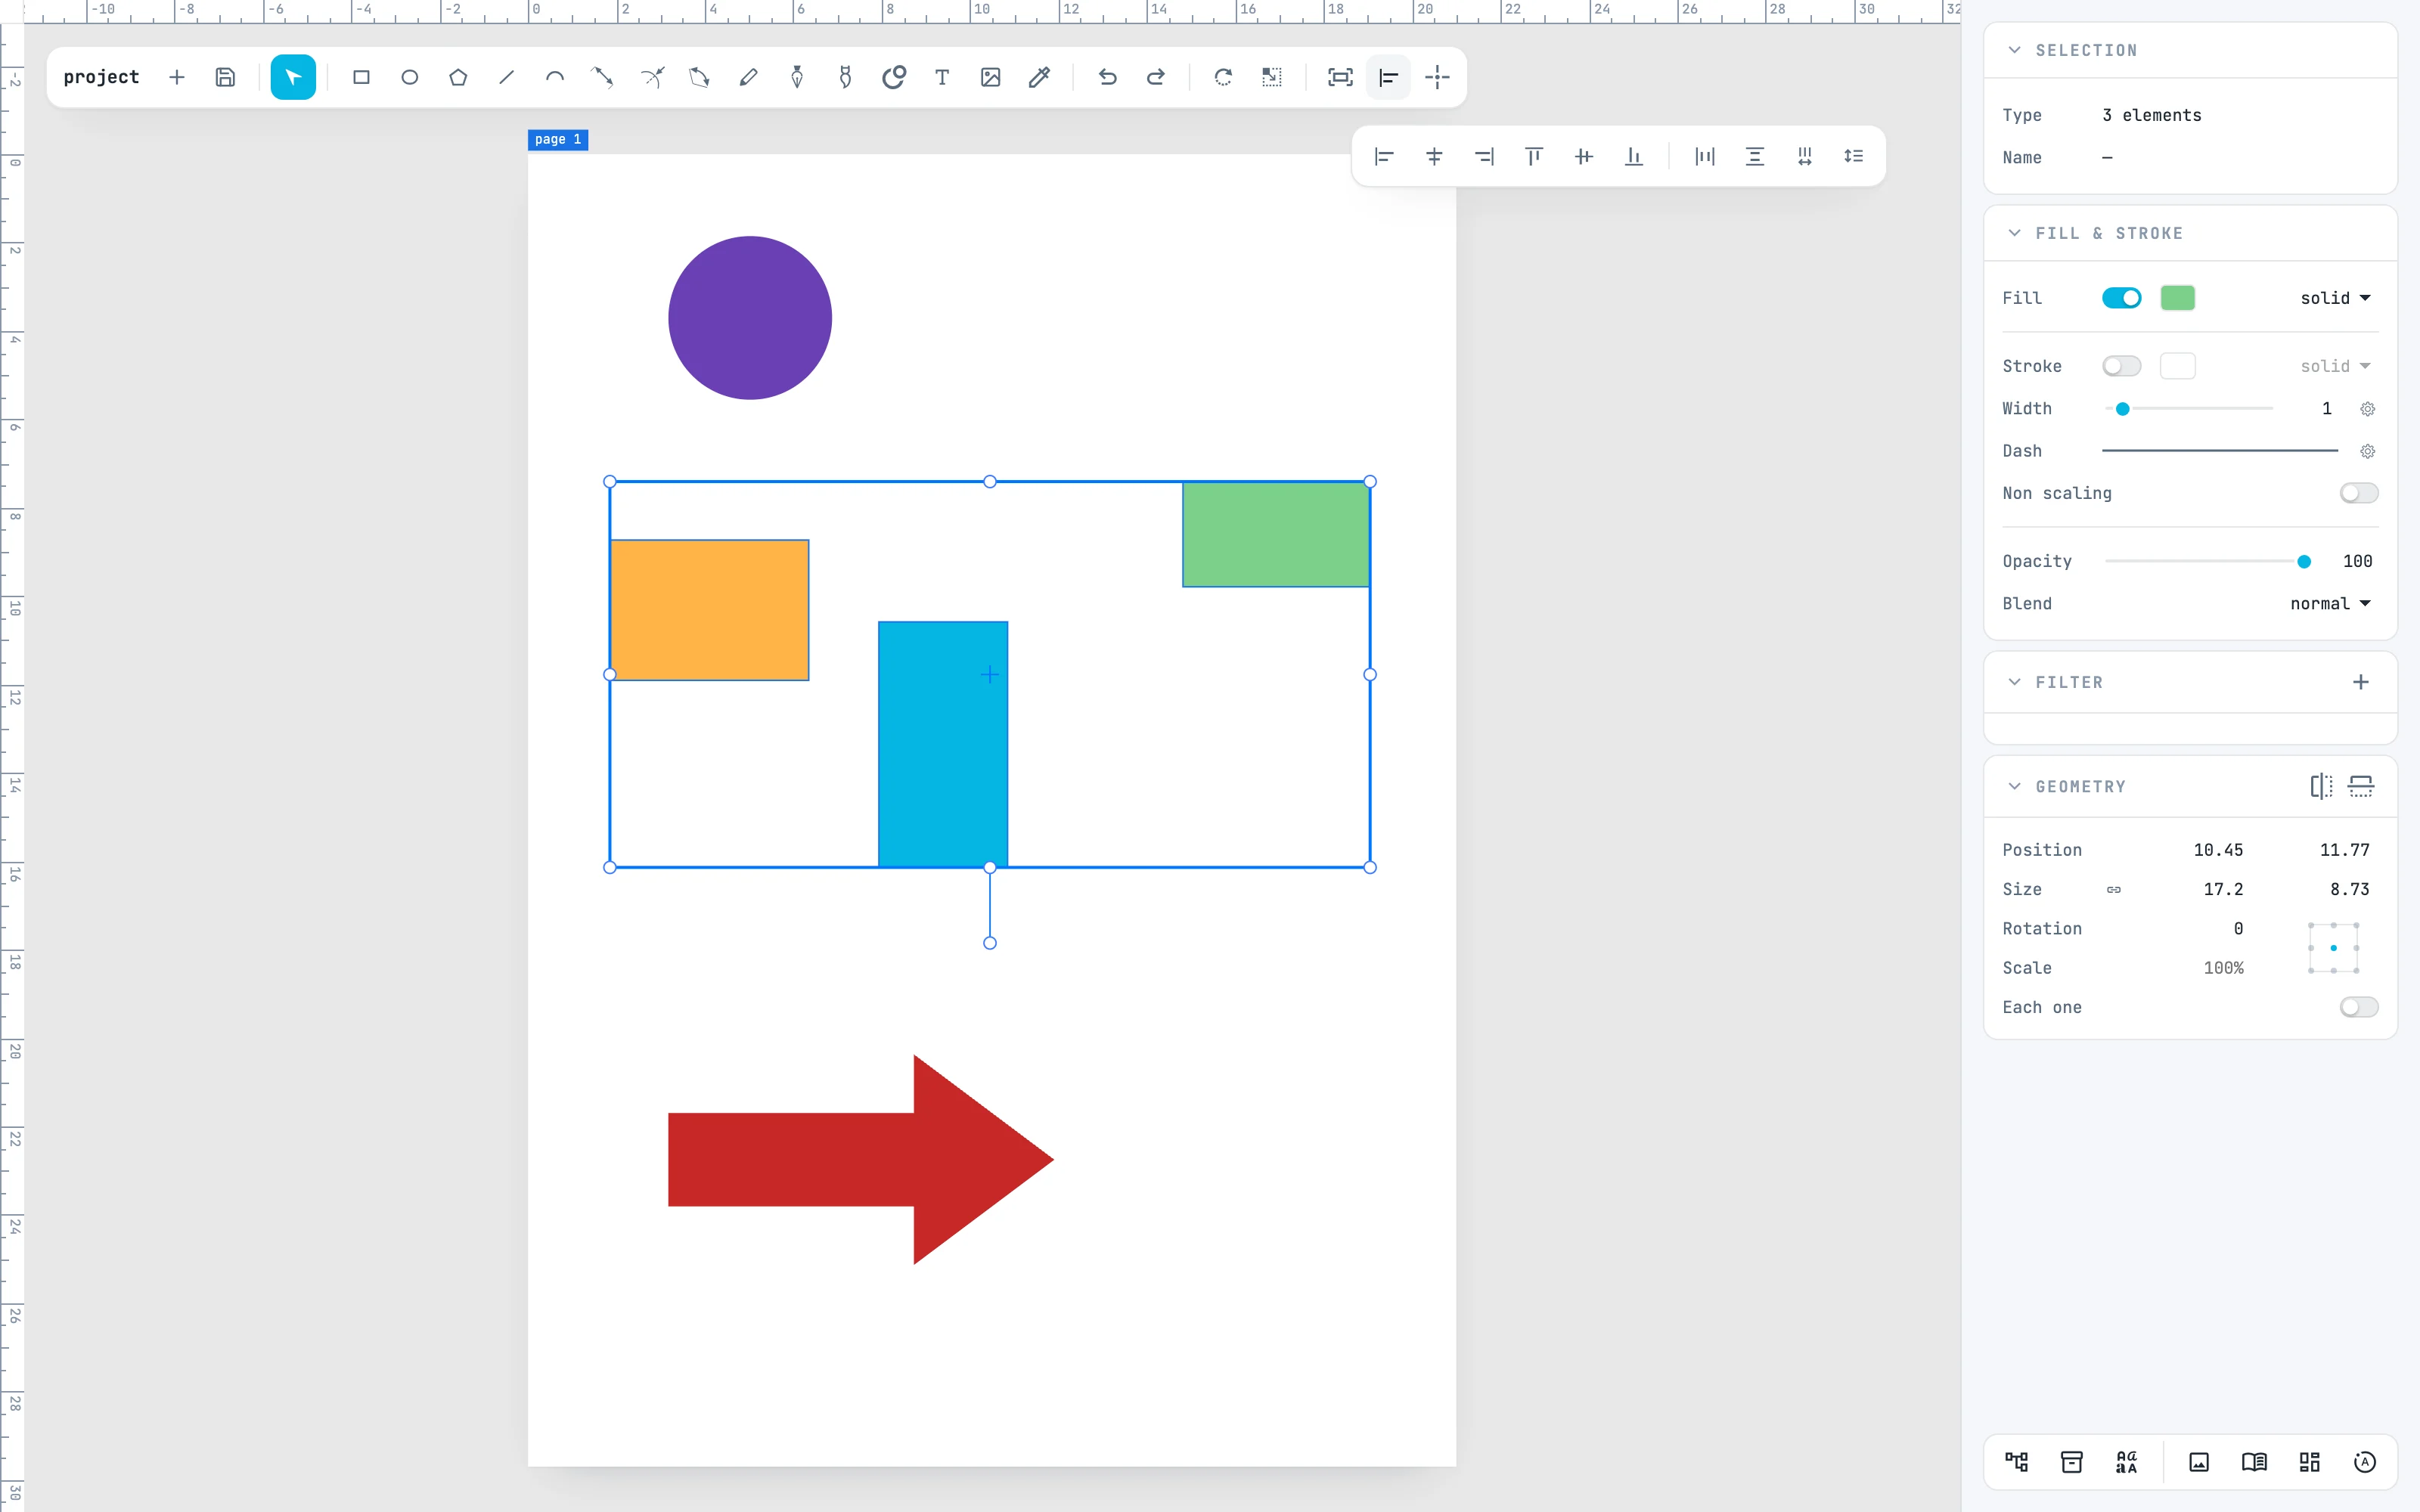
Select the three boxes and move the mouse over the align and distribute button of the toolbar: the bar opens. Six buttons align (left edges, centers, right edges; top, middle, bottom), four distribute. They are always enabled: without enough objects the command does nothing.
2 · Align with each other
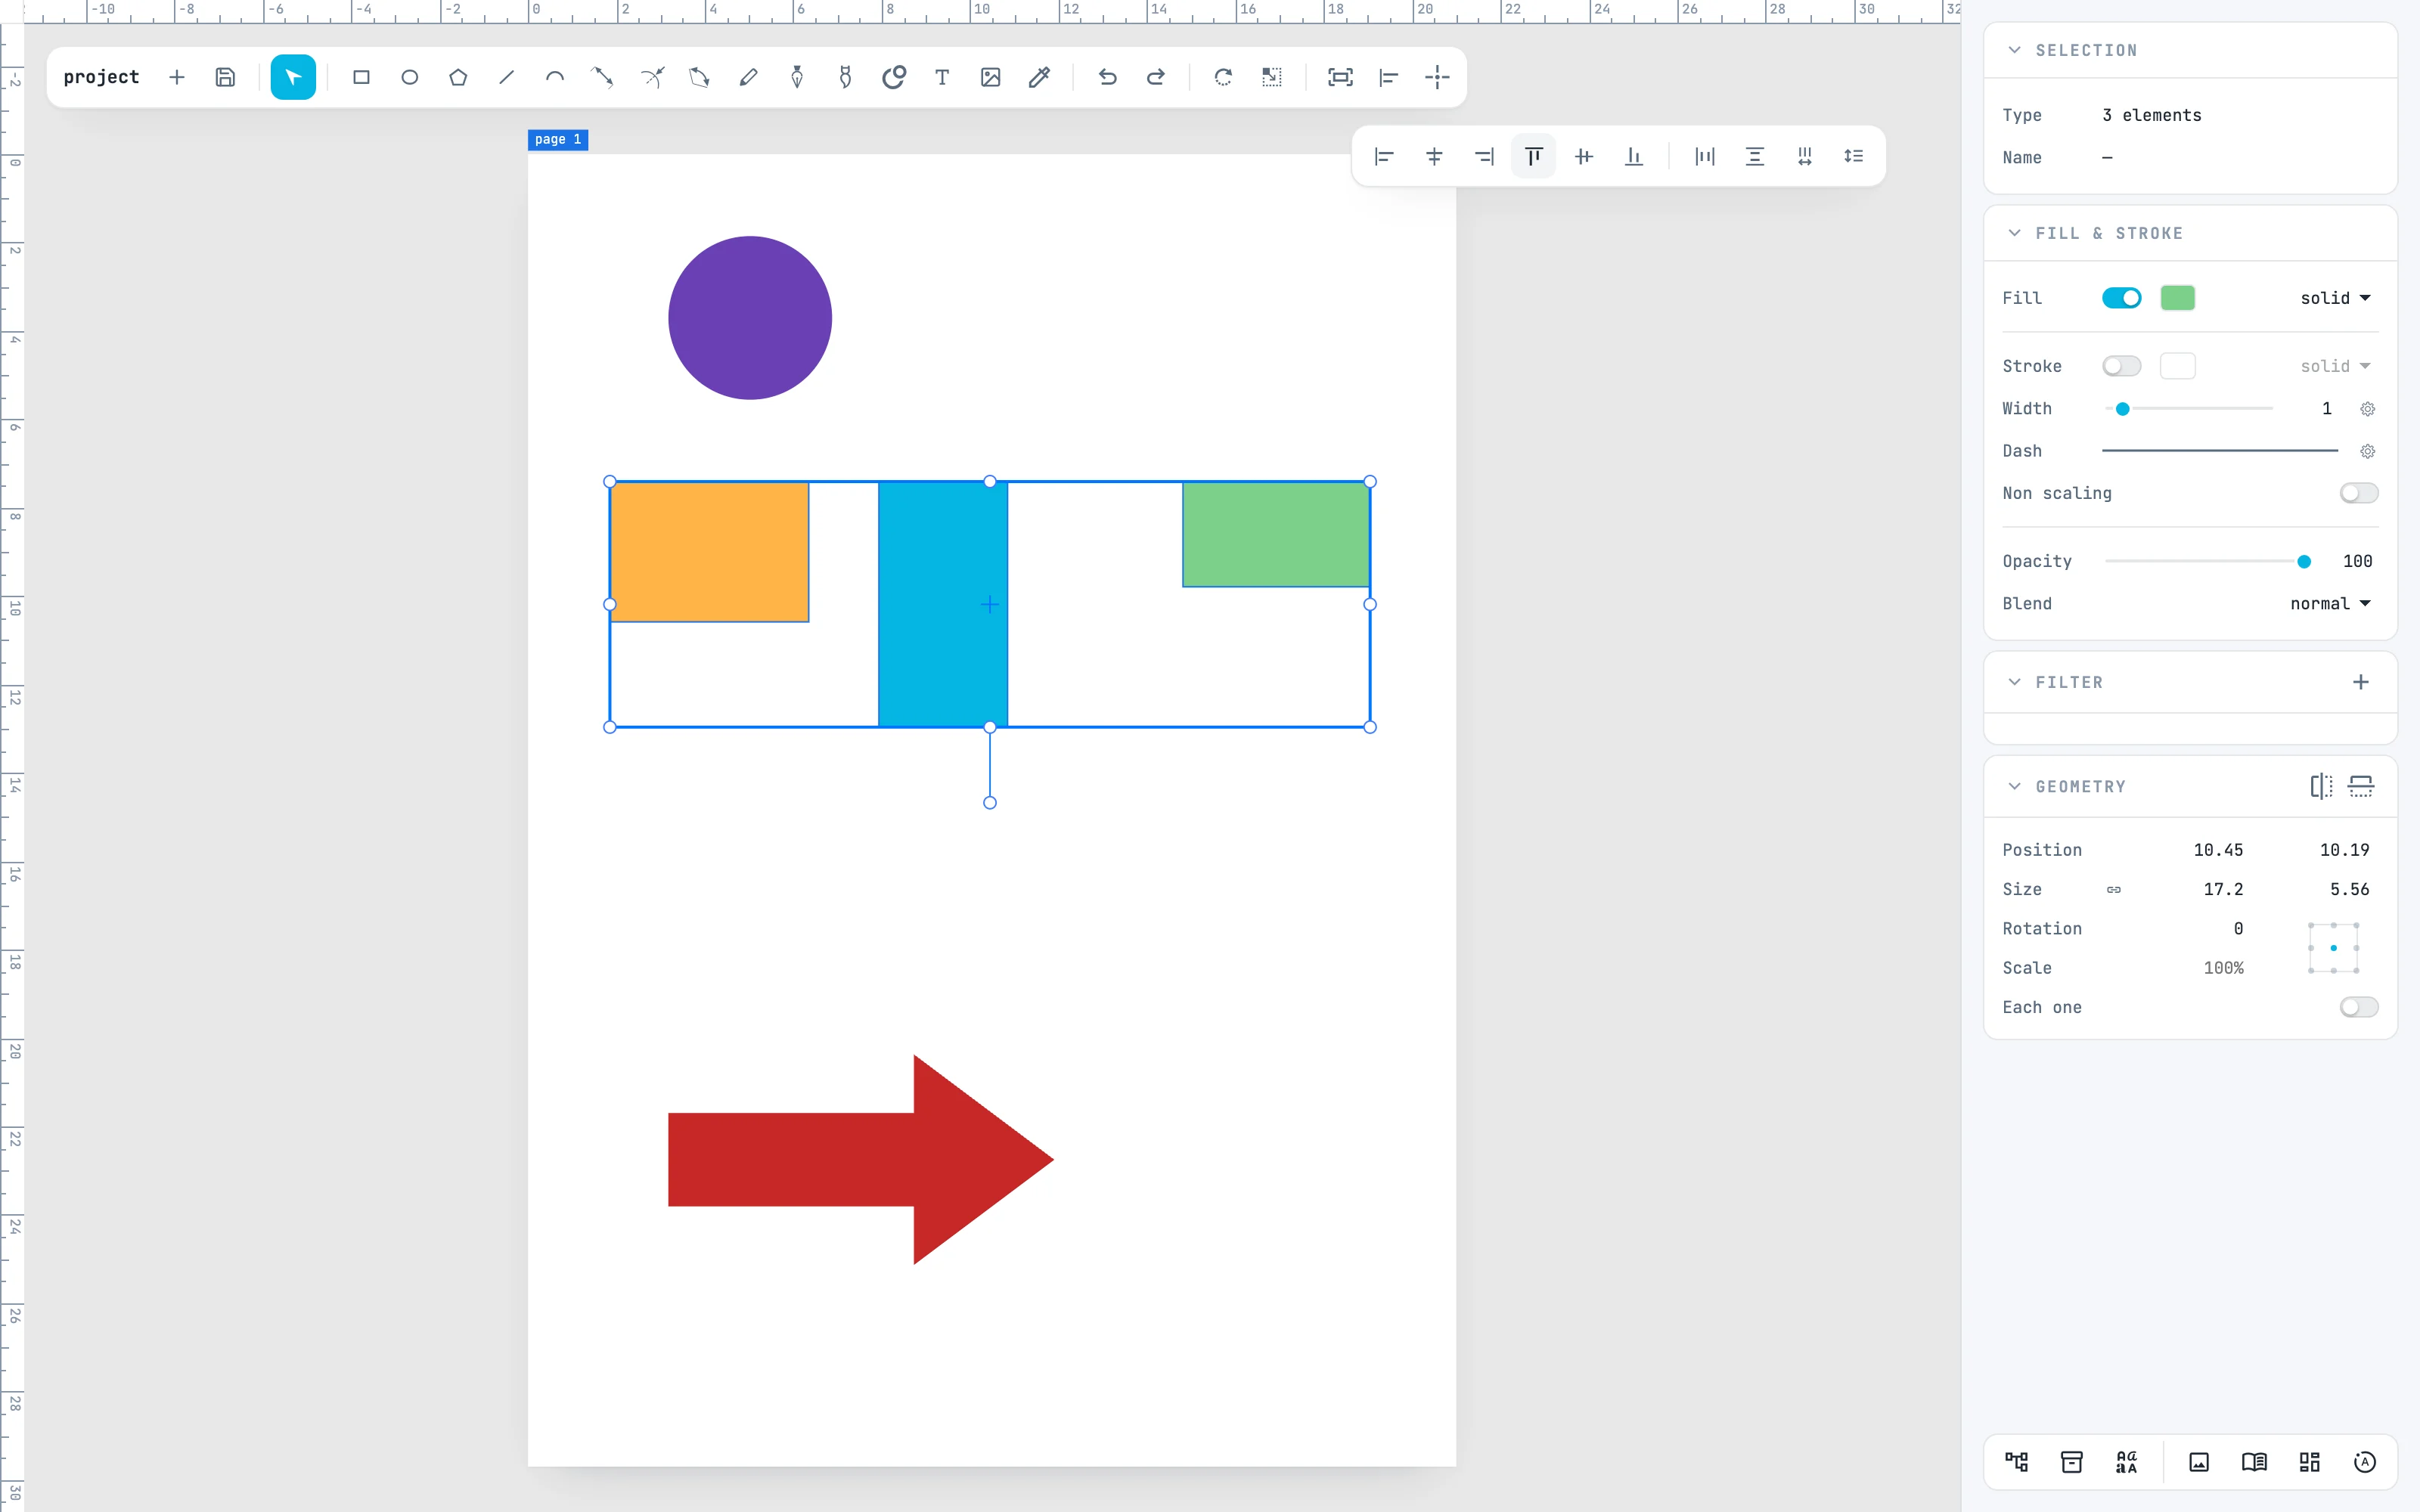
align top: with several objects they align to their common box, here to the top edge of the highest. In the same way align bottom to the lowest edge, align middle to the centers.
3 · Distribute
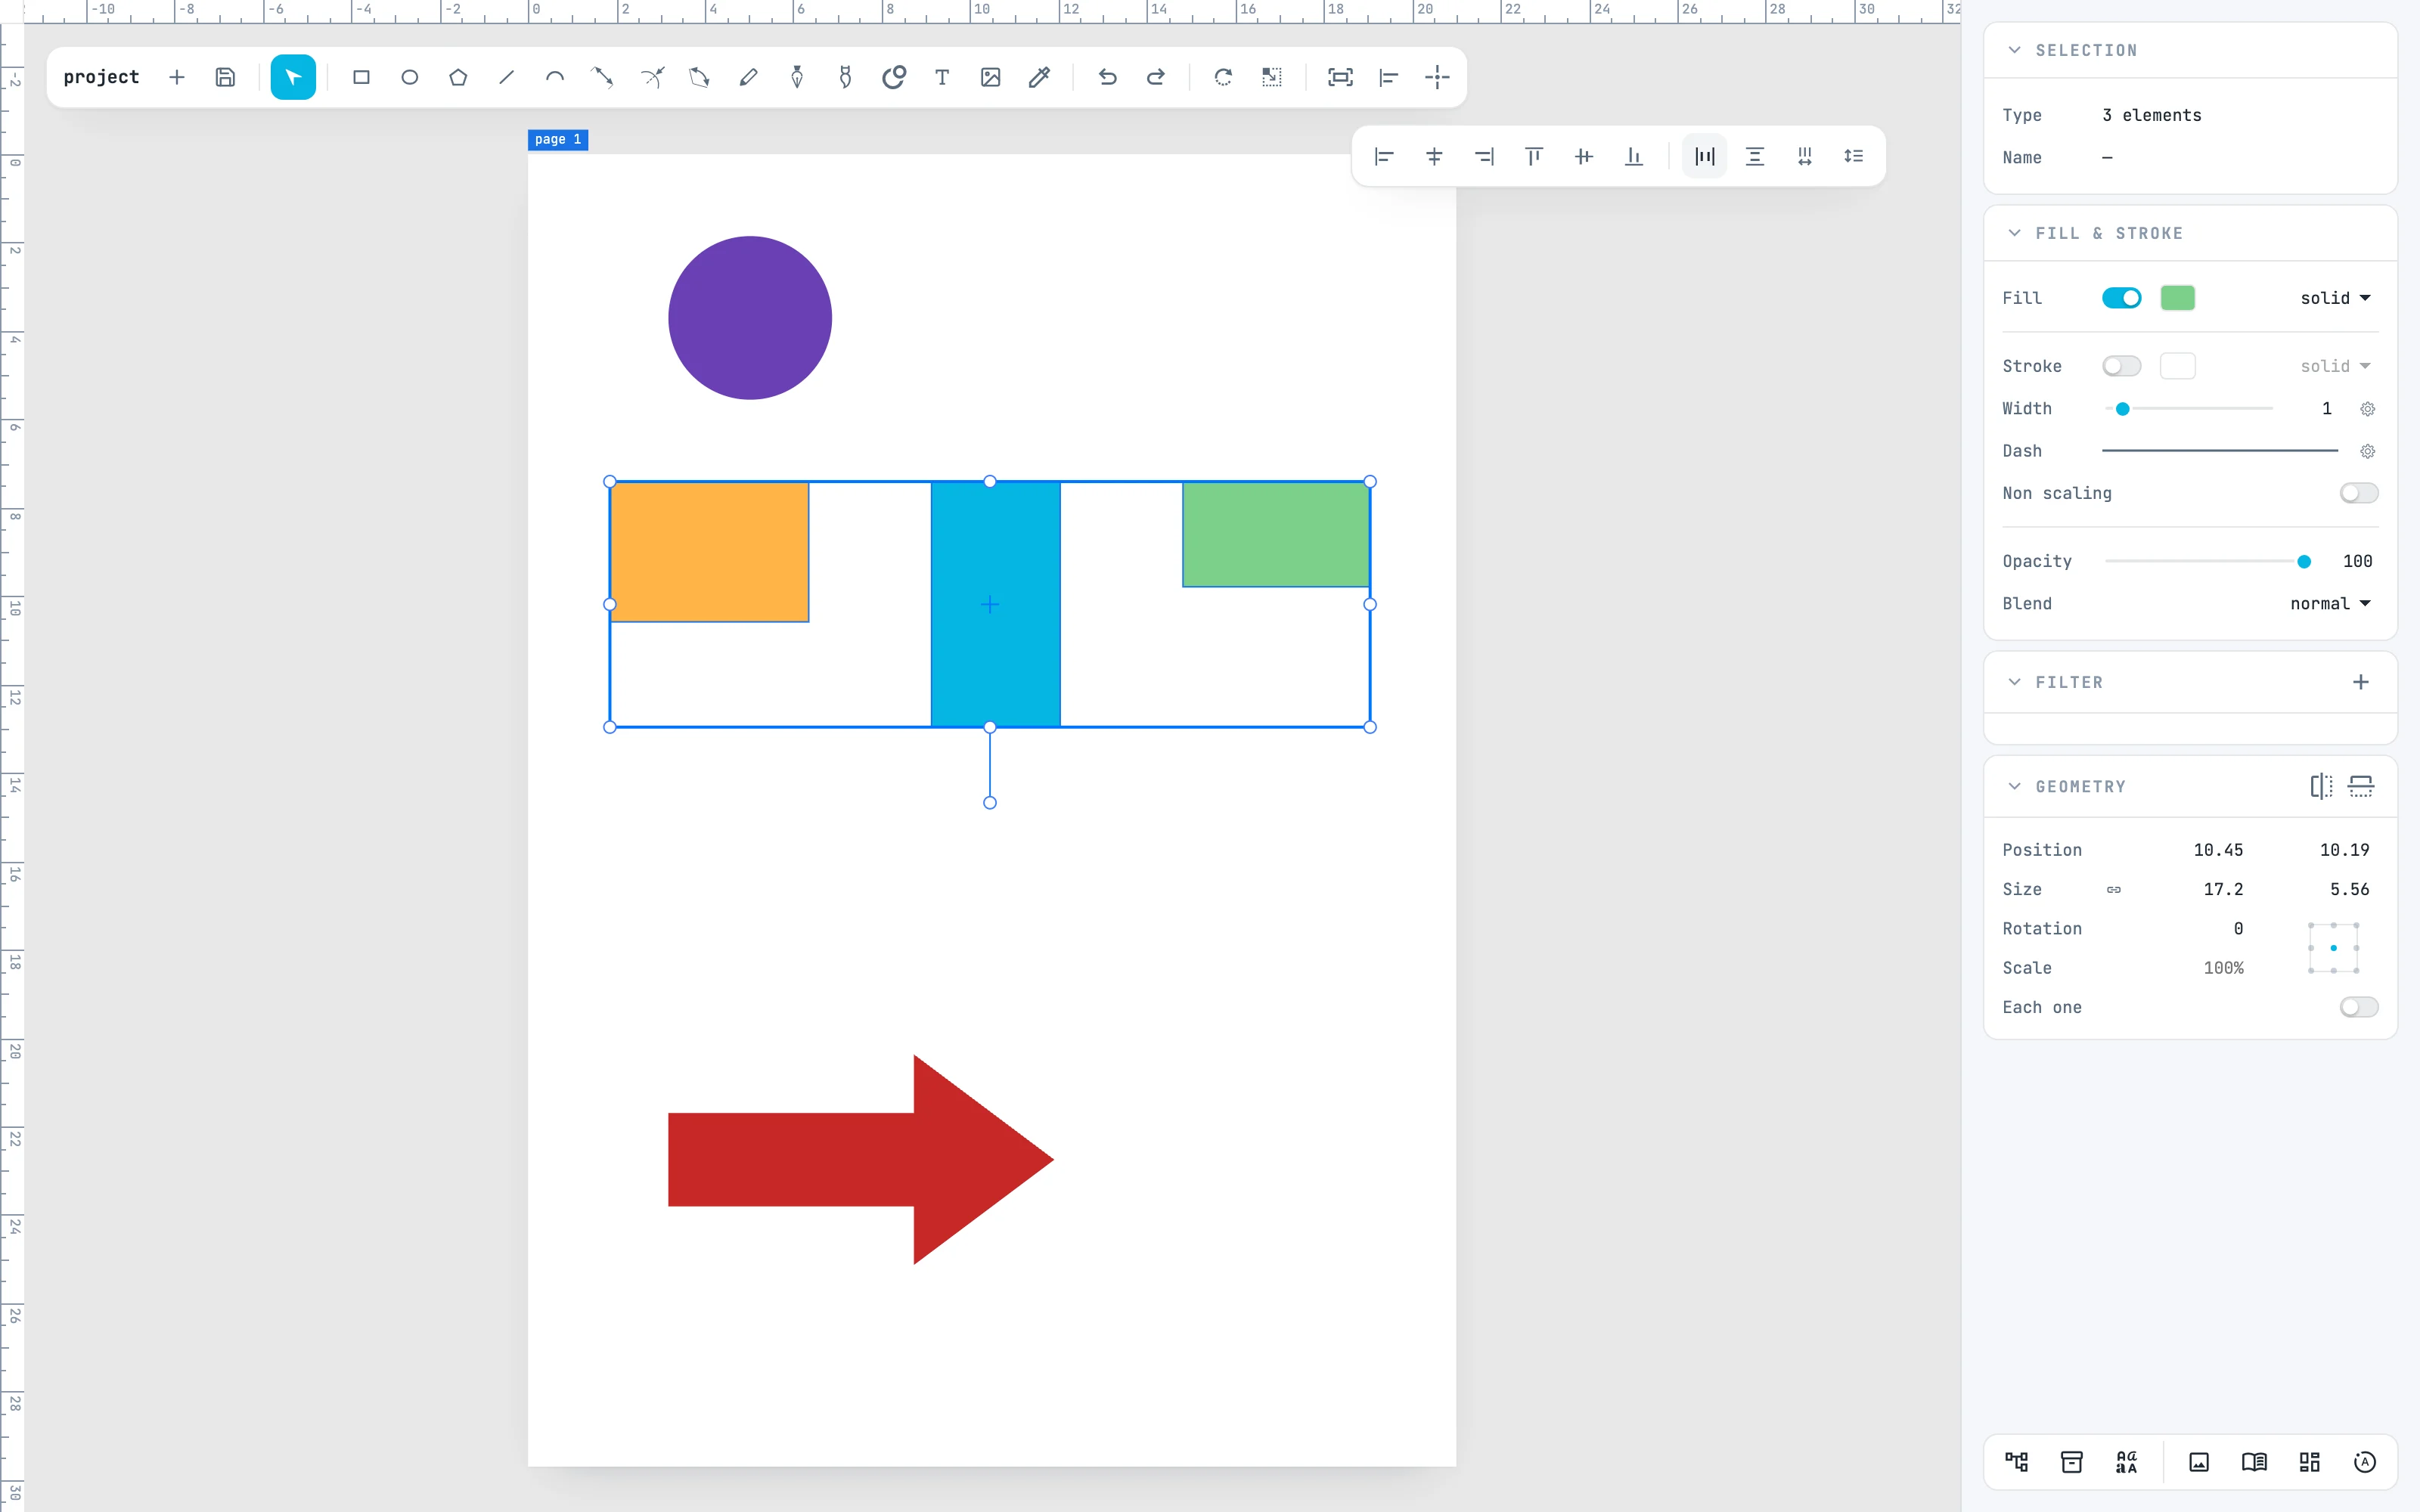
horizontal spacing evens out the gaps between edges: the two at the ends stay where they are, the one in the middle moves. horizontal centers instead evens out the distances between centers: with objects of different sizes they give different results. At least three objects are needed.
4 · Align to the page
With a single object it aligns to the sheet: the page that contains it. Here the circle, selected on its own, with align center goes to the horizontal center of the page. For a measured position, drag with snapping onto the ruler guides.
5 · Reflect
In the header of the Geometry panel, reflect horizontally reflects right ↔ left around the center, reflect vertically top ↔ bottom; with ⇧ each object on its own center. From the keyboard: ⌥ ⇧ + arrows. The reflection stays in the object's matrix.
Going further
In the guide: aligning, distributing, reflecting and snapping.